
Todd in NY
-
Posts
2,483 -
Joined
-
Last visited
Content Type
Profiles
Forums
Events
Gallery
Store
Everything posted by Todd in NY
-
 I'll be cutting those trees down this year for future firewood.
 -
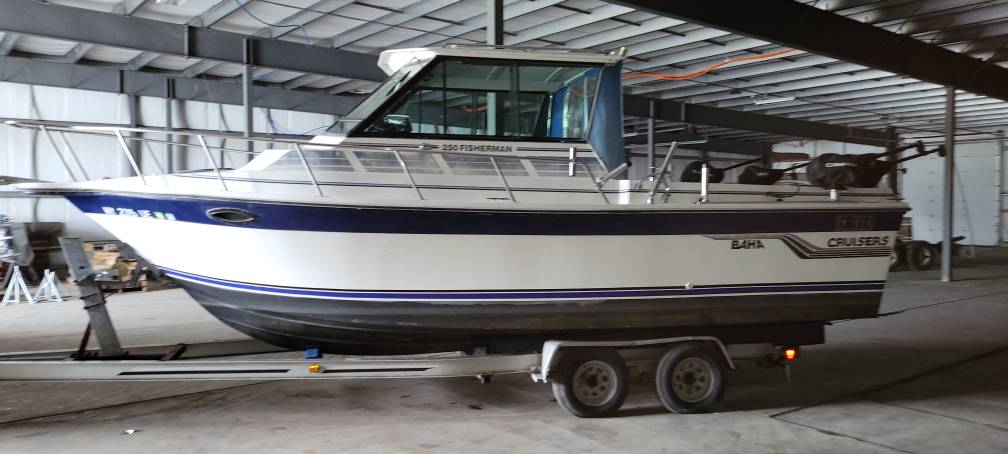
Sea Nymph 19.5 Center Console Restoration
Todd in NY replied to Great_Laker's topic in This Old Boat
 Great job on the Sea Nymph Great_Laker!
 -
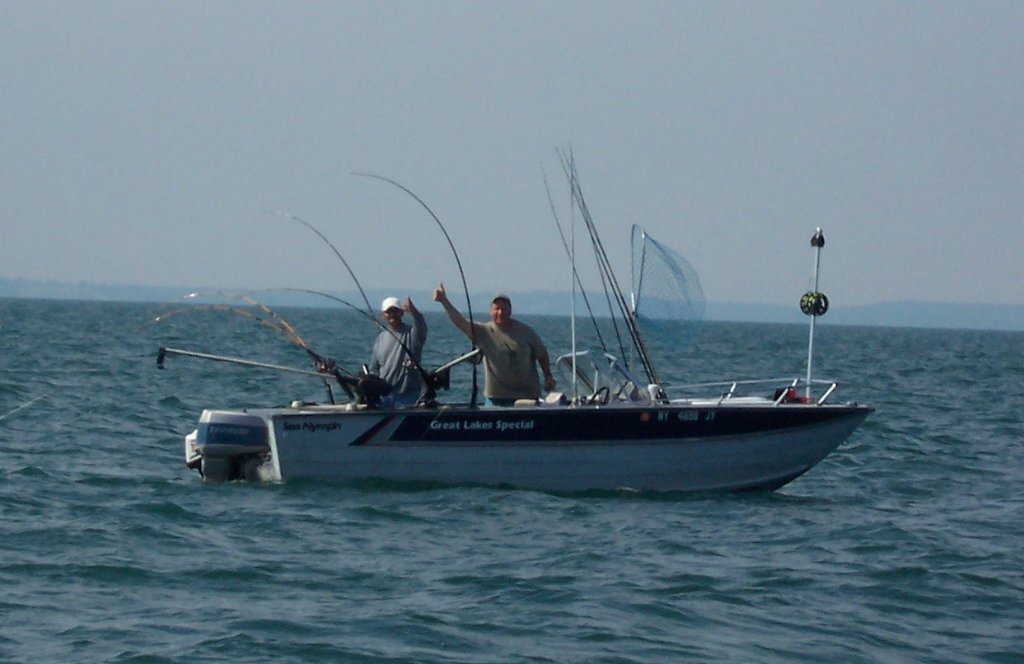
Thank you! This is the best boat I've ever owned. It's right at home on every lake I've fished so far, from Cranberry Lake in the Adirondacks, to Oneida Lake and Lake Ontario. It's too nice a boat to just throw in the towel. It's the last boat I'll ever own.
-
Boat Re-wired & Other Repairs, Before & After
Todd in NY replied to Todd in NY's topic in This Old Boat
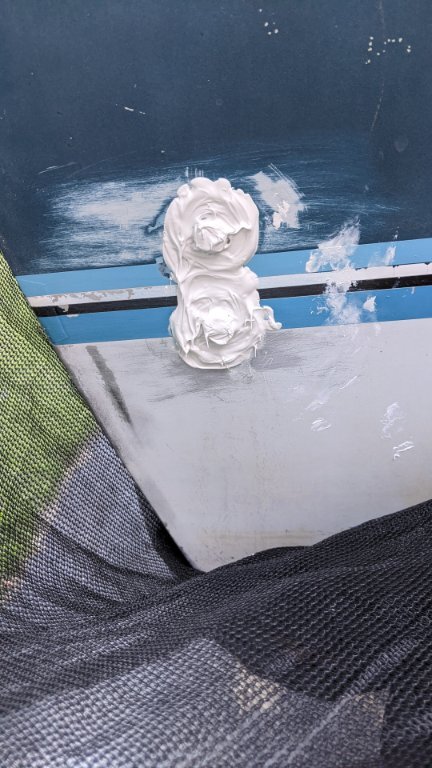 My boat had two old pieces of lumber bolted inside the transom, behind the batteries. I'm guessing they were 2x6, about 6" x 6" square. They didn't appear to serve any purpose, and they didn't leak, so I left them alone for the past 5 years. A few days ago I noticed that the wood was rotted real bad on the starboard side, and almost as bad on the port side. So I bought new SS bolts, fender washers, lock washers and nuts, all 3/8". I had enough of that 1/8" x 2" wide aluminum left over from my hardtop repair, so I cut 2 pieces 5" long, to use instead of wood. There wasn't any damage to the hull, so it doesn't appear to have been treated lumber. I cleaned up the surfaces inside and out, then gobbed the Boat-Life caulk around the holes, inside and out. I used a 3/8" x 1" bolt and 1.5" fender washers on the exterior side, and the 5" long aluminum piece, a 1.5" fender washer, lock washer and nut on the inside. It appears that these holes are from the original tow rings, that are now mounted on the extended transom. Not a big deal. Starboard side, before port side, before starboard side finished port side finished This boat hasn't leaked a drop in the 5 years that I've owned it. I sealed all pre-existing holes with Boat-Life caulk before my first fishing trip, and never had a leak.
 -
Boat Re-wired & Other Repairs, Before & After
Todd in NY replied to Todd in NY's topic in This Old Boat
I made one more upgrade to my gunwale rod holders today. I bought some 1/8" thick x 1/2" wide aluminum. I cut them to various lengths, depending on the wooden rod holders that I was attaching them to, drilled 2 holes on each piece, then made a notch in the bottom of each piece. This aluminum bar rotates up to give access to the rods, and replaces the tiny bungee cords I used last year. They rotate up to the gunwale if I need to get to the top fishing rod. The bungee cords were removed after I took these pics. Edit to say that these rod holder upgrades held the rods in place perfectly in 3-4ft seas, when we could only manage 8 mph comfortably against the wind and waves. -
Boat Re-wired & Other Repairs, Before & After
Todd in NY replied to Todd in NY's topic in This Old Boat
Update on my gunwale rod holders... Last year I was fishing in some choppy 3ft seas and the rods were falling out of the gunwale rod holders. So yesterday I move the rear rod holder 14" closer to the from one. -
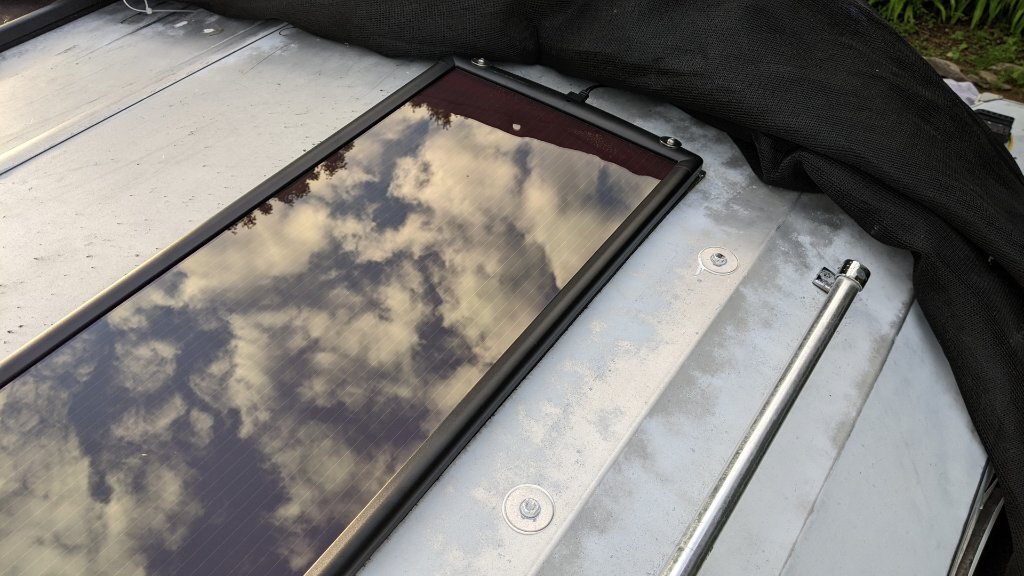
Yesterday I installed the new solar panel and tightened the roof to the "rafters", for lack of a better term. The rafters were bent downward, away from the roof. It looks like they were originally held in place by a white unknown adhesive. I drilled a 1/4" hole through the roof and four rafters, then used stainless steel bolts, nylock nuts and 1.5" diameter washers to pull the roof and rafters back together. All holes were sealed with Boat-Life caulk. I also installed a new set of 4-rod holders because tree damage broke the set I had there before. I'm done with the damage repairs. Now I can move on to replacing the water pump kits in both motors and start fishing. Thanks for following, and stay safe!
-
Thanks rollmops! I bought this boat in the fall of 2017, and started dumping money, time and soul into it in April 2018. It has been a fun journey, and over the years, I've set this boat up to be what I wanted in a fishing boat. Winning the LOC would no small feat. I documented all those repairs in the thread linked below...
-
I worked on the boat for a few hours yesterday. When I bought the boat 5 years ago, it had some aluminum diamond plate welded to the angled support brackets. I had to cut through that diamond plate in order to remove the support bracket for this repair. I decided to use some 2" wide by 1/8" thick aluminum "bar stock" to re-connect that diamond plate to the support bracket. I started with a 3ft long piece of aluminum and cut the 2 lower pieces 4" long. The pieces for the top were cut to 4.25" and 4.5". I measured and marked the pieces, clamped it in my bench vise, then cut them with a hacksaw. I used a file to smooth all of the edges. The bottom two pieces were easier to fit than the top two pieces. The top diamond plate was bent outward quite a bit, so it took some time and effort to bend it into a more usable angle. I was able to leave the top left piece straight. But the right side piece needed two bends in it that I used my bench vise and a dead-blow hammer for. I used 1/4" grade 8 bolts and washers and grade 5 nylock nuts to attach these aluminum pieces. I also added a 1/4" x 1" stainless fended washer between the aluminum pieces and the grade 8 washers on the side you can see in the pics. Next task was to attach the rear roof to the 2x4 board that the floor jack was holding up. The original screws were standard size deck screws. But the force of the tree ripped those screws out. So I used 1/4" lag screws to secure the roof to the board. I also added a 1/4" flat SS washer under the lag screws. The left lag screw is 2" long, the center one is 2.5" long, and the right one is 3" long. Now I was able to remove the floor jack without any sag in the hardtop. Next task will be to add the new solar panel to the HT.
-
Thank you! I've never attempted anything like this repair, so I'm making it up as I go.
-
info How to open and close a FOR SALE ad
Todd in NY replied to Todd in NY's topic in Classifieds - Buy, Sell, Trade or Rent
 If nothing has changed since the last ad I posted, you should be able to edit your original post by clicking on the 3 dots to the right of your user name. To bump your ad to the top, you should be able to do that by posting a new reply to your ad and just type the word bump.
 -
I'll check around my area to see what options are available.
-
How did your Sabre get stress cracks?
-
I thought about it. I'll see how tight everything fits after I finish the repair.
-
I have some finish work to do on my next day off. Then I'll replace both water pump kits on my outboards and be ready for the rest of the 2022 fishing season.
-
This helped put the correct bend back in the left side hardtop. I bolted the angled bracket in place and took a break because it was getting dark outside.
-
Now it's time to try to put the bend back in the flattened left rear corner of the hardtop. This is what the right side looks like This is what the left side looks like I placed a basement floor jack under the flattened crease that I could reach with it. I then used a ratchet strap to force the left side of the hardtop in toward the center.
-
I also used 3/4" x 1/8" angled aluminum to reinforce the bracket. I used grade 8 bolts, nuts and washers to attach the angled aluminum to the upper portion of the bracket.
-
I decided to straighten the angled support bracket first. I used a bench vise and a crescent wrench to straighten it. Before After
-
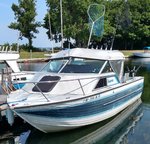
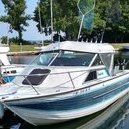
Last December we had a wind storm blow through here that caused a tree limb to fall on my covered Crestliner. I came home from work late the day it happened. The tree limb was from a healthy White Pine tree, and thankfully it wasn't the whole tree. The base of the tree limb was roughly 10" in diameter. The limb broke through the 2x4 frame that supports my 20' x 30' heavy duty tarp. I looked at the tarp and tree limb with a flashlight, then went back inside the house, too tired to deal with it after a long day at work. The next day I removed the tree limb with a chainsaw, and removed the tarp so I could survey the damage. The tree limb crushed my hardtop about 12-18" on the left rear, which also shattered one of my solar panels and bent the angled hardtop support brace. Thankfully none of the glass was broke. Being December, all I did was repair my 2x4 frame, took pictures, and put the tarp back over the boat, with a new 10x12 tarp over the 4ft hole in the main tarp. It could've been much worse. I've never had to repair anything like this before, so I spent the next 6 months formulating a plan. Most of the left side support braces were bent like this one
-
Lead free ammunition is expensive, and it's not readily available in many rifle calibers. Lead ammunition is nowhere near as toxic as all the herbicides that get sprayed on the crops in this state.
-
Sold / Closed 1995 Spectrum Sport $4000/BO
Todd in NY replied to prayingmantis's topic in Boats for Sale
 Congrats on your 26ft Sylvan! Sounds like a great boat.
 -
Sold / Closed 1995 Spectrum Sport $4000/BO
Todd in NY replied to prayingmantis's topic in Boats for Sale
Wow, that's an awesome upgrade! -
Sold / Closed 1995 Spectrum Sport $4000/BO
Todd in NY replied to prayingmantis's topic in Boats for Sale
Congrats! -
Sold / Closed 1995 Spectrum Sport $4000/BO
Todd in NY replied to prayingmantis's topic in Boats for Sale
What's the length and width of the boat?

