

JZTIRF
-
Posts
83 -
Joined
-
Last visited
Content Type
Profiles
Forums
Events
Gallery
Store
Posts posted by JZTIRF
-
-
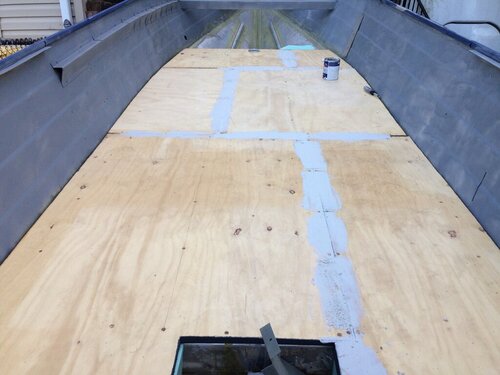
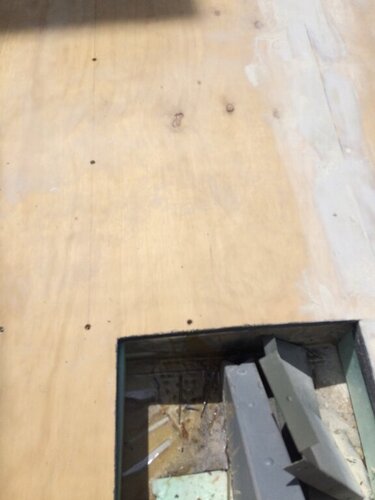
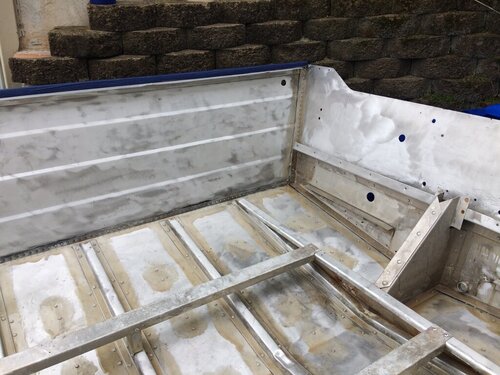
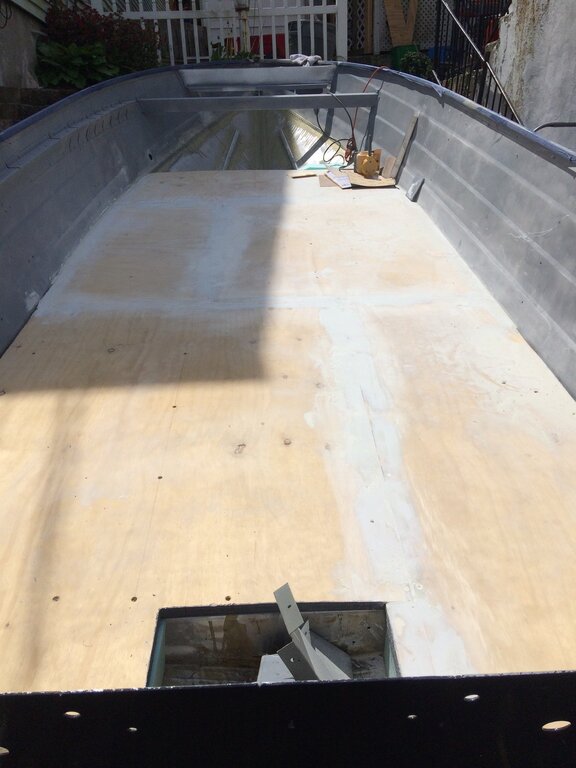
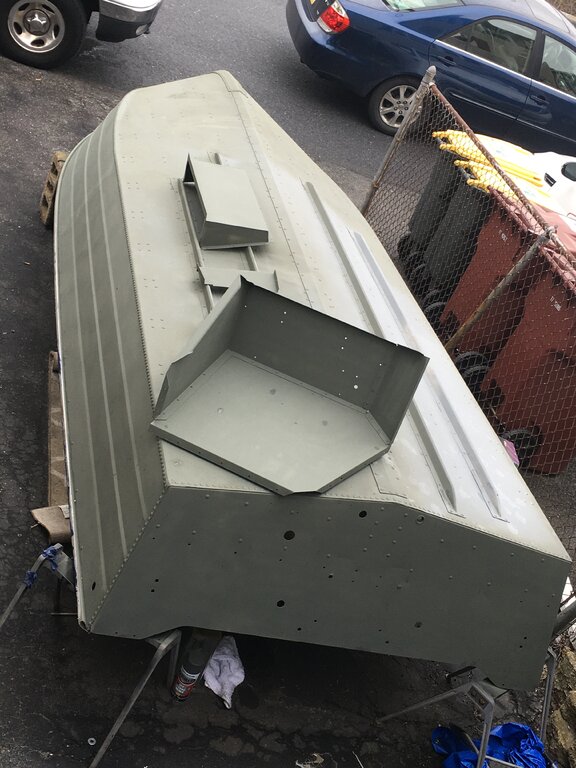
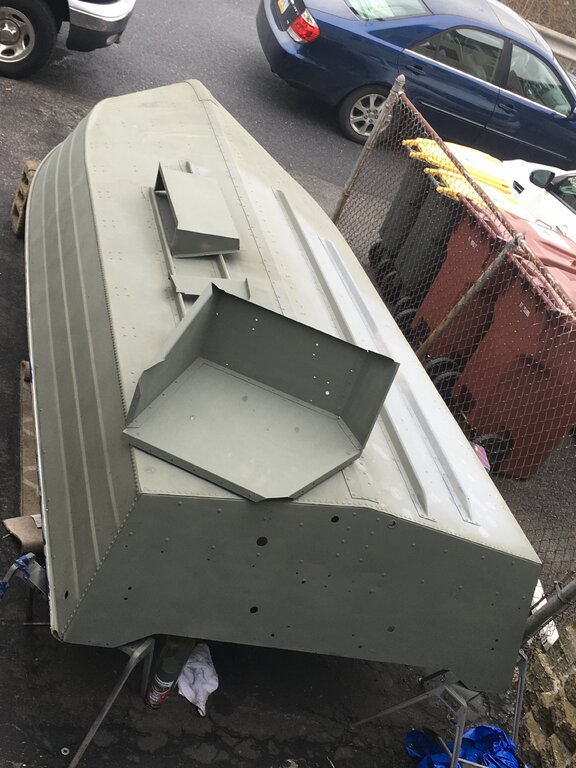
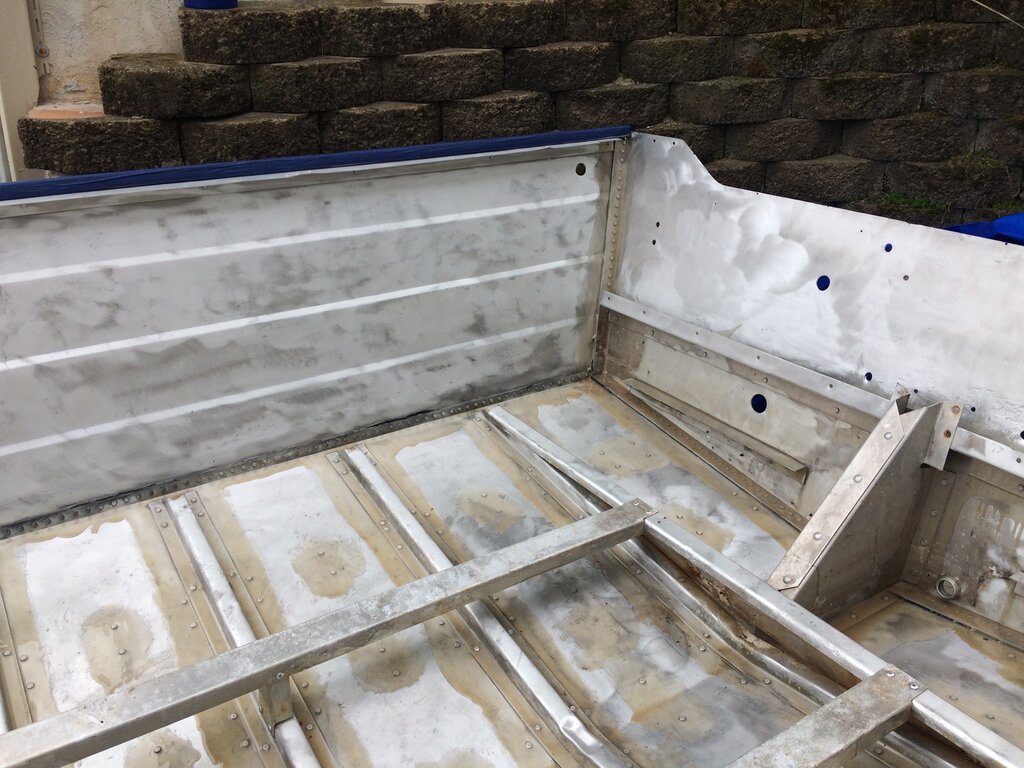
Fitting the floor, watching placement of the seams to create jig saw puzzle fit with the largest pieces of plywood possible. After we fit the floor we used Dark Grey TuffCoat.
Note: Our experience with the Tuff Coat has been a learning experience. I had originally purchased the Light Grey for the Deck but then decided to do the interior of the Boat in Tuff Coat as well. One issue was that I wasn’t really clear on the fact that Tuff Coat makes 3 different kinds of product - Light, Medium, and Heavy (which is for business - Industrial purposes like pools and playgrounds). The UT100 is the gritty stuff.
Well, in shopping on line, all the ridiculous price differences, shipping times - delays, availability, and free shipping options, I got the Dark Grey Floor in Light whereas the Light Grey inside was UT100 Medium.
To quote my buddy, “The UT100 applies like chunky car tire whereas the light stuff applied like skim milk”. We stirred the hell out of it with an electric drill.
I had to buy a third Gallon of Dark Grey Tuff Coat to make sure we have enough for the upper decking. I made sure to get the UT100.
Therefore, if you look at the pics of the Floor, the Tuff Coat lacks the rubberized - anti slip look.
I’m still thinking that we can put on another coat of UT100. The Dark Grey looks like Black. My opinion of the Tuff Coat is still TBD. I was a little disappointed at first considering the cost, but, it’s looking a little better as things are coming together.
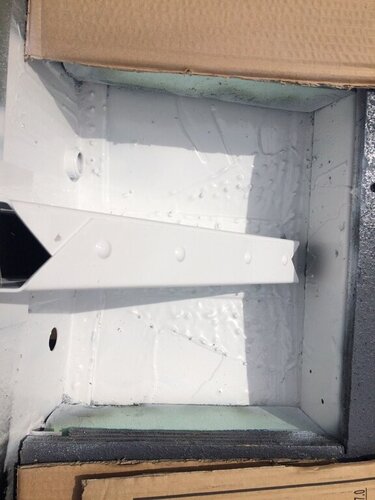
We painted the bildge white so we could more easily see down there, keep that area debris free and clean.
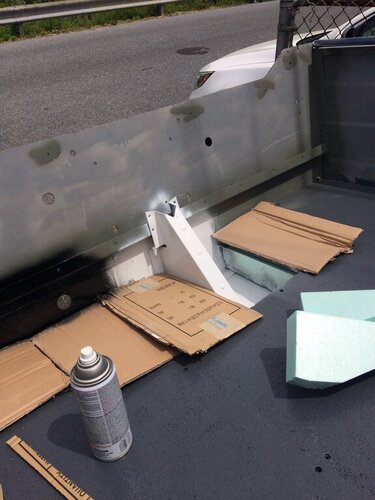
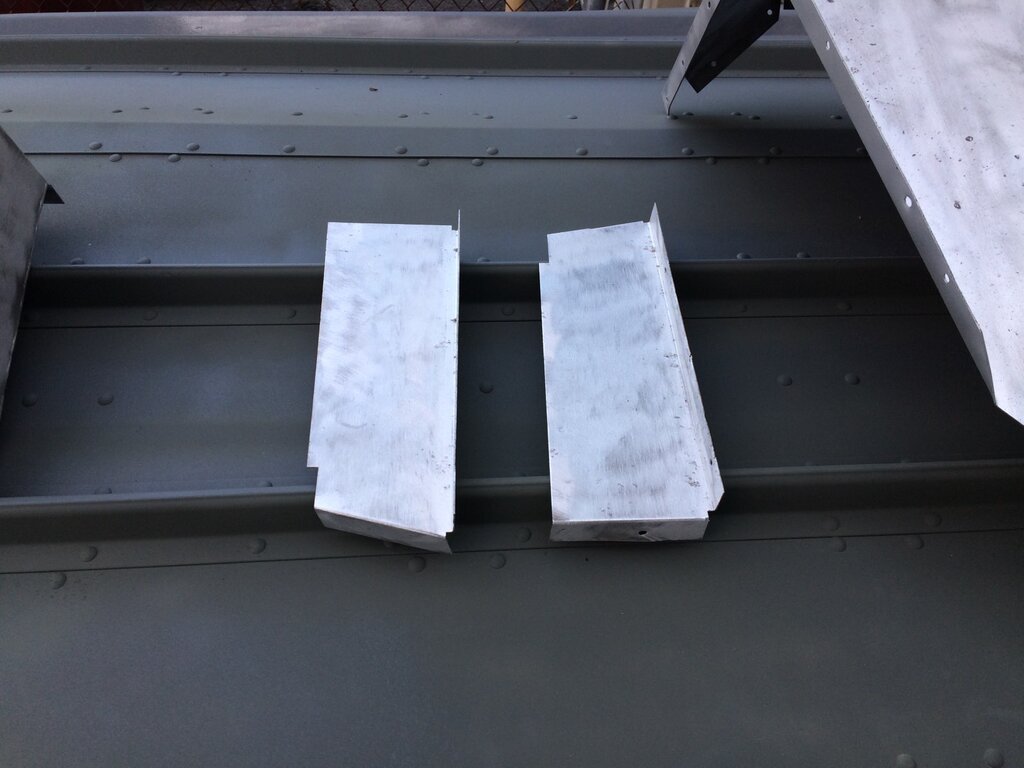
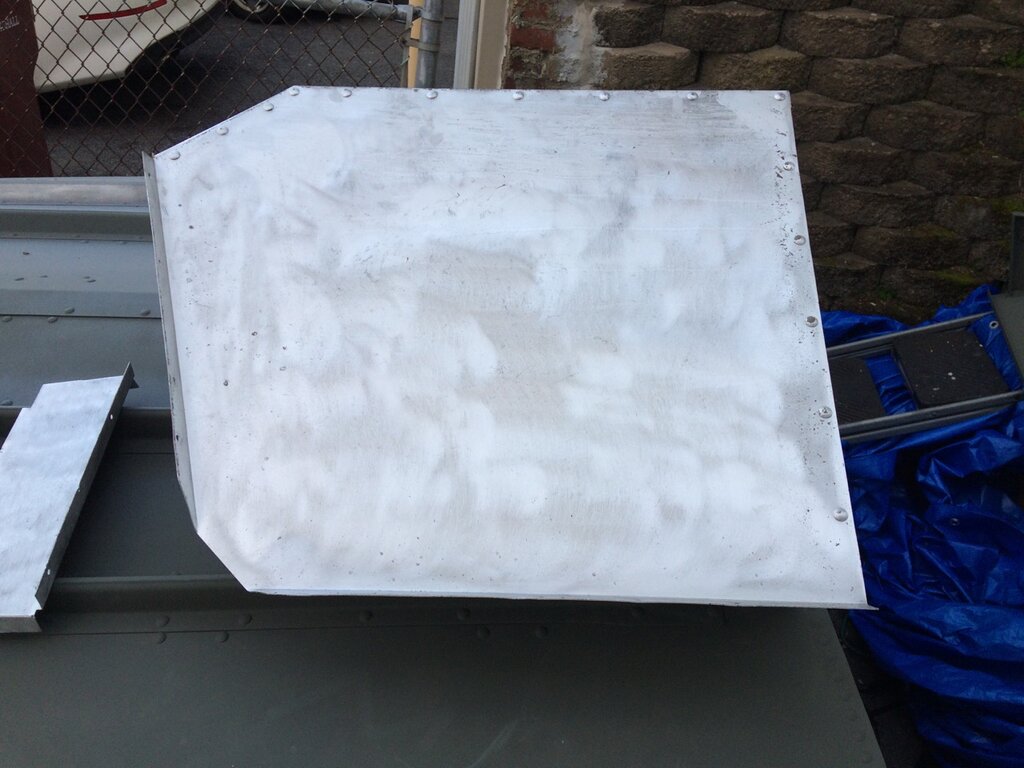
Reattaching the interior - stern sections.


-
-
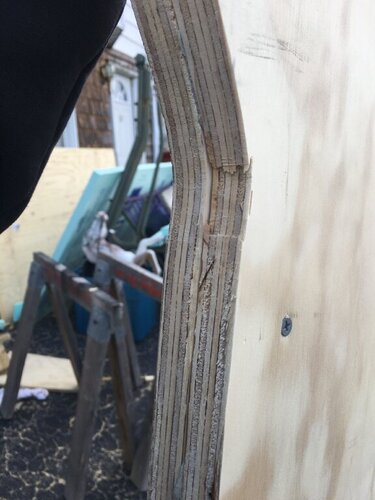
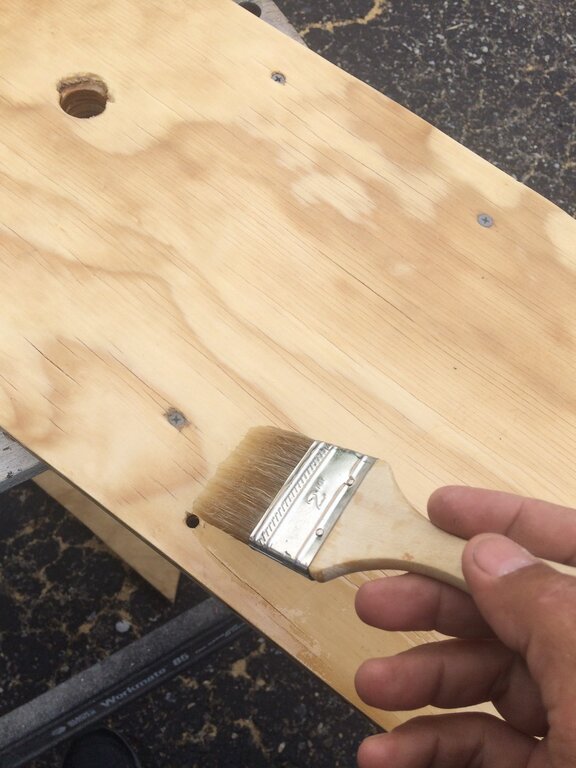
The Transom is 2x3/4”=1.5
3 thick coats of epoxy
-
Update pics of work in progress. A combination of the rainy Spring and the C19 Pandemic has slowed the rebuild.
My fishing buddy has been instrumental in the whole process as this guy has proven himself invaluable with his skills, tools, and the time that he has put into the project.
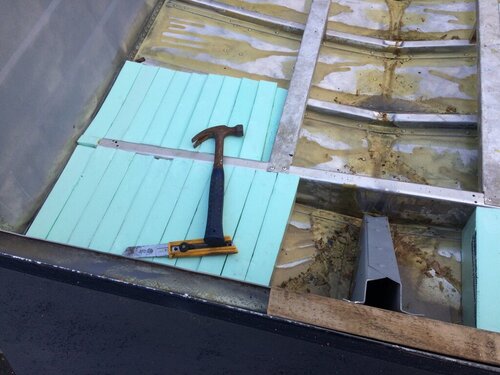
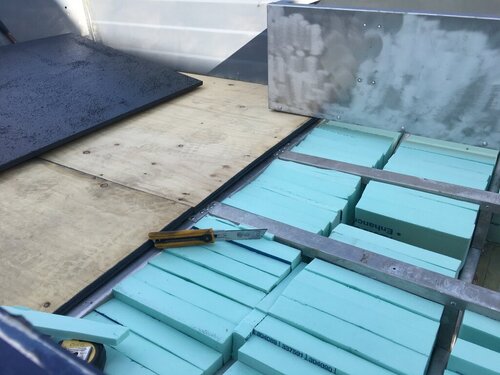
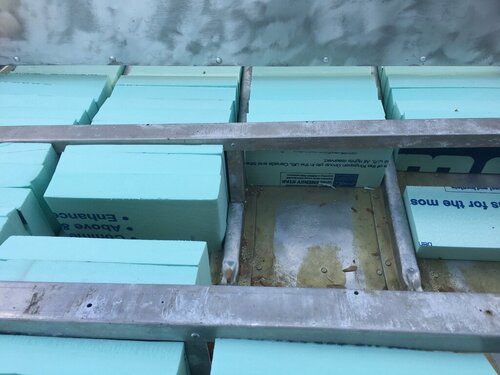
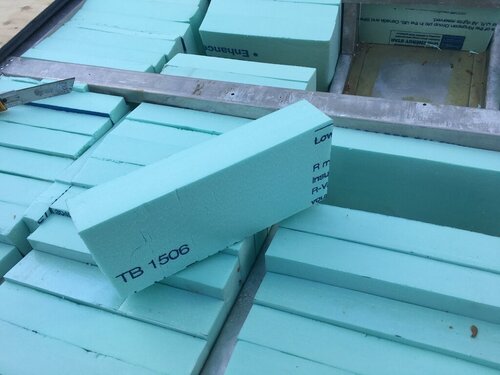
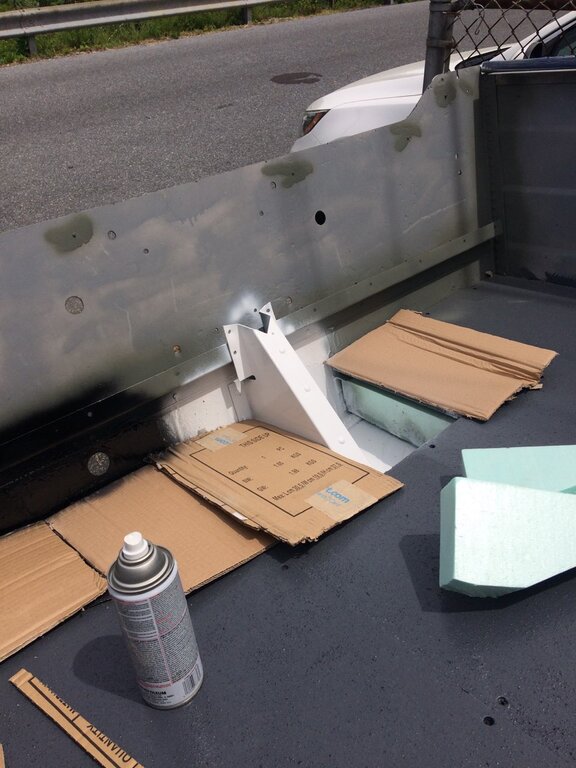
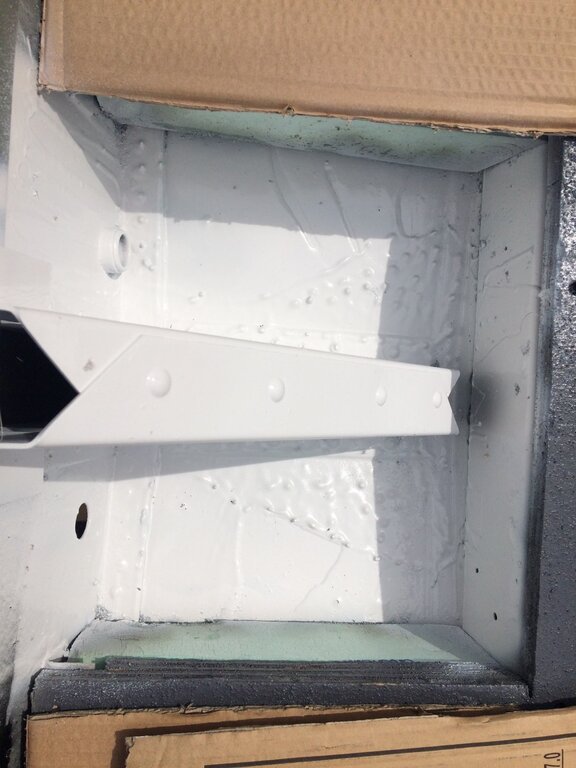
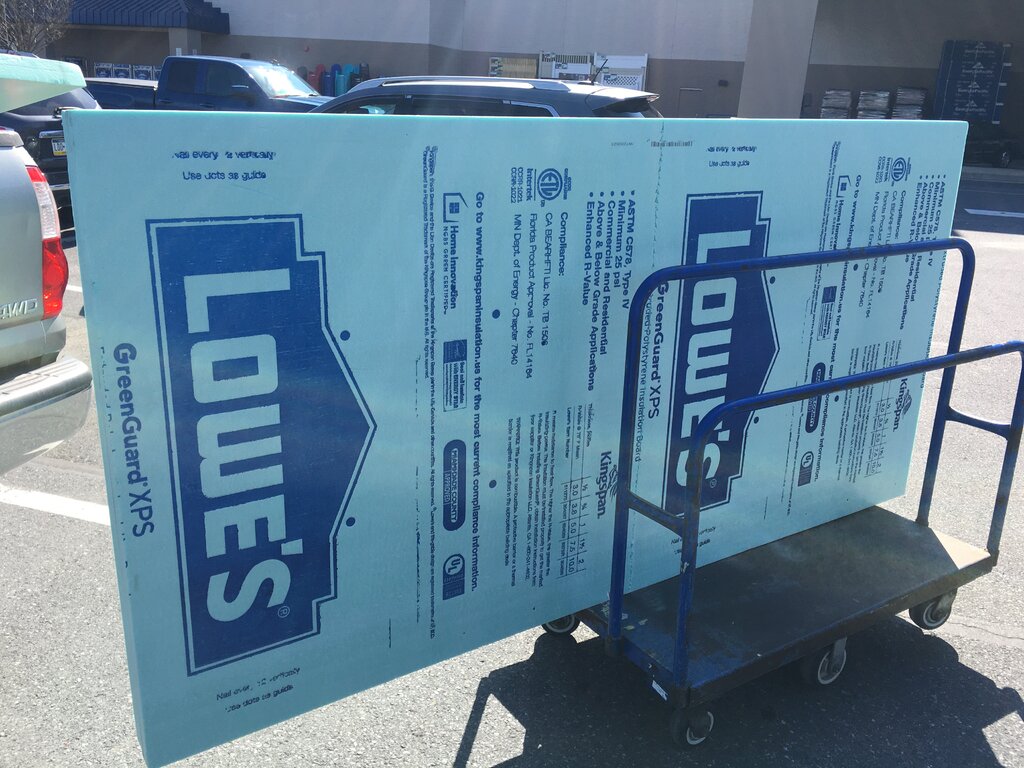
I highly recommend the Kingspan R10 insulation - foam board from Lowes. It’s absolutely choice. I purchased 6 total sheets which is, probably overkill. Sandwiching the slabs vertically is ingenious and the 401 on how to. My Buddy is the foam ninja slice’n and dice’n, No wasted foam, finding a spot for everything.
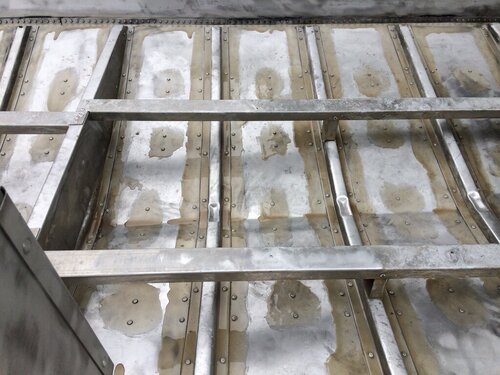
As you can see in the pics, we went heavy with the Gluvit and chose not to sand or paint the inside of the hull below the deck line. It saved us time and I like the way the Gluvit covered the seams, thick, impenetrable.


-
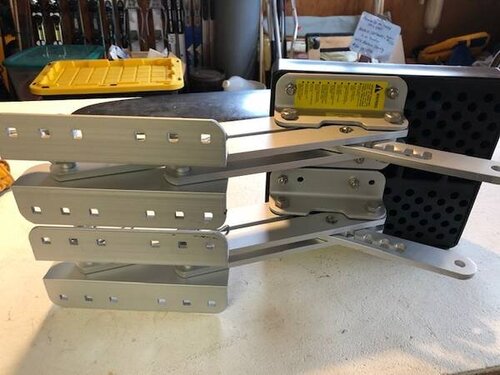
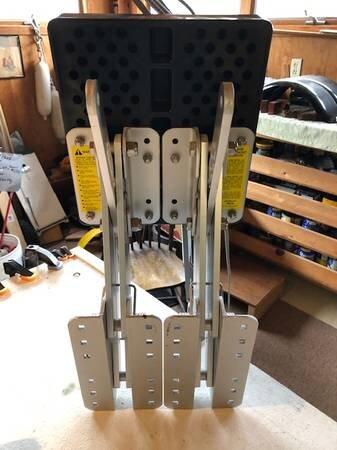
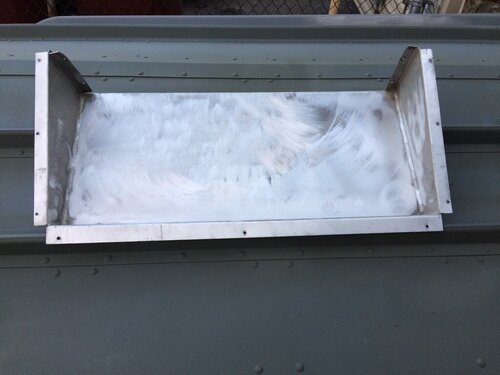
Check out this brand new Garelick kicker motor bracket I purchased off Craigslist for $75. It can hold up to 30HP and 180lbs. It looks like it’s a heavy duty-top of the line unit made for 4 stroke motors.
-
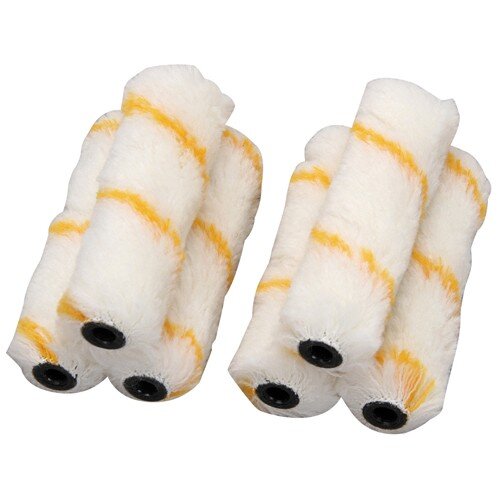
Harbor Freight
6x 4in rollers
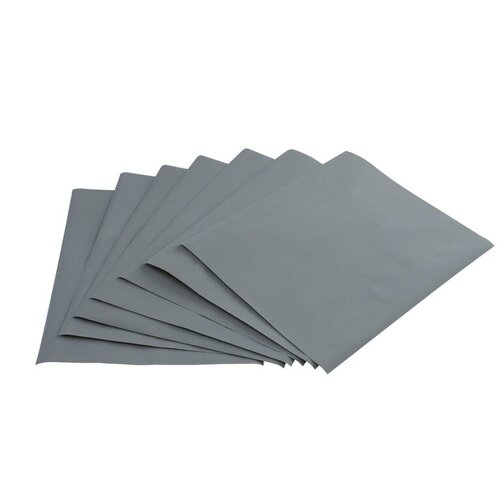
1000 grit
1200 grit

-
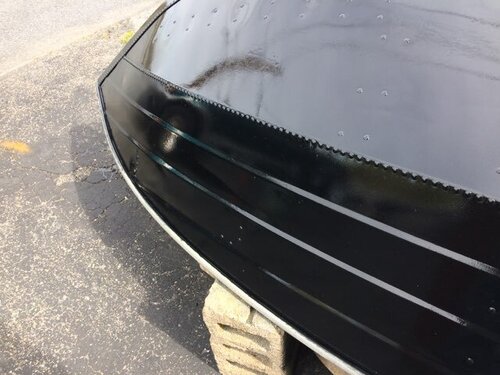
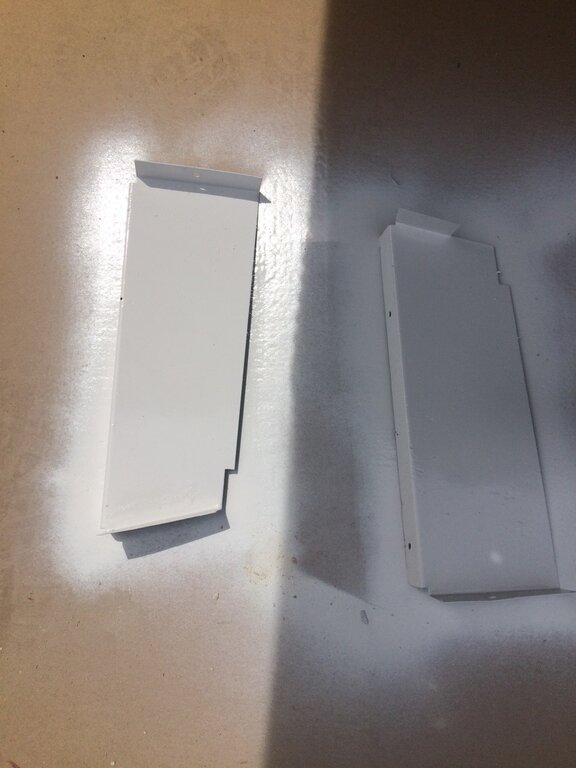
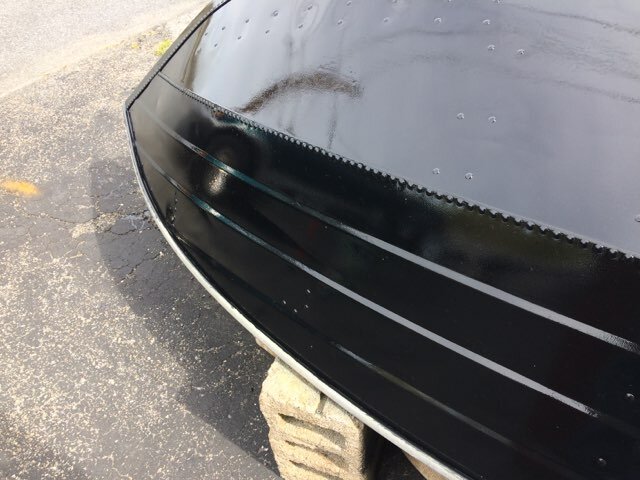
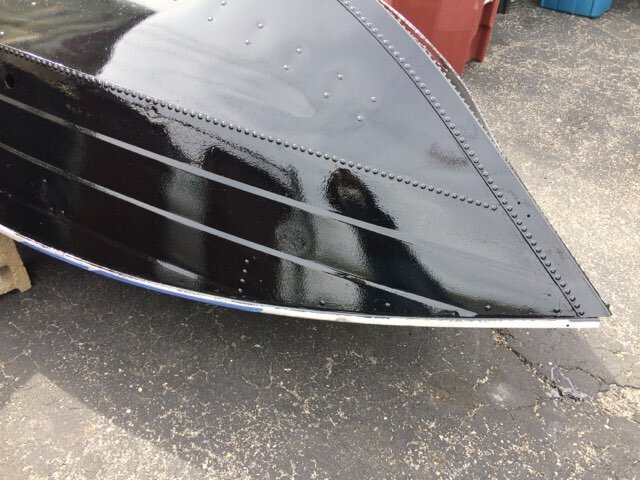
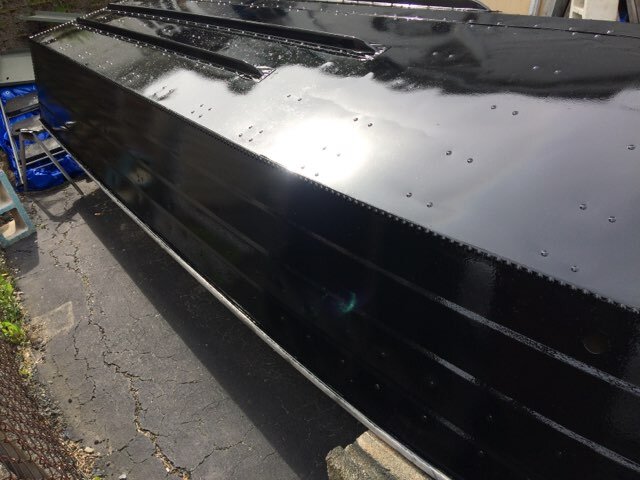
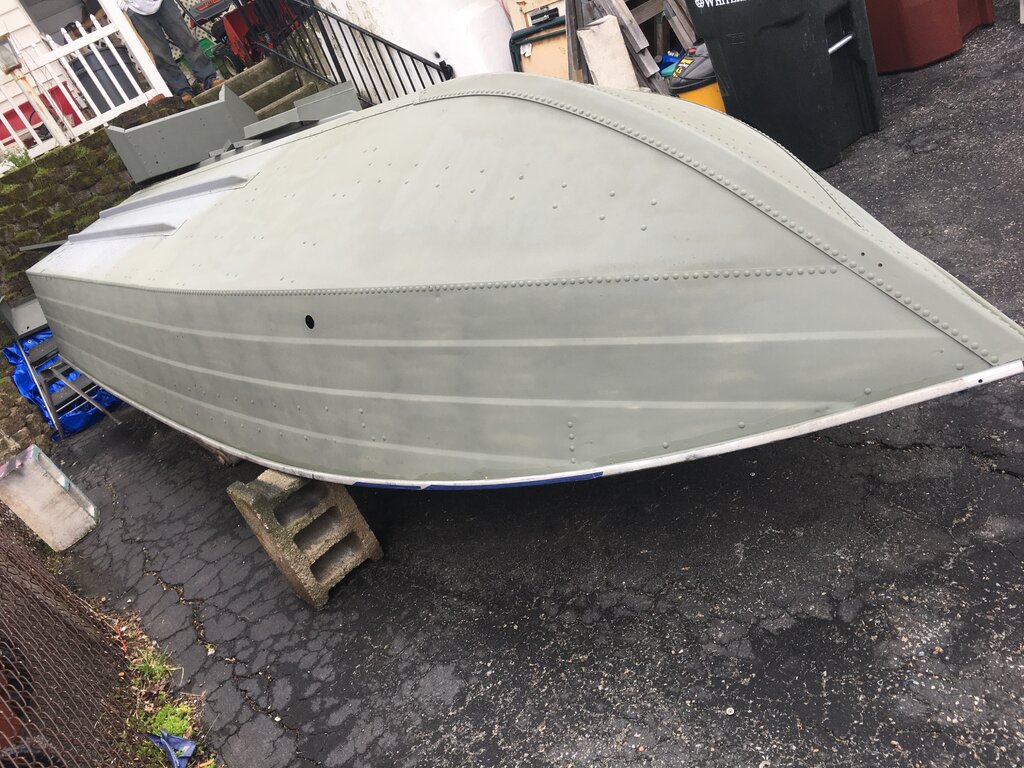
These are pics with the first coat after the primer. We are planning to sand and repaint with about 2 or 3 more coats.
If you look close, there is some “Orange Peel” effect, but it’s minimal after the first coat. I’m really pretty happy with it.
I was originally thinking of having the Boat professionally painted, but a couple guys suggested that it would cost (even after we did all the prep). One garage didn’t even want to be bothered.


-
 1
1
-
-
Update,...
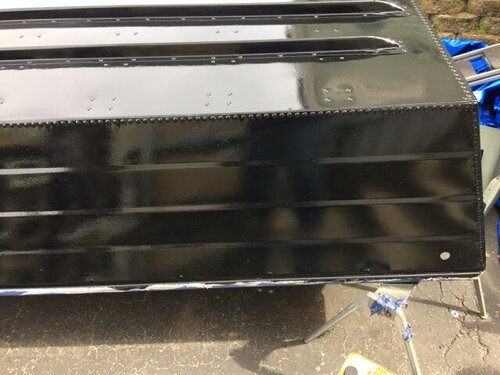
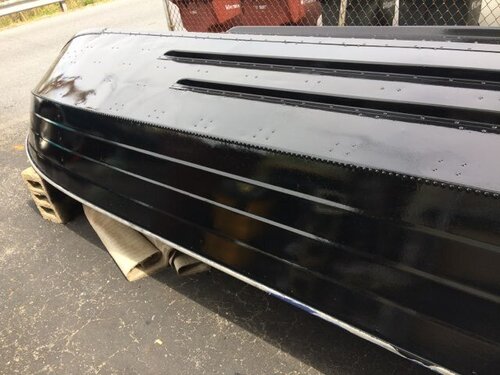
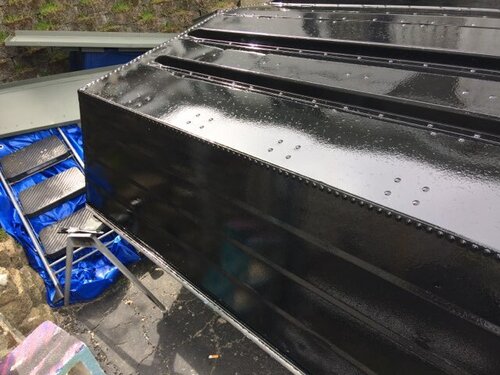
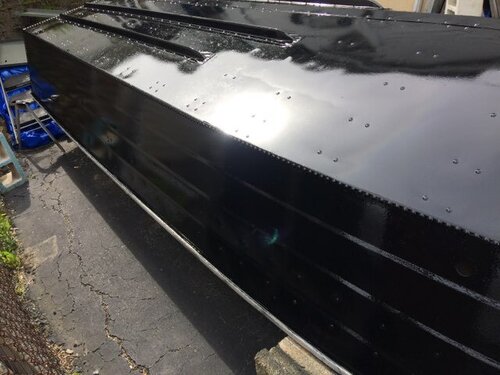
I had wanted to use Top Secret Paint Co from Northern New Jersey, but the Covid-19 virus shut the factory down. I had my order in and was waiting for delivery, total bummer.
I had also wanted to do a Clear coat finish over metal flake. It turns out trying to find a good clear coat is more difficult than expected. My head was spinning looking at all the brands and prices.
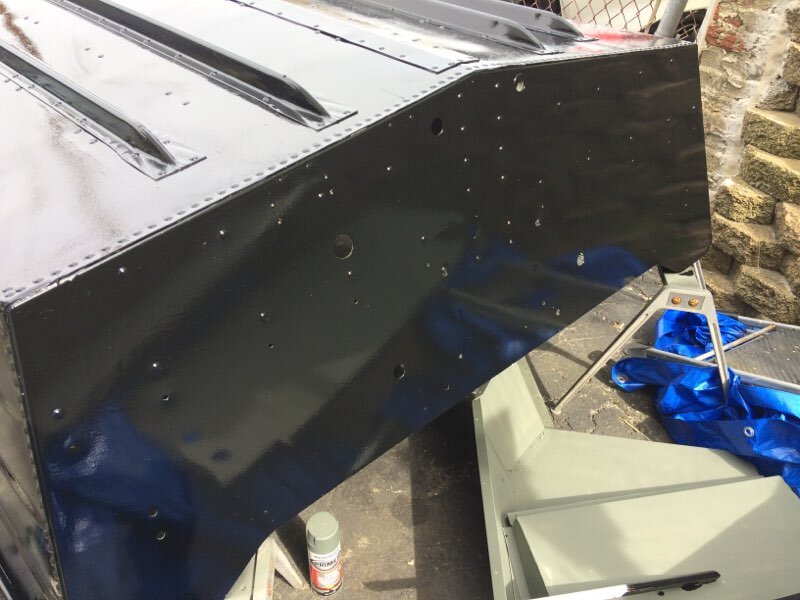
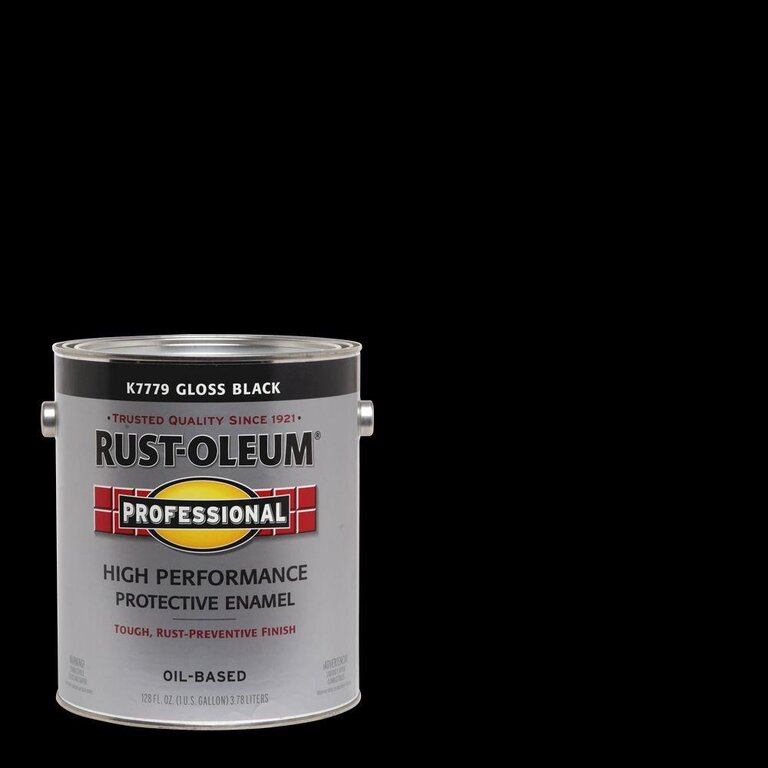
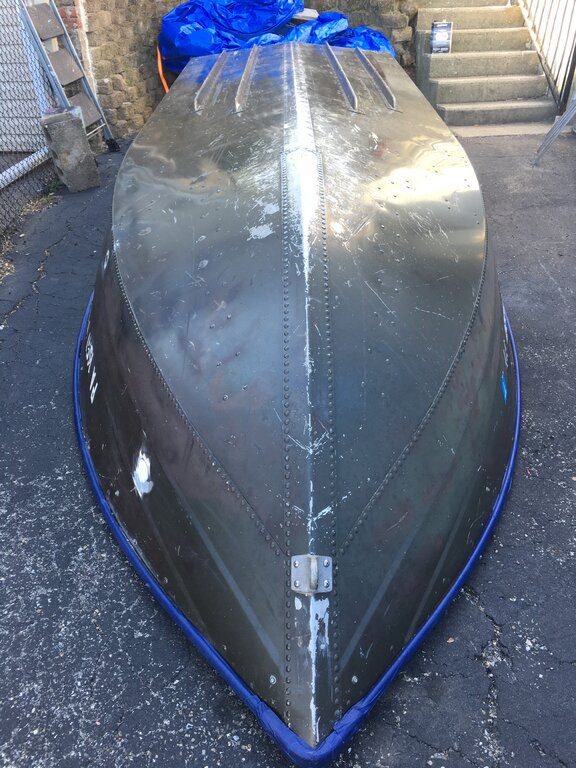
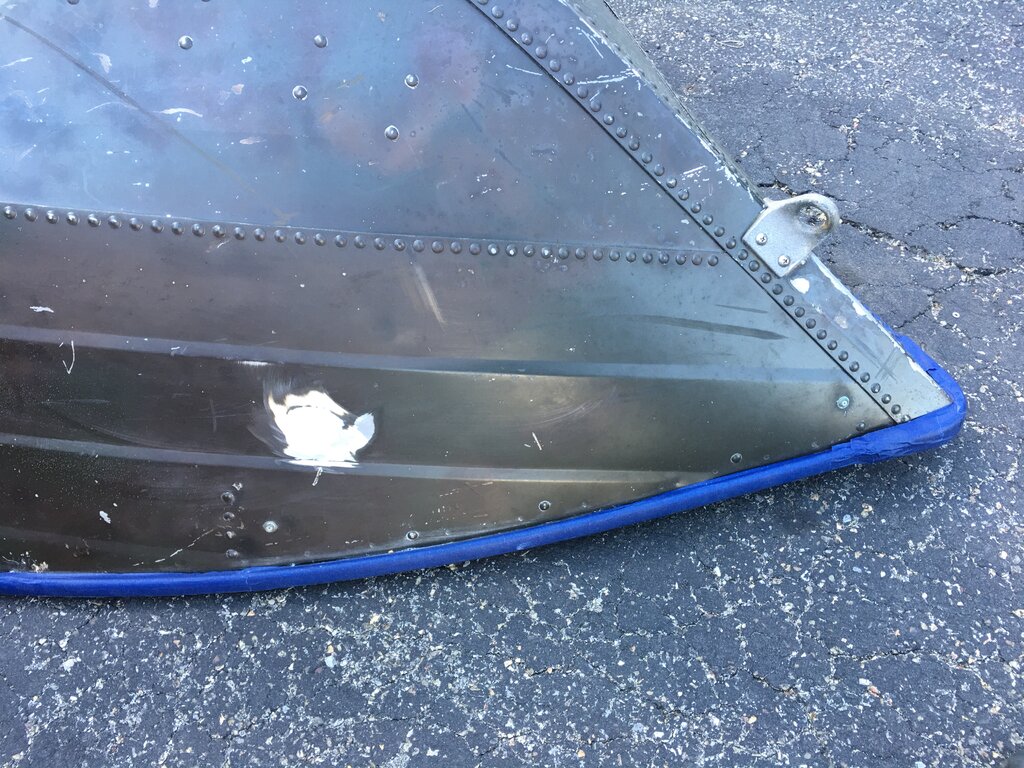
Since I couldn’t find what I was looking for,... I decided to use Rustoleum Gloss Black Professional. In my opinion, the choice of colors is very limited for Bottom paint on an Aluminum boat. Although this paint is not advertised as a Marine paint, Rustoleum quality is legendary in my book, and I am willing to bet on it lasting as long as anything else.
See Pic,...

-
Yes, Beautiful !
My question is,... Does your taxidermy require the Fish itself, or do you do this from just pictures ?
-
-
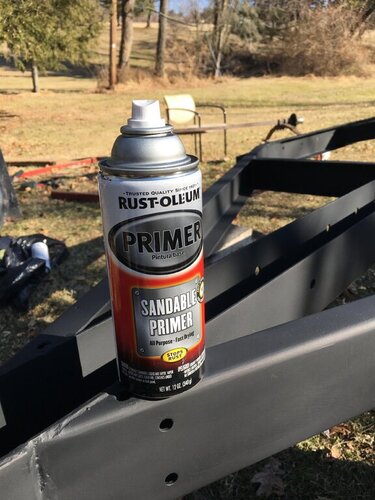
More Pics of the A+++ Primer Job by my Fishing Buddy.
We still need some more Spray cans of Primer for the interior.
I have our 7.5HP Johnson 4 Stroke kicker at the Marina for a tune up.
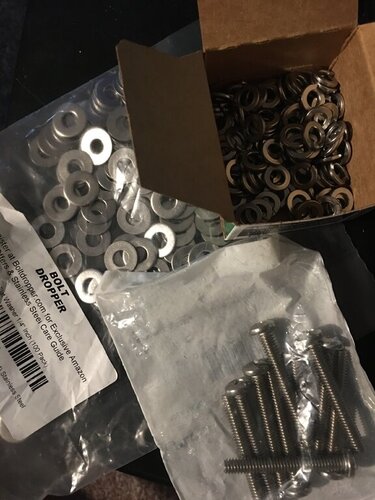
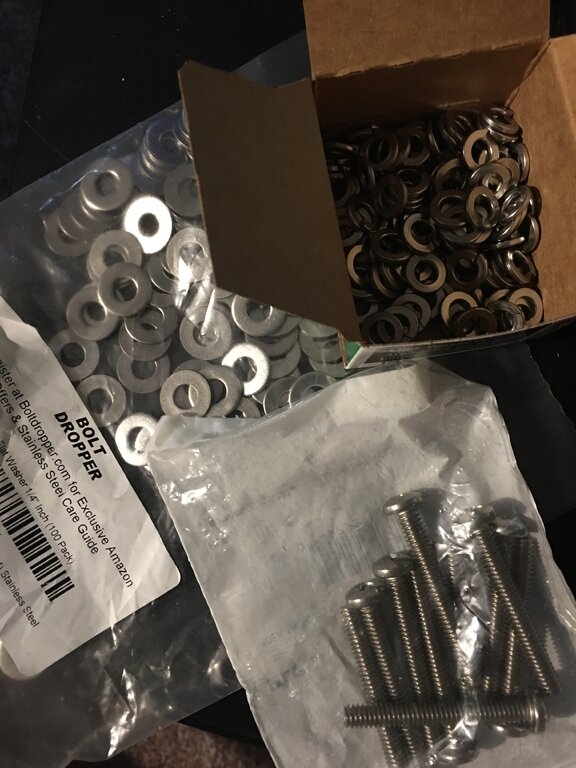
Some of the Stainless Steel Hardware purchased for the Transom and side walls.

-
Update, Covid-19, social distancing, getting parts in the mail, and the need for supplies has caused us some delays.
I think we used about 10-12 cans of Rust-Oleum Self Etching Primer on all the Aluminum exterior of the hull, the console, and some other misc. painted parts.
Just waiting for the Top Secret Paint from North Brunswick NJ. I was told there was a plant shut down due to the Corona virus. I hope everyone takes care and stays safe, it’s a very difficult time.
Pics attached:


-
-
I have a top notch pro helping with the rebuild, thanks to his help !
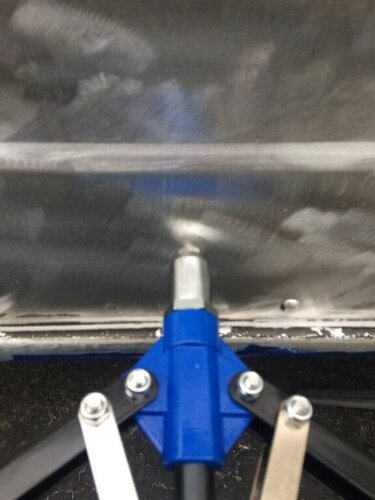
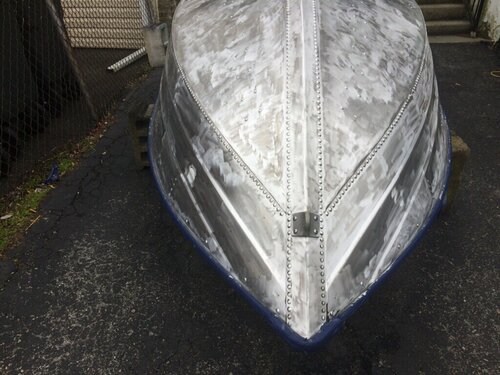
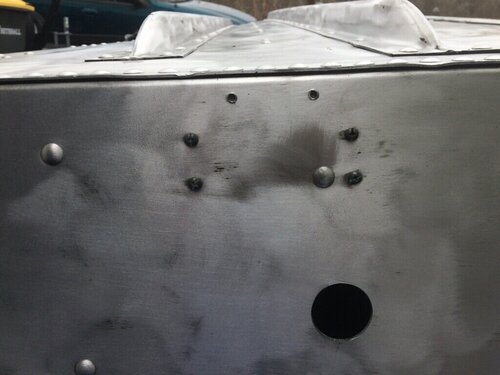
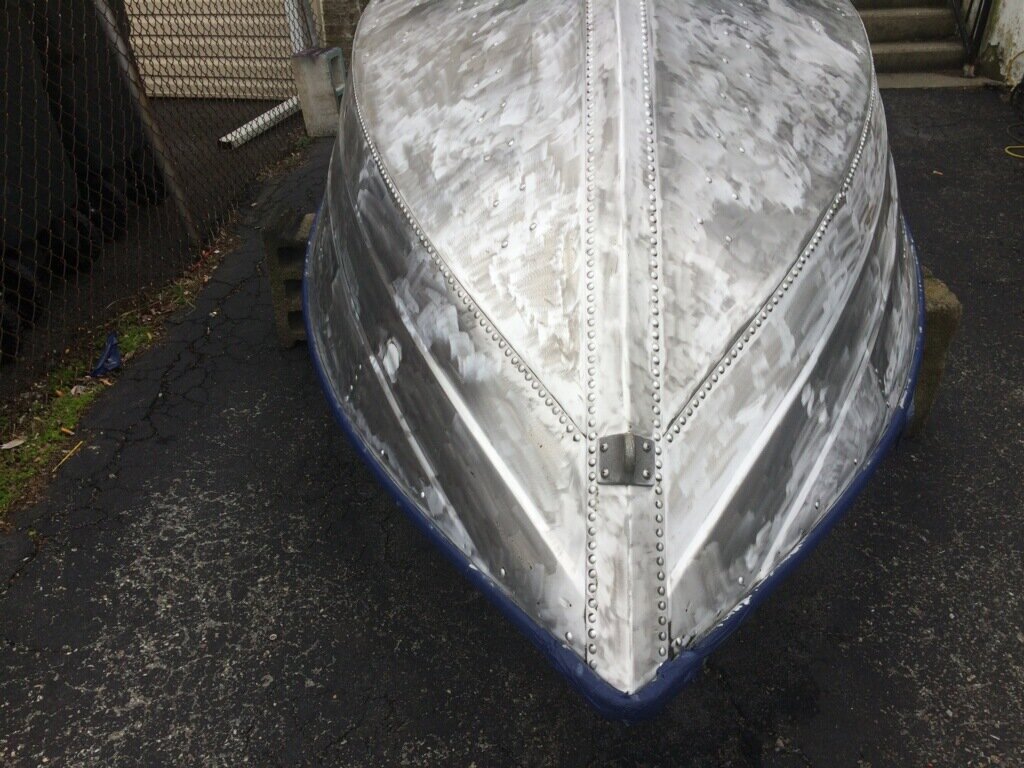
Patching holes with the Rivet tool. POW, POW POW 💥 💥 💥!
This boat had a row of snap rivets for the original cover. We decided to remove and replace them.

-
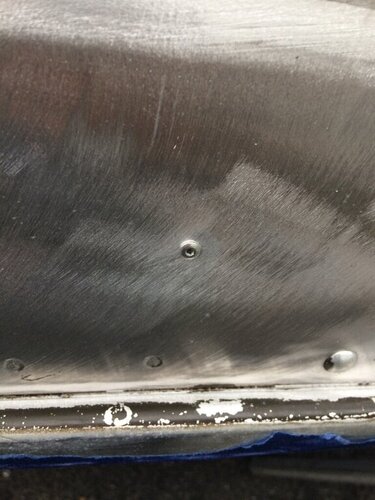
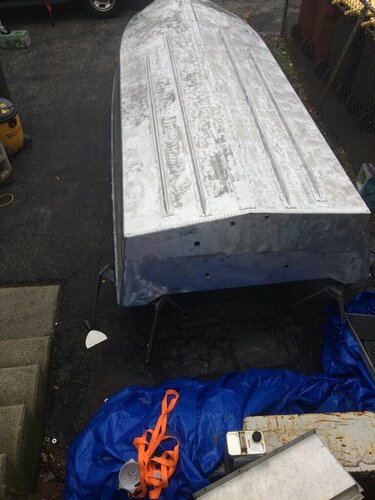
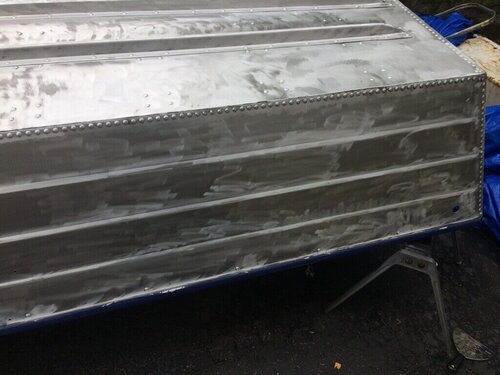
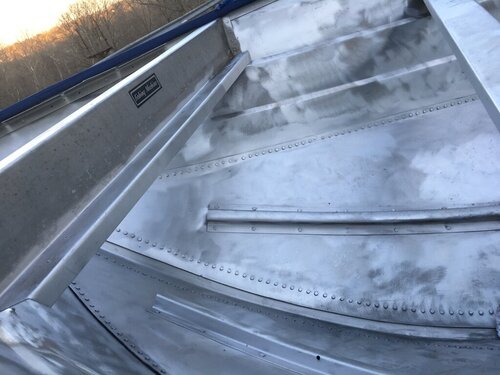
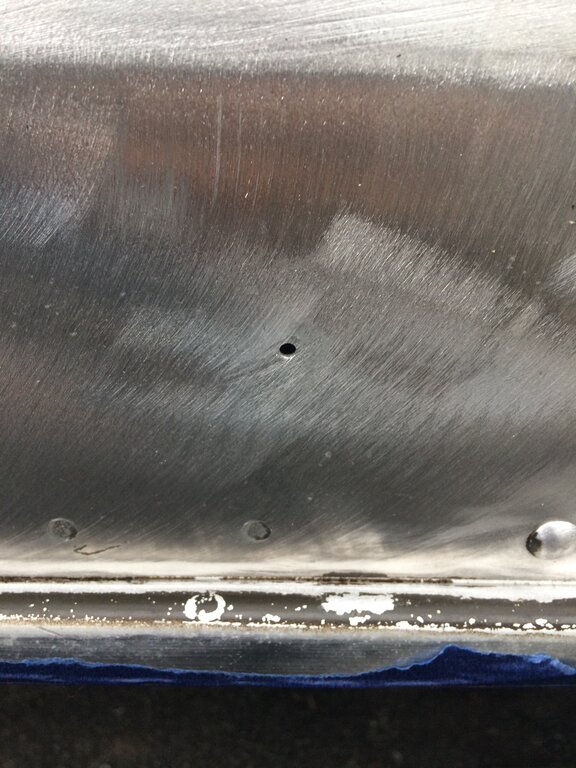
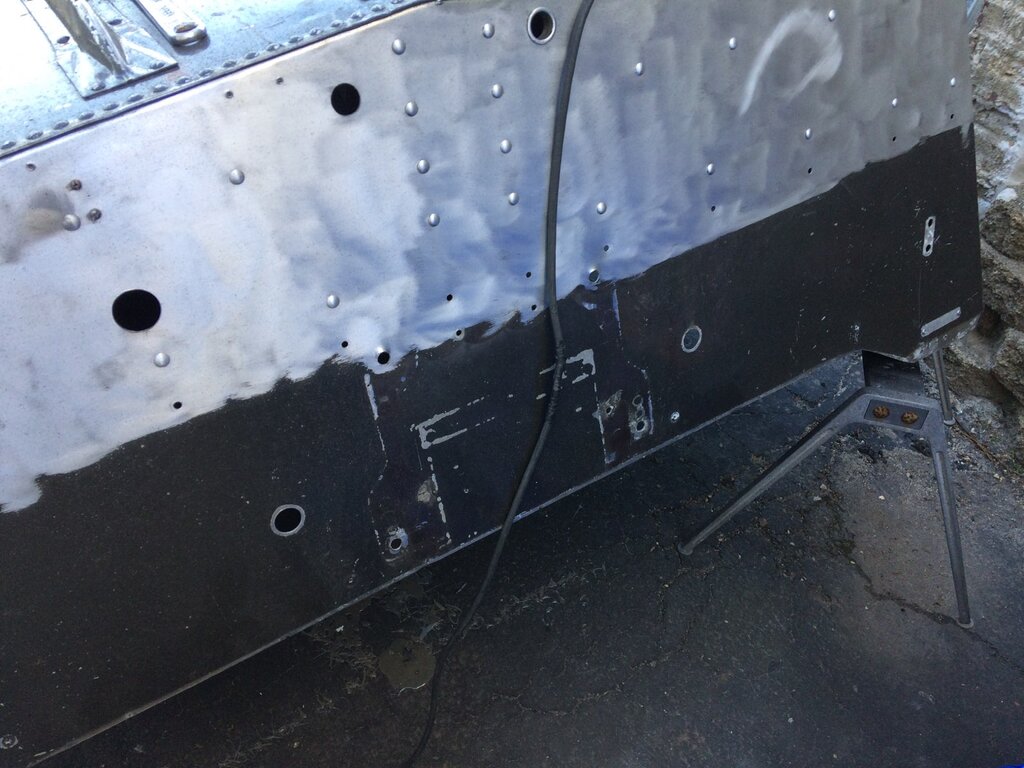
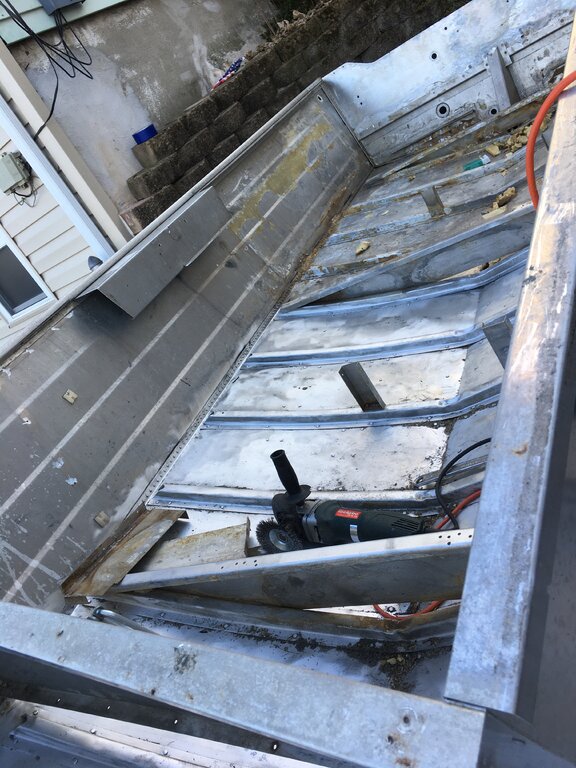
Wire wheel sanding the outside of the Boat.
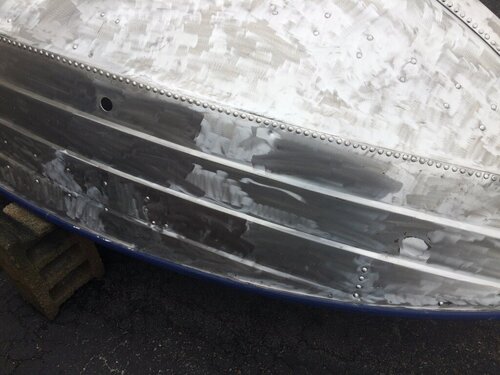
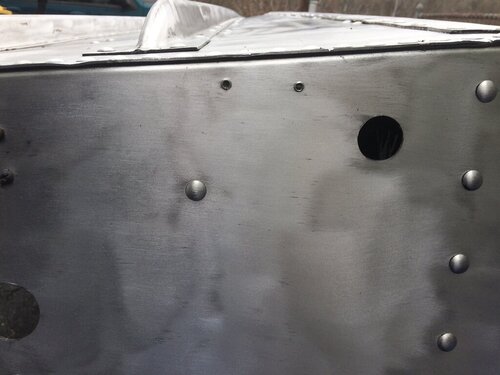
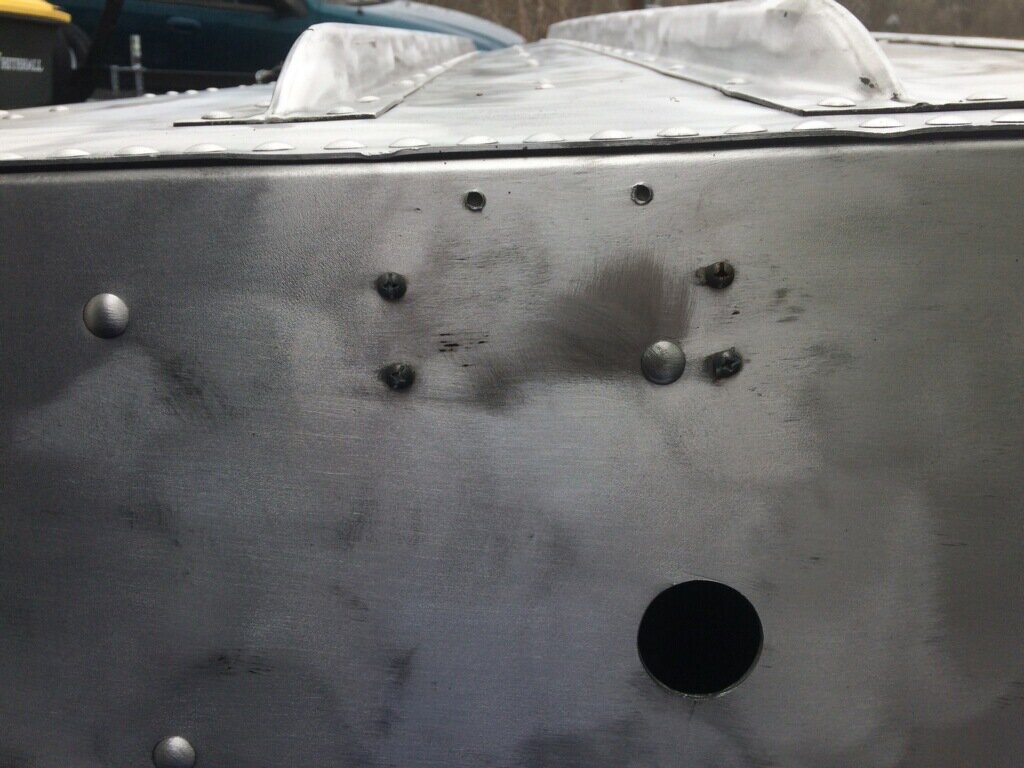
In the last pic, it looks like the previous owner had drilled holes for a Transducer.
Work in progress patching these holes with new rivets.
-
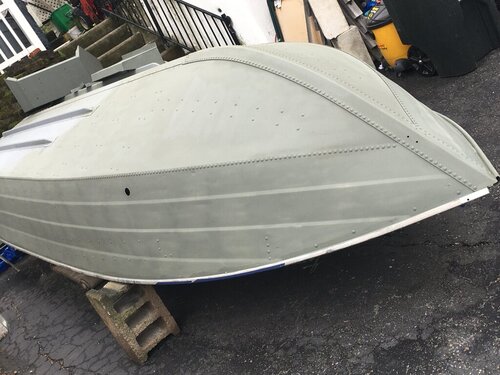
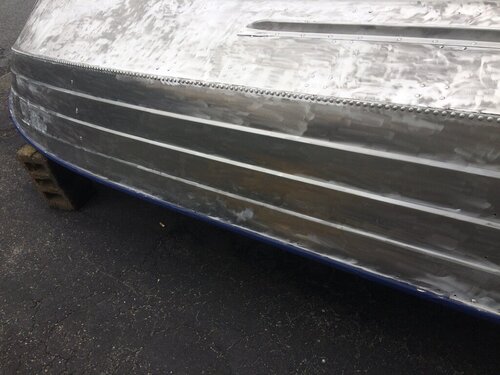
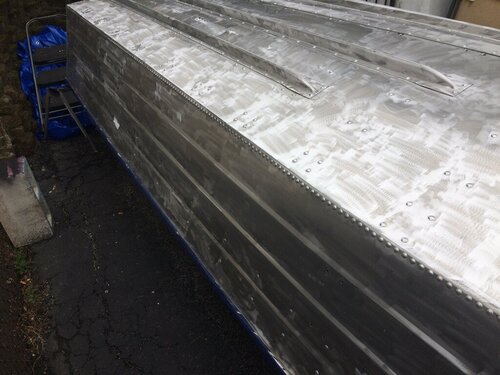
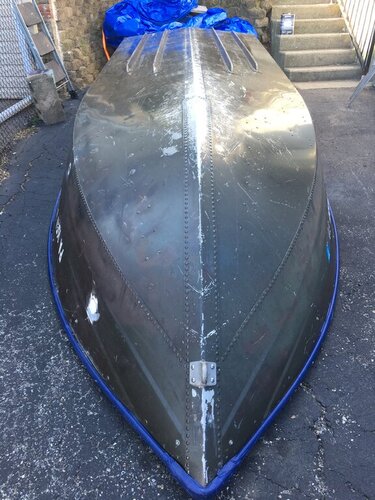
We decided to sand and paint the exterior of the Boat before we do the interior. The bottom of the boat looks good, no major dents, loose rivets, or leaks.
-
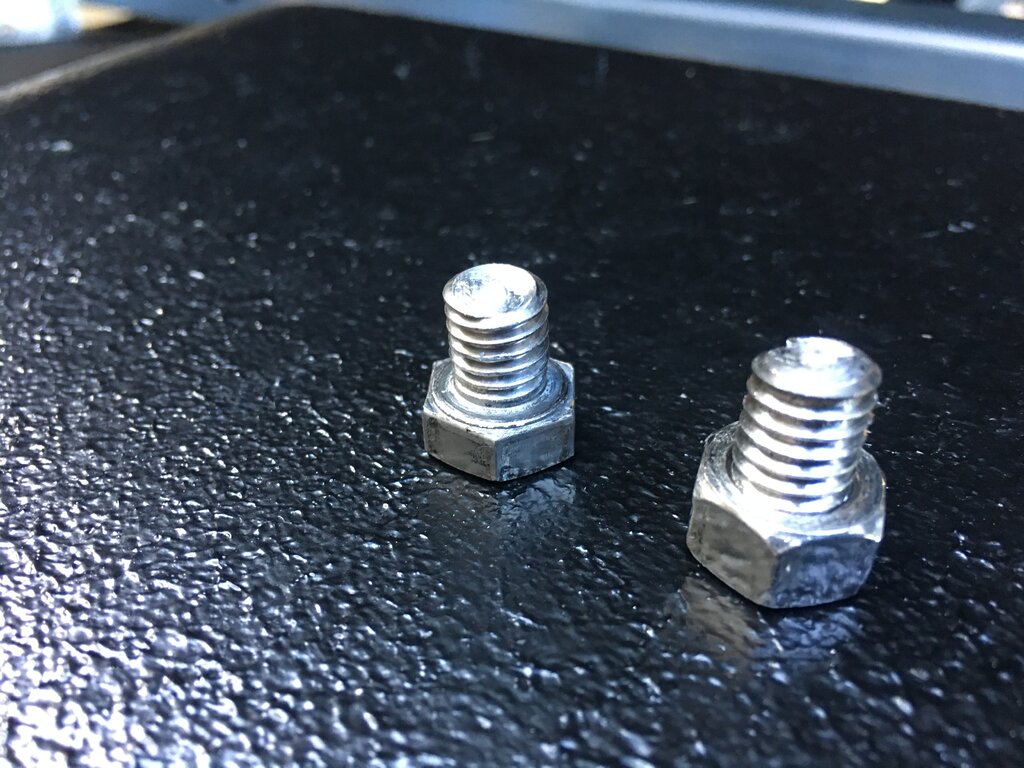
We bought all the Trailer hardware at Home Depot and Lowes. I bought the best quality we could get, Grade 5. We replaced all the old Stainless Steel stuff. I wish I had known McMaster Carr online. But then again, the big reason why we are running back in forth is because I can’t count, hardware failure from the junk that came with the item, or we didn’t take into consideration the next stop in the project. In my opinion, there is always a reason to go to the Hardware shop, lol. Can it be said, a bad day at Home Depot is better than a good day at work, lol ? Or maybe that’s just another fishing quote.
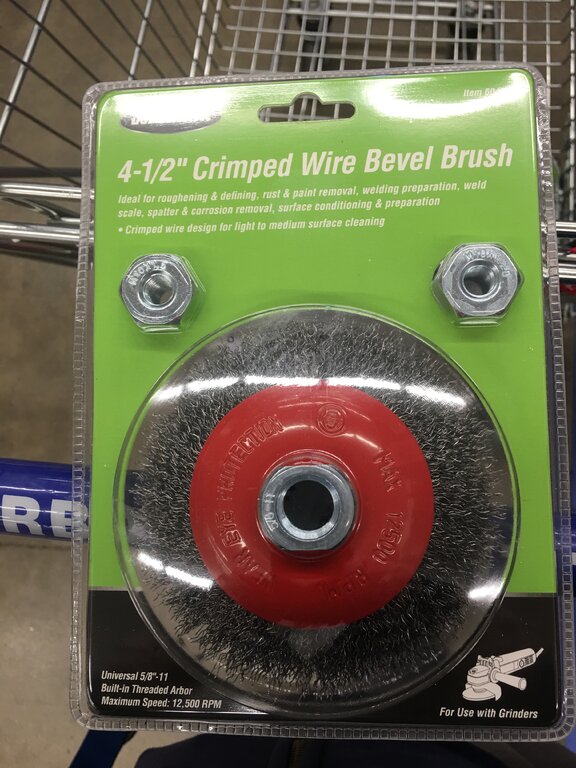
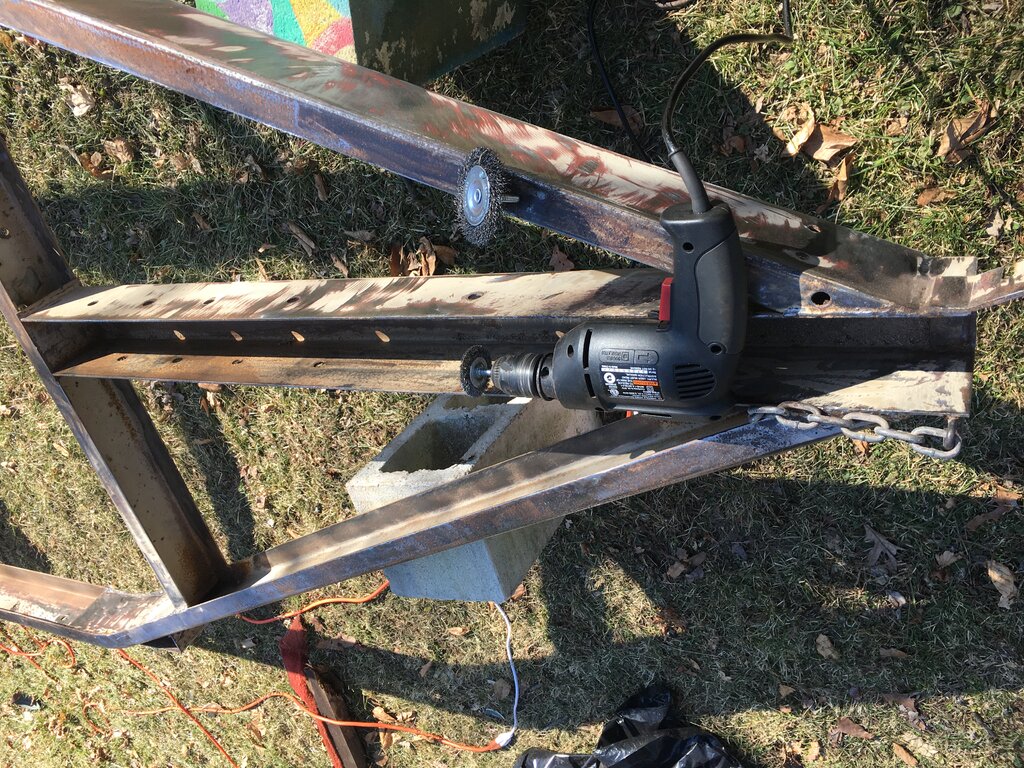
I think we have purchased about 10 of those 4.5” wire wheels at Harbor Freight for sanding the Trailer and the Boat so far.
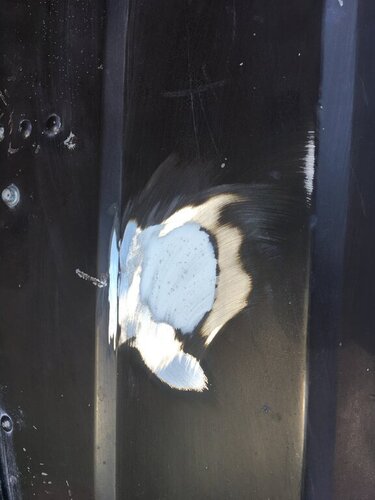
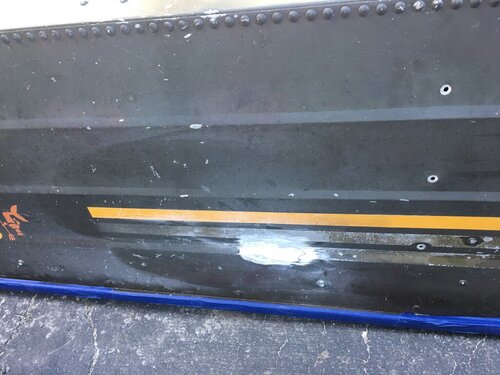
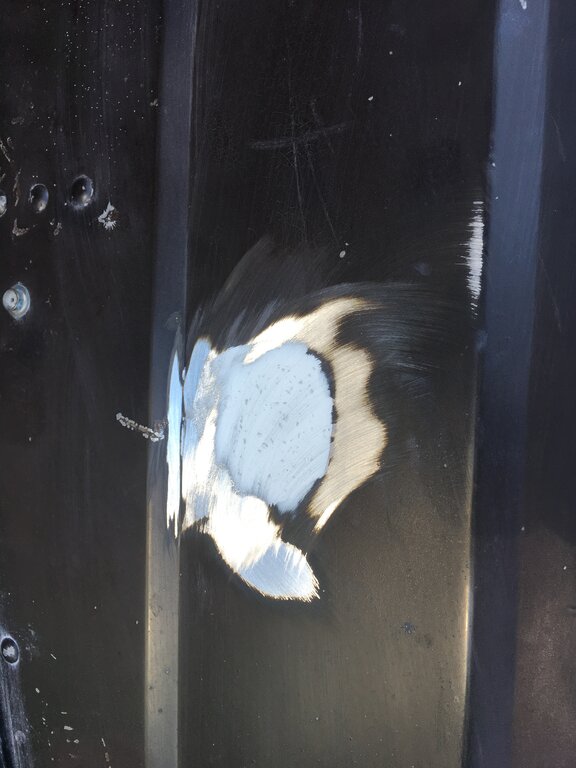
The Boat had 2 little spots where we had punched the dock (above the waterline). We used J-B Weld, $8.99, to patch.
To be continued,...


-
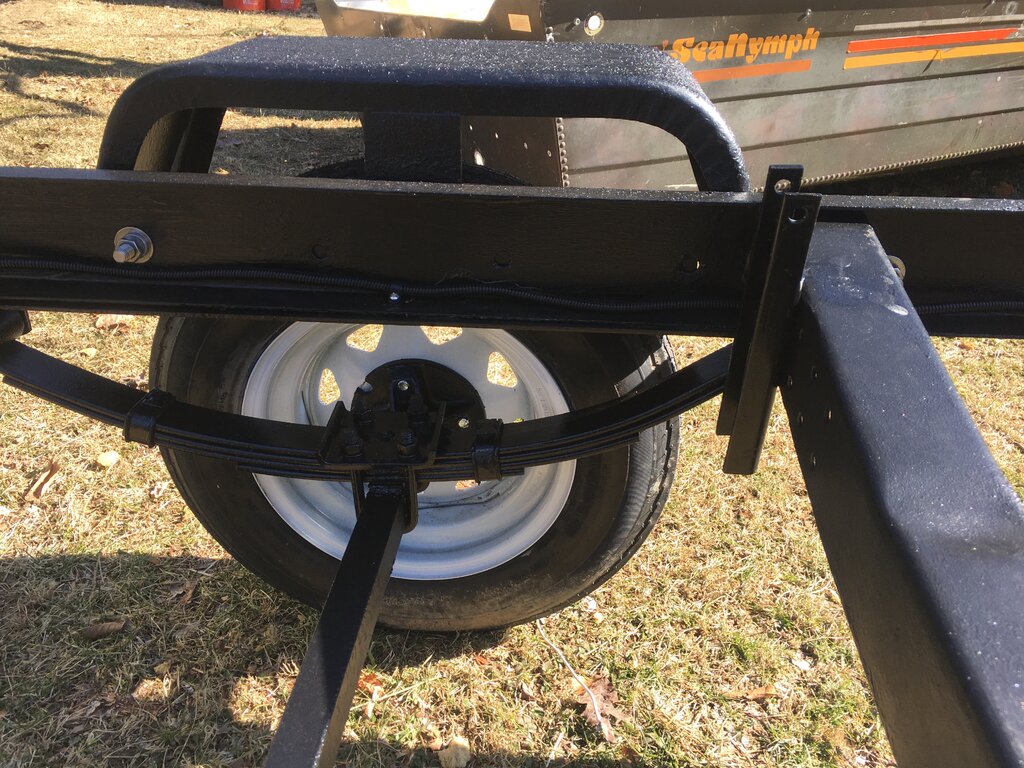
More Pics of Work in Progress,...
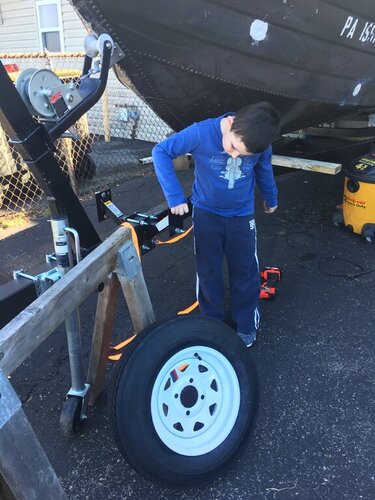
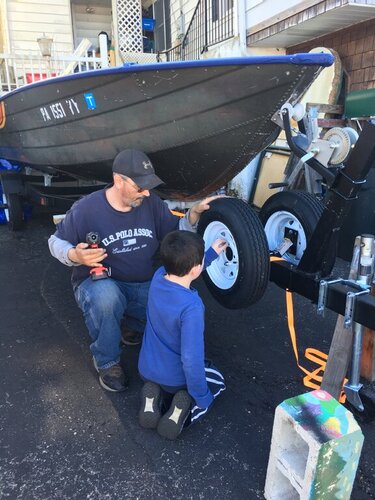
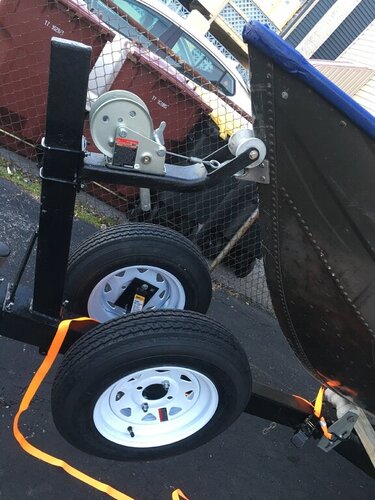
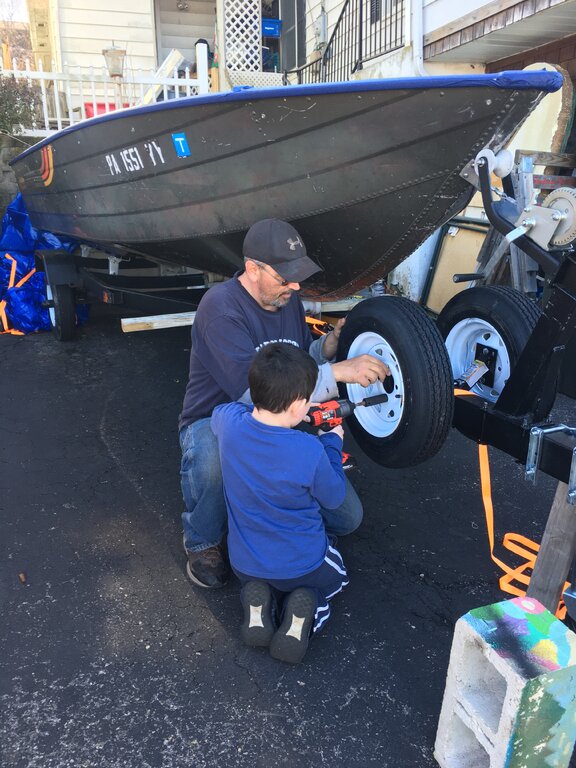
My friend’s son is interested in the boat, so we got him involved mounting the spare tires. He likes to be helpful and really seemed to enjoy participating.
We wanted 2 spare tires so we can be fearless, go the distance, and visit Seneca, Cayuga, Ontario and the Hudson.
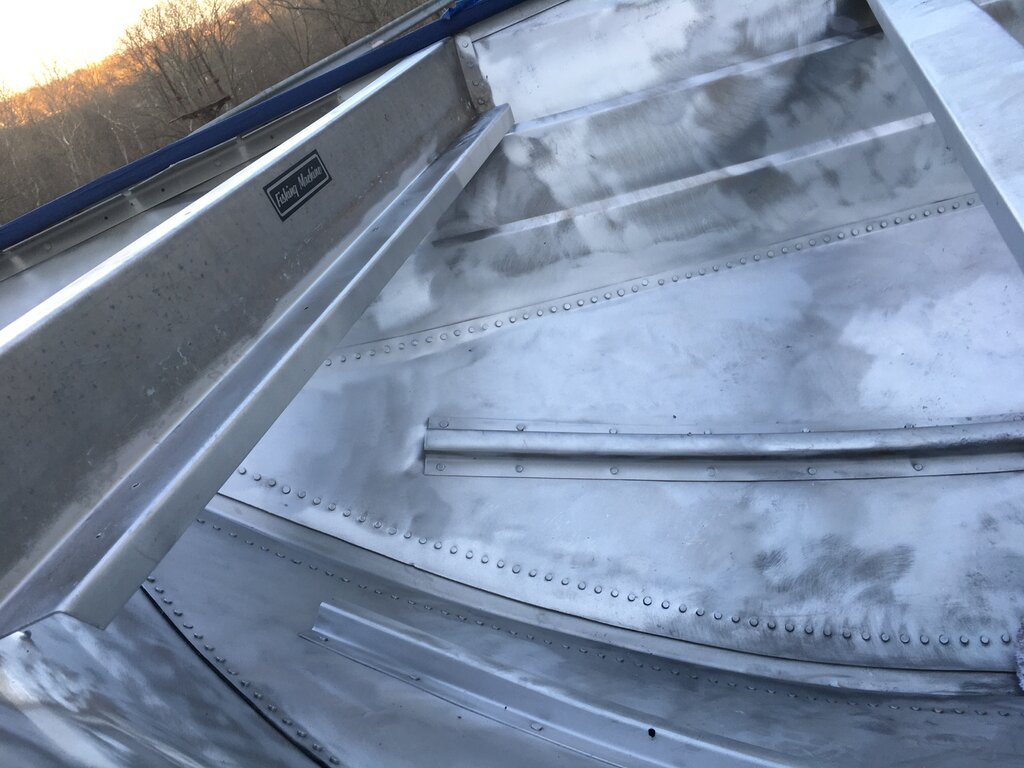
Completely Sanded, Shop Vac’ed, and Power washed. Professional A++ job. So clean, we could brew an IPA in there - Largemouth Lager.Gluvit, 1 Gallon size, applied thick like warm Maple syrup in mid March!
We are ready to primer the inside. I checked around for someone to Paint the exterior. I received an estimate of $800-$1,000. Another garage had no interest in the job and couldn’t recommend anyone else in the local area who would be interested. At this point, I think we’re going to give it a go ourselves.
To be Continued,...


-
1
-
-
-
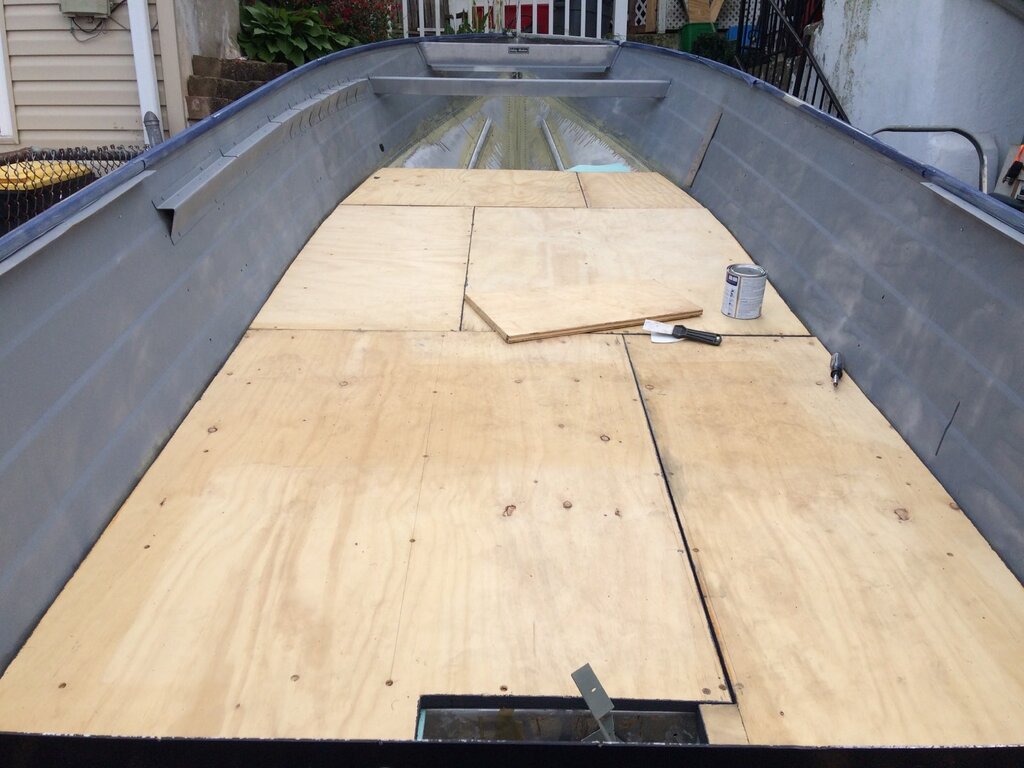
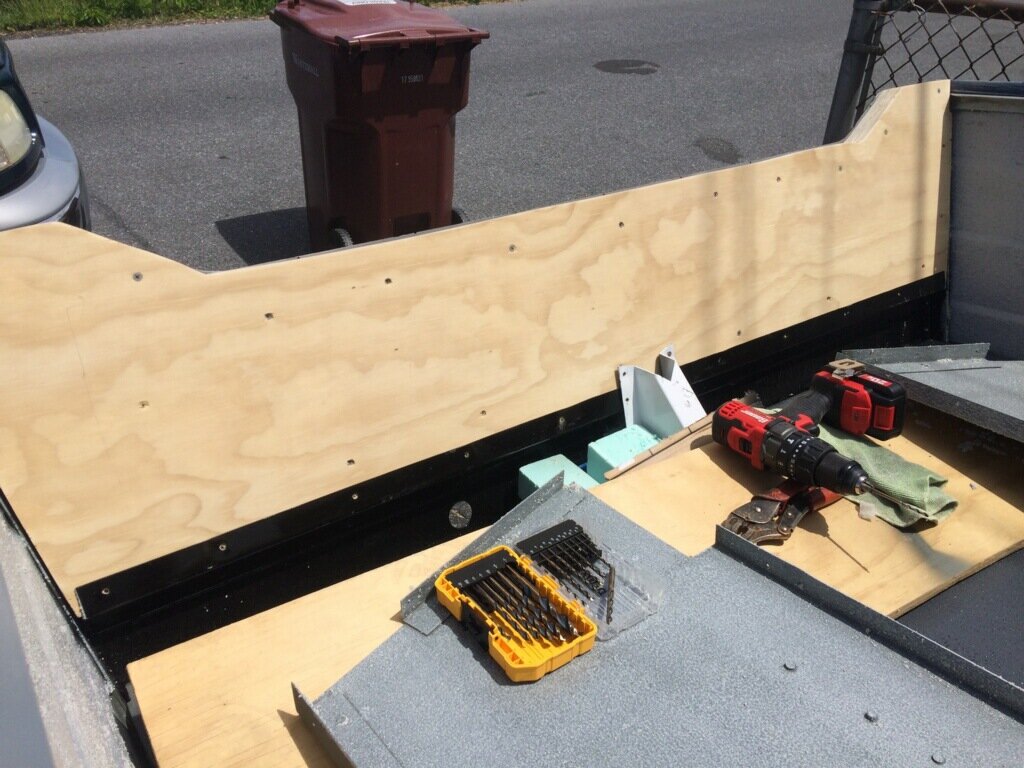
More Pics,...
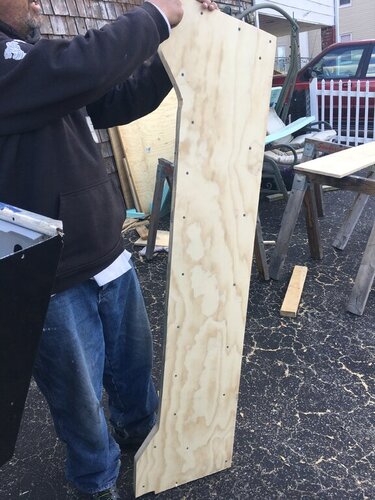
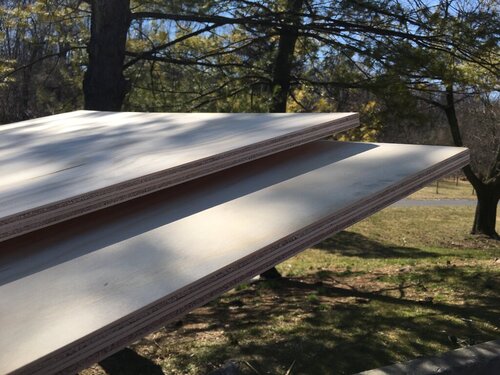
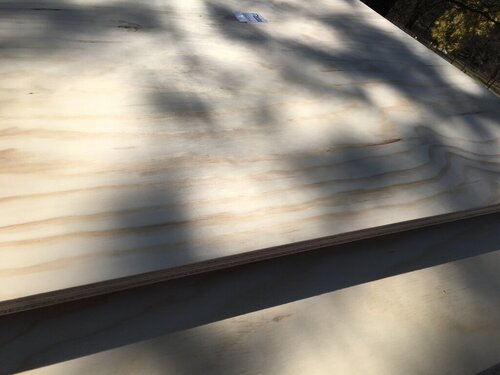
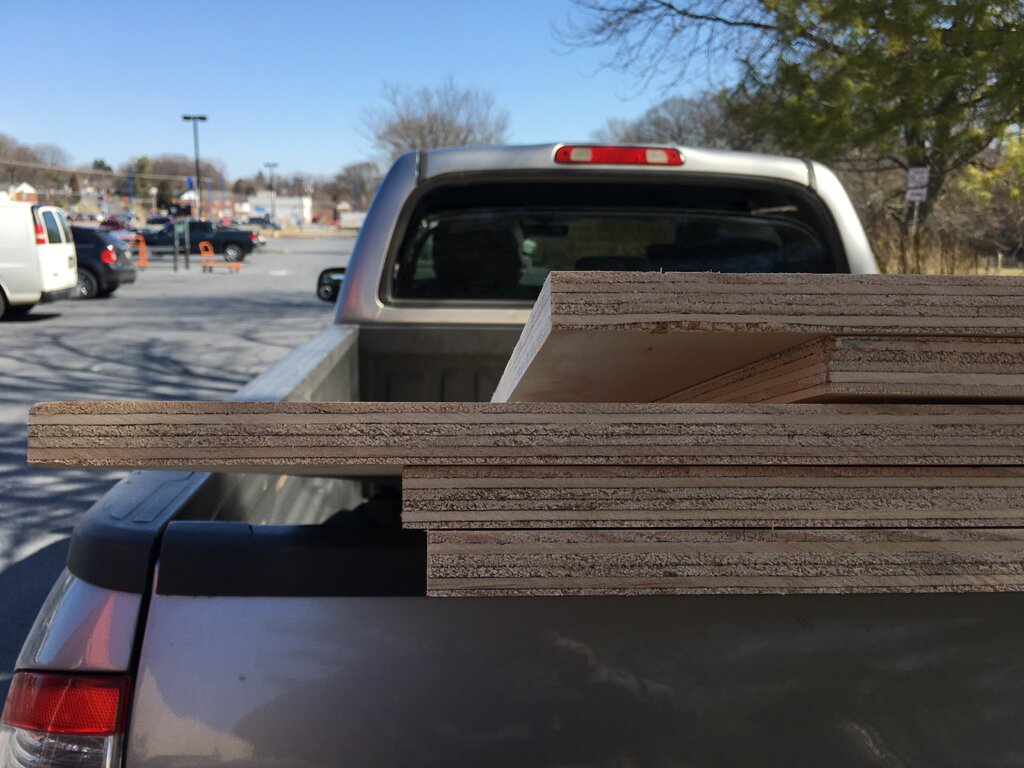
We looked at different types of Plywood and even PVC Board. We decided to go with a really nice looking Chilean Pine from Home Depot at $35.00 for a 4x8 Sheet. The Plywood has no knots or holes in the edges. We are going to go heavy with 3 Coats of Epoxy, Primer, and Tuff Coat sealant for the Decking and Transom.
We have the Gallon size Gluvit and a smaller 2 Quart size Can to cover the rivets. This boat has no significant dents or leaking rivets. We are in the process of sanding and cleaning the interior. We are going to use Tuff Coat Sealant on all the interior Aluminum and Decking.We also picked up Block Foam from Lowes. We took the last 3 sheets they had @35.00 per 4x8 sheet and we know we will need more.


-
1
-
-
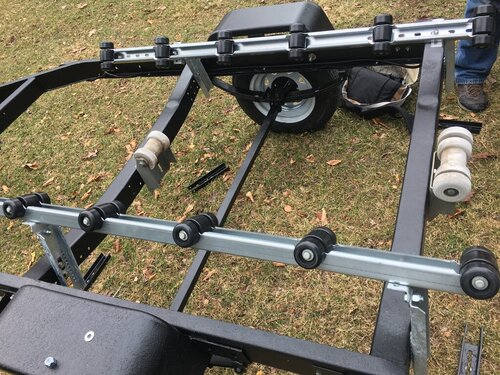
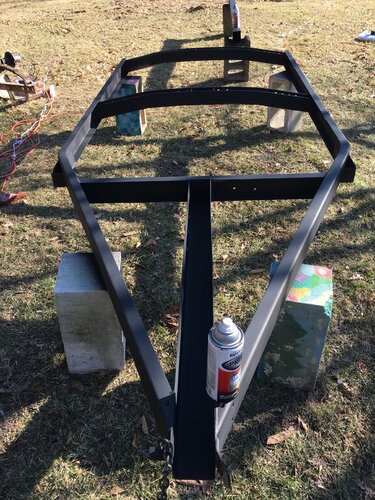
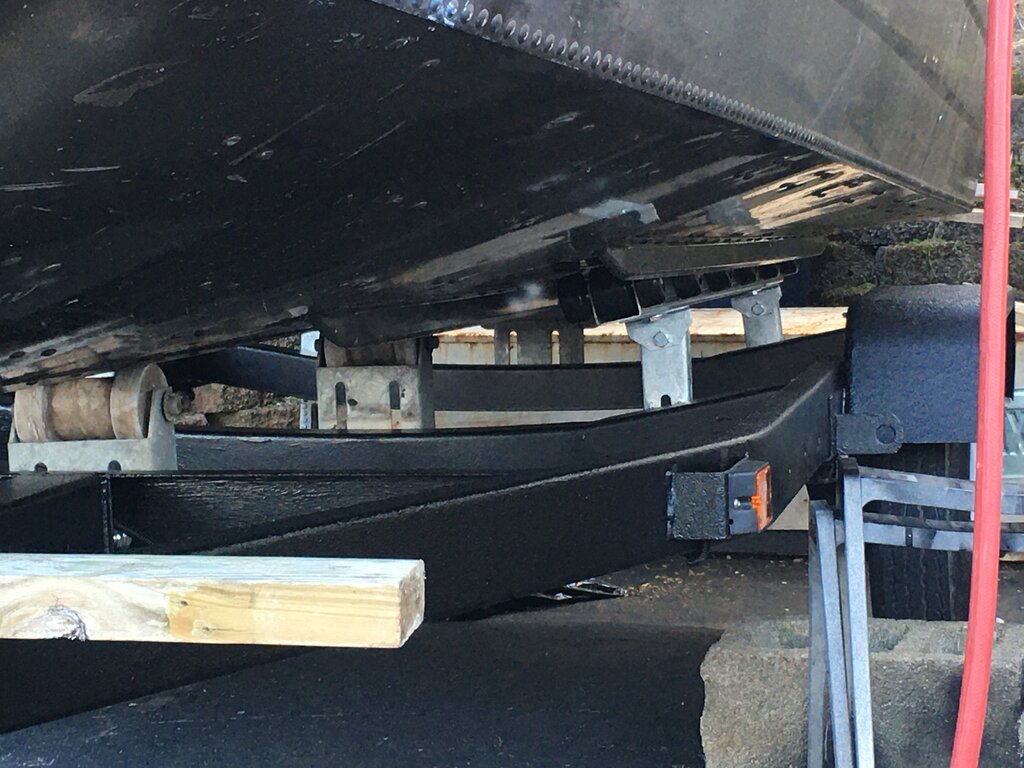
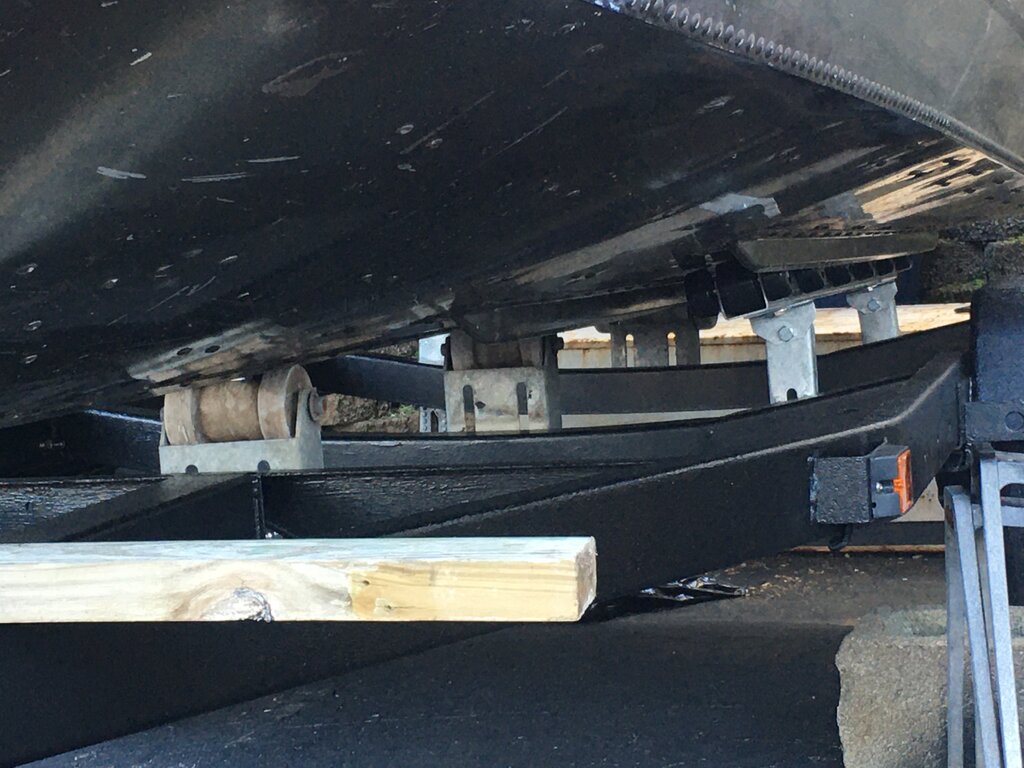
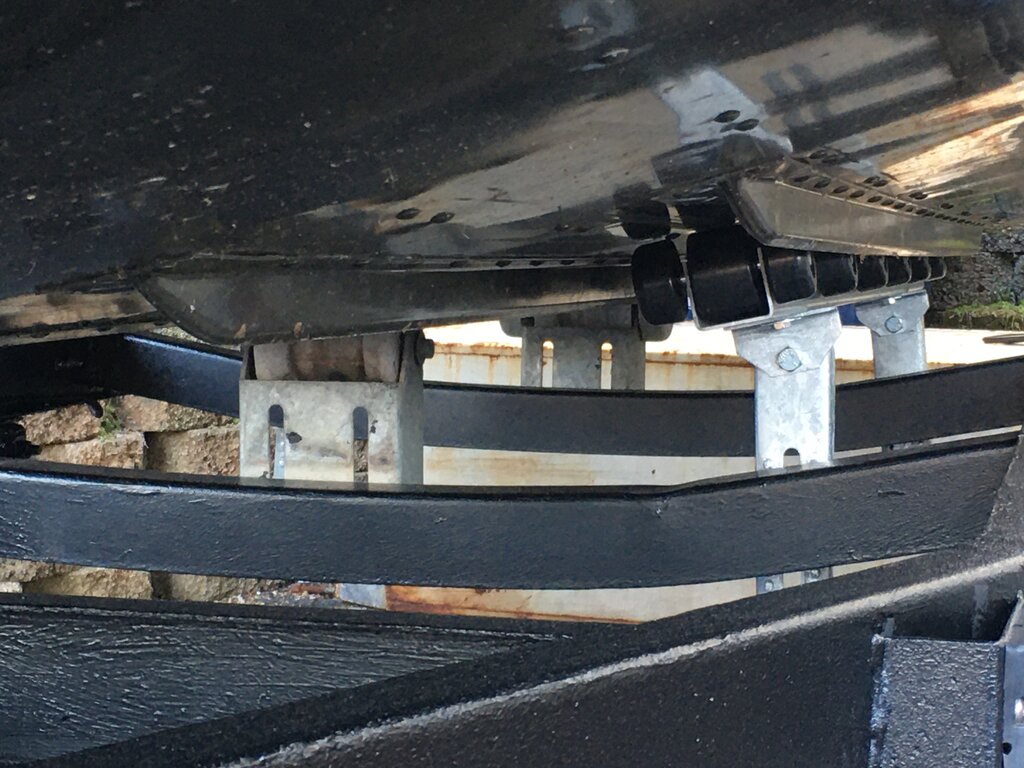
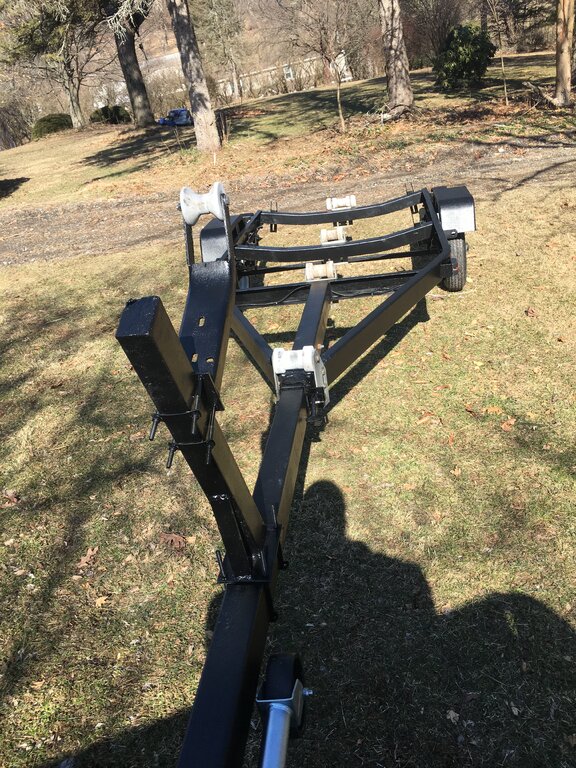
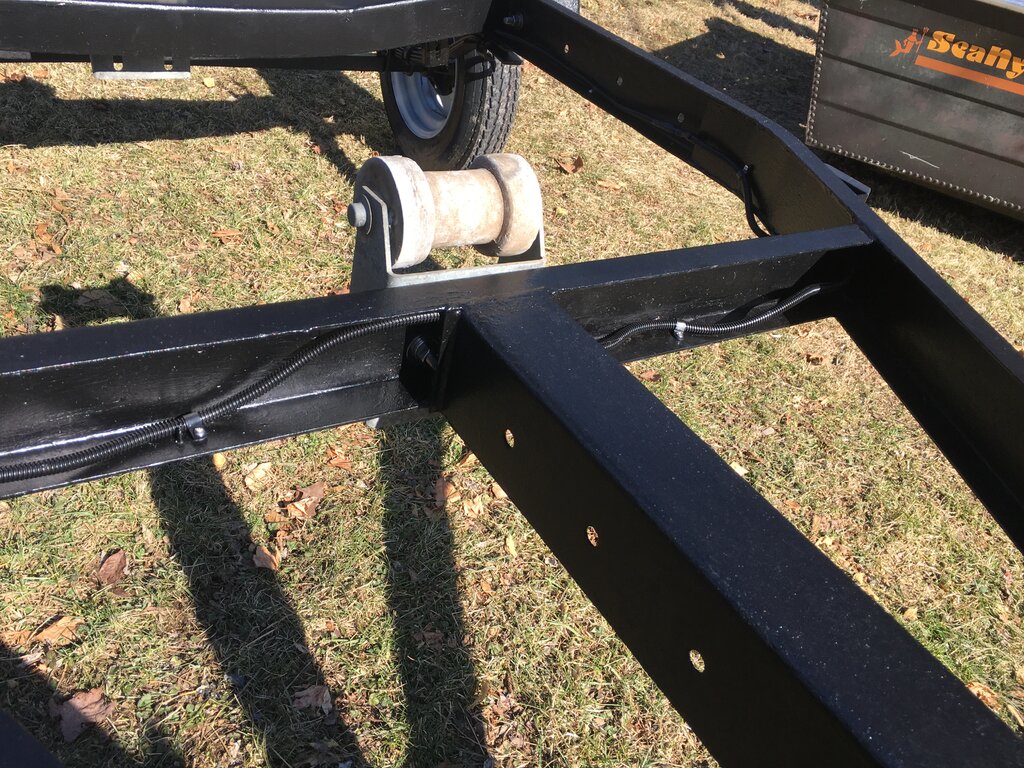
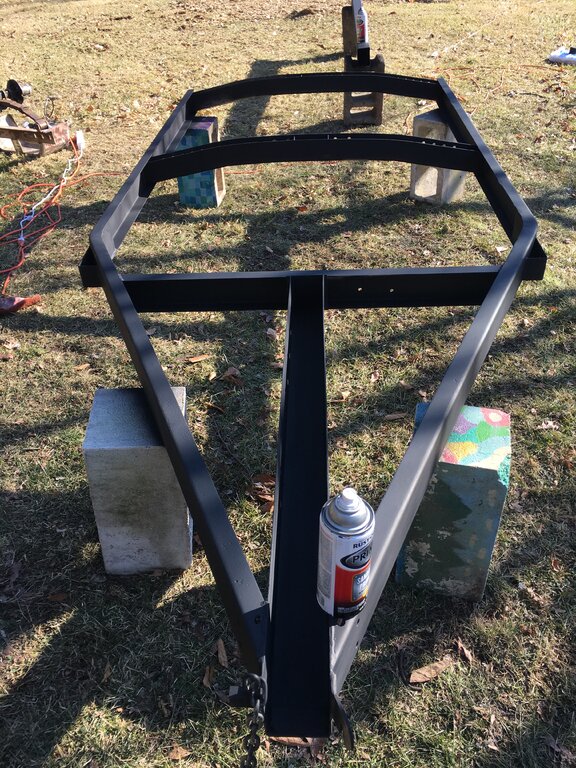
Updated; More Trailer Pics,...
We used Harbor Freights’ Black Iron Armor Truck Bed Liner for the Trailer $49.99 with about 5 or 6 cans of Rust-oleum spray Primer @$5.99 ea. We also used a can of Black Rust-oleum Spray paint for the hitch area $6.99.
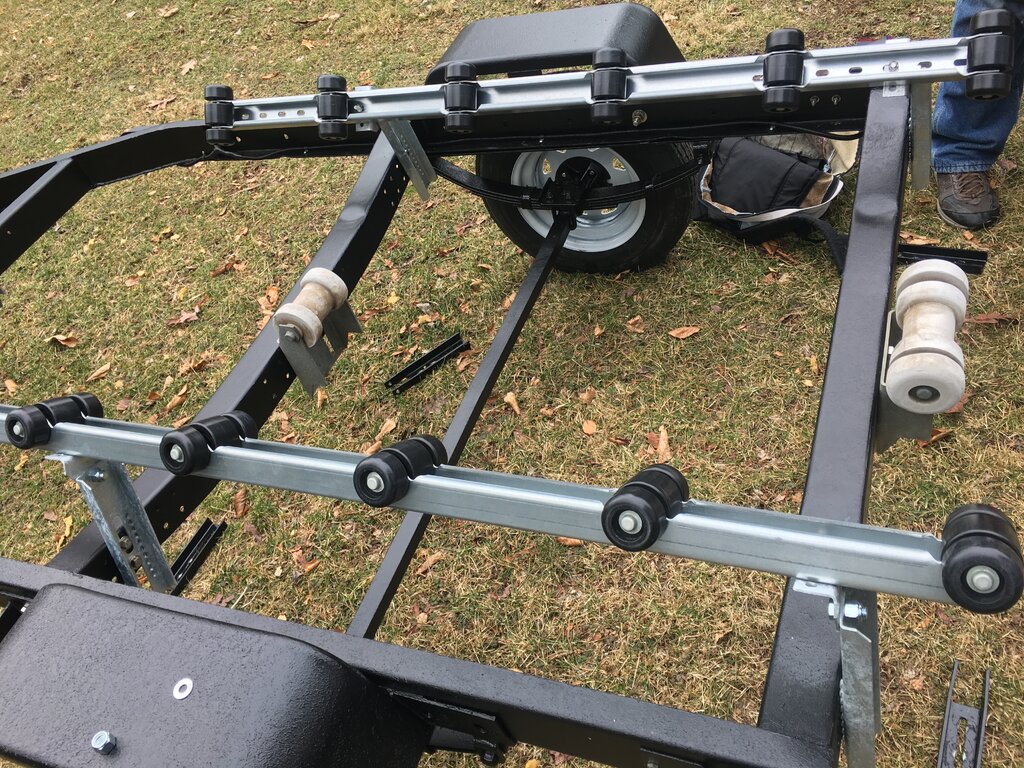
$125 for a set of 5’ Bunk Rollers from WholeSale Marine and 2x $12.95 for Mounting Brackets. One package was missing hardware.
We used 1/4” Black tubing to insulate all the Trailer Wiring. And, as I had mentioned, the LED Trailer Lights were $49.99, 20% off after coupon, $39.99 at Harbor Freight. We made sure to have some extra length at the hitch.
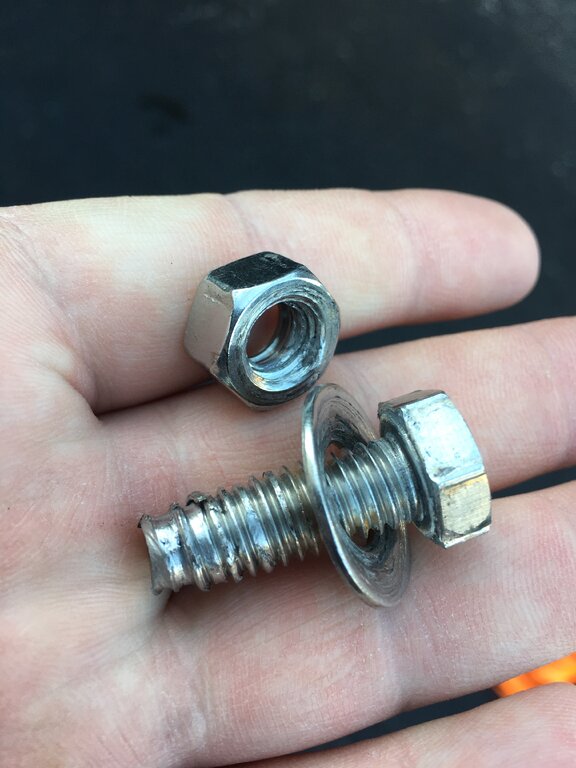
We spent around $200 on New Hardware at Home Depot, Lowe’s, and Amazon for both the Boat and Trailer. Some of the hardware we have been working with has been junk (see pics).
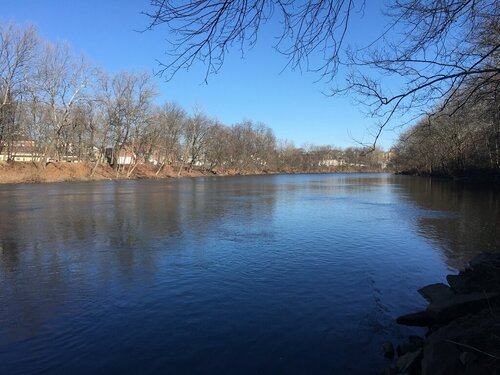
We took a break last weekend to go Fish the Lehigh River for a couple hours last Sunday.
It took a bit of time to get the keel of the boat lined up and all of the Rollers fixed. The boat really travels easily with the wench and roller bunks. This will be a big help on difficult boat launches.
The trailer looks like New. I will be interested to see how the tough coat on the trailer holds up. I’m really happy with everything so far.


-
Another Update with Pics,...
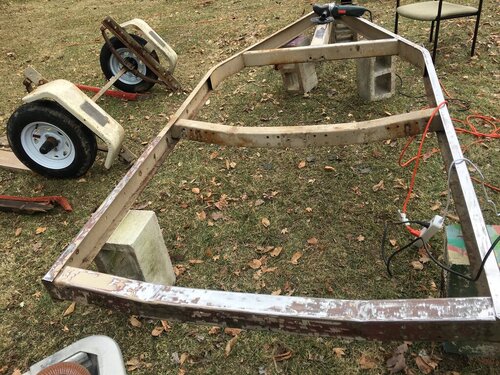
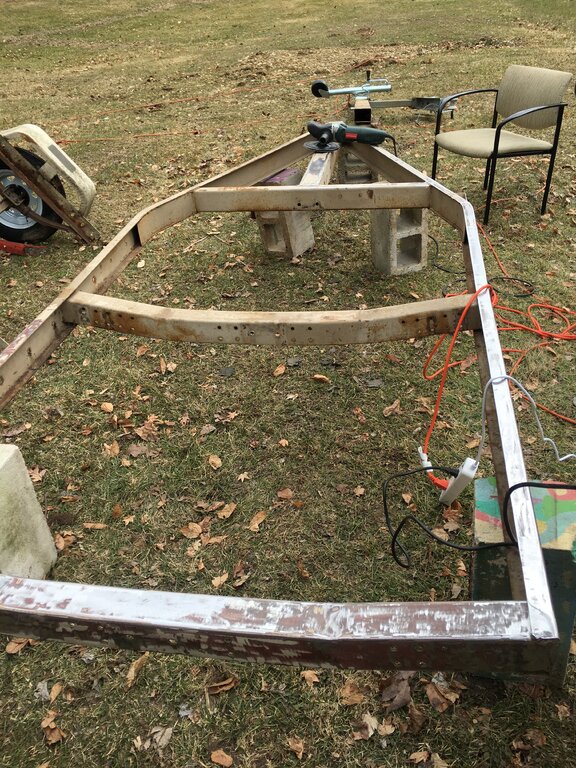
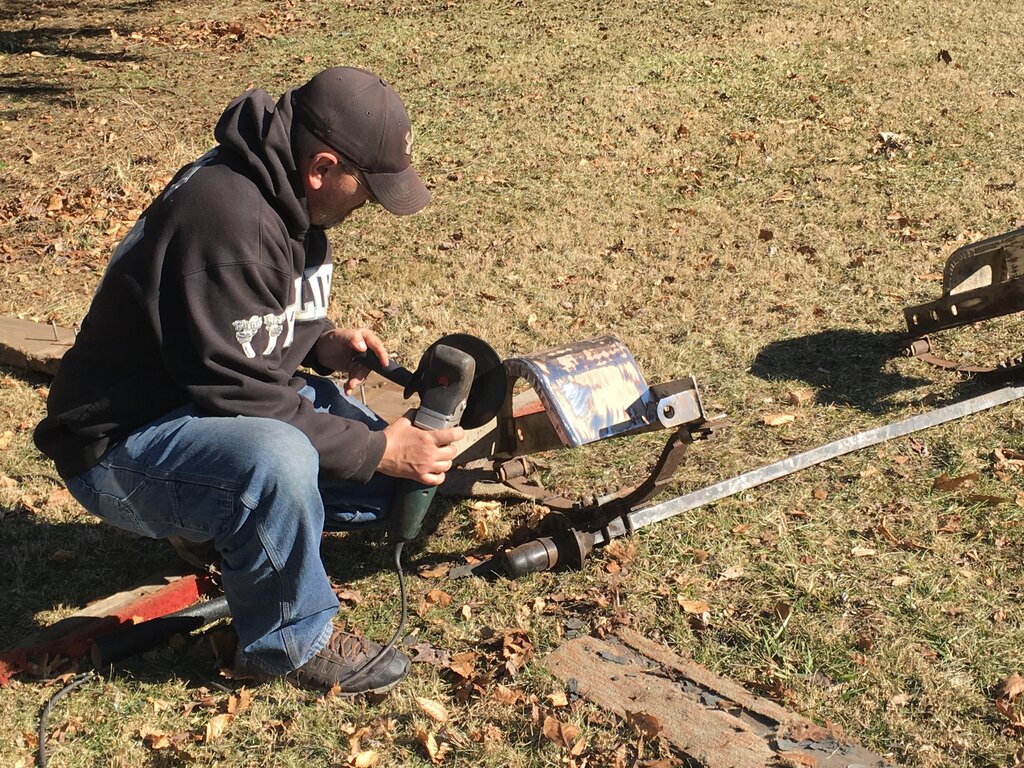
My buddy and I have been getting together to work on the boat every Sunday the past 4 weeks. It took us 3 days to strip everything down. We were going to wait to do the trailer, however, since the boat was so light, we decided that it would be good to hit the trailer.
We’ve been buying supplies at Harbor Freight. The past two sessions we started taking the trailer apart and sanding everything down. It’s been quite a process. We are planning to use Harbor Freight’s brand Truck Bed Liner with several coats of black primer for the Trailer.
We bought a set of LED Trailer Lights at Harbor Freight with a coupon. At this point, Harbor Freight should be sponsoring us. We also took the time to refit all the hardware in Stainless Steel. We picked up most of the Hardware from Lowe’s and some other electrical supplies, connectors, wiring, from Amazon.
If you notice, in all of our Pics, my buddy is doing all the work, all the difficult jobs. This is because, that’s what good buddies are for, lol !
I bought a 20lb Mushroom Anchor from a guy on Craigs List for $20. He gave me some good tips on Shad Fishing the Delaware this April/May. I’m determined to catch my first shad this year ! I’ve gone before but couldn't catch anything as the fish were not running.
Here are my Pics,... the wire brushes worked good for Sanding.


-
1
-
-
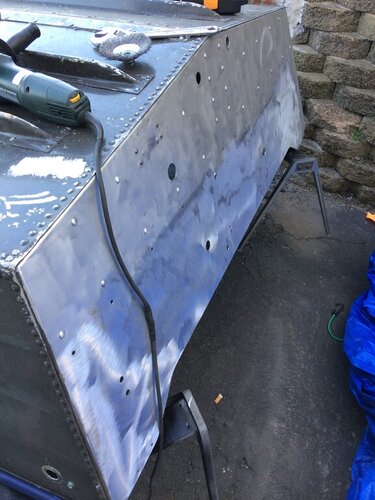
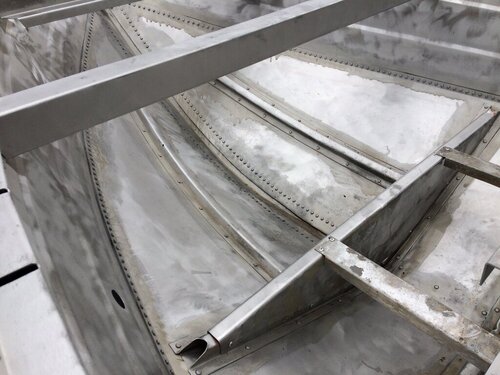
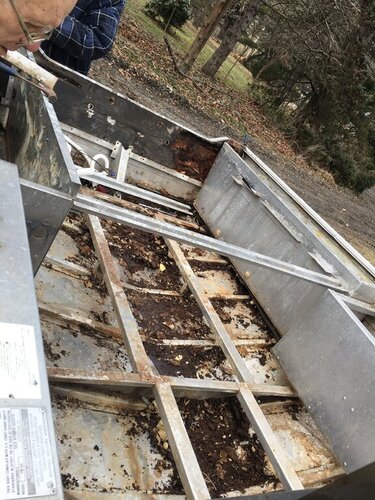
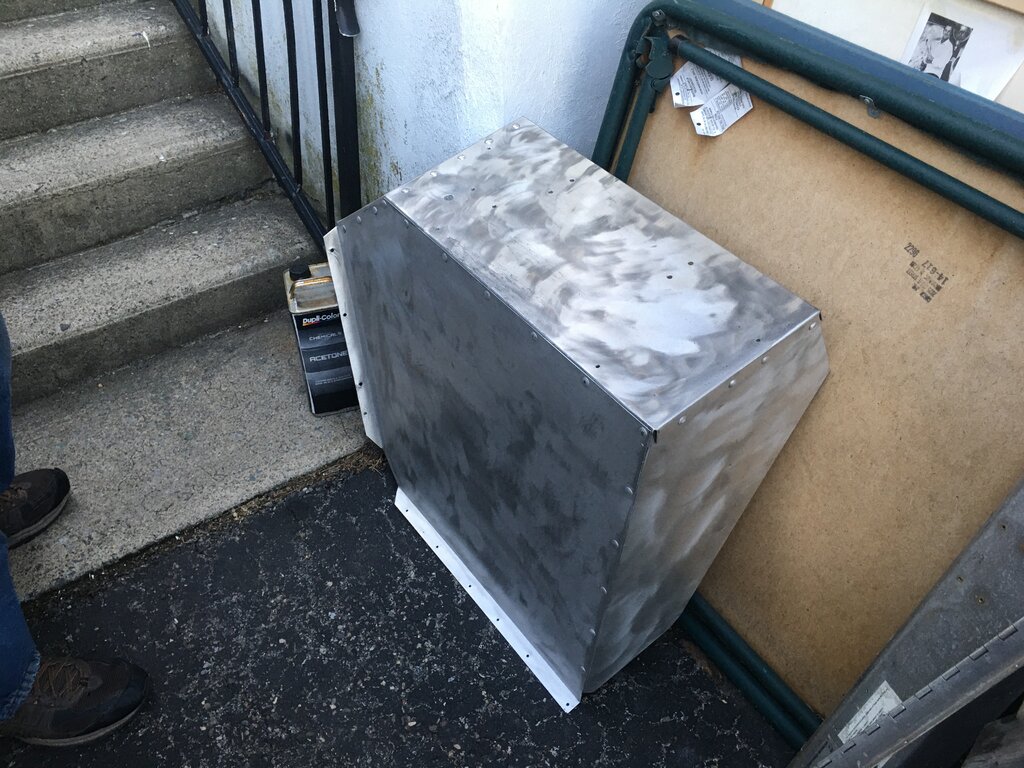
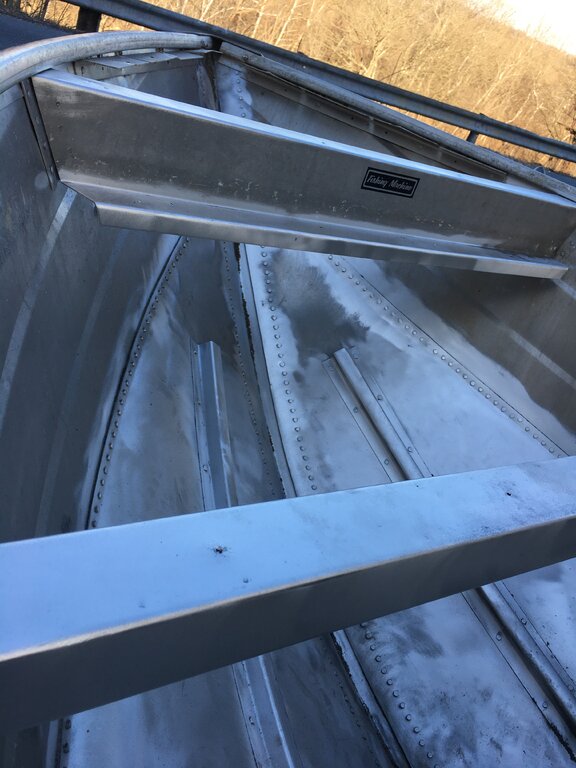
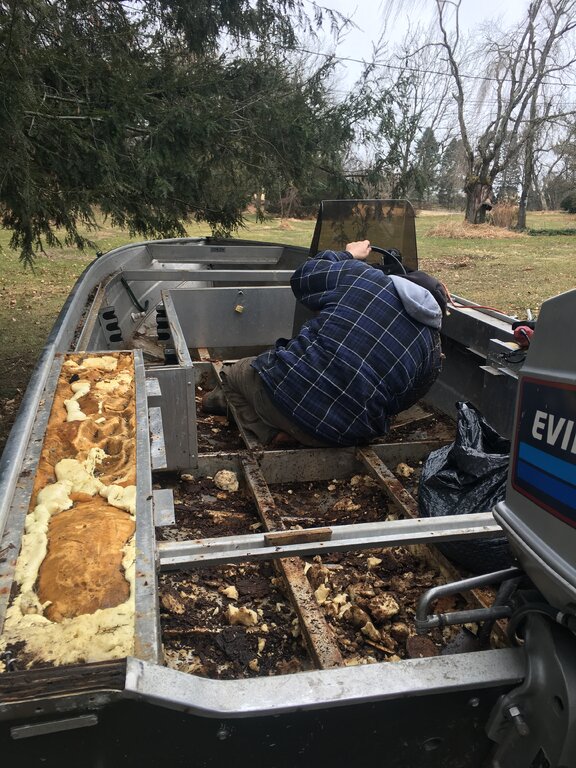
I wasn’t sure I wanted to totally pull things apart, but we decided it was necessary to do the job right. Removed the dash and stern sections of aluminum framing. As stated, we are planning a custom job on the stern to better accommodate trolling. Removed the transom. Take a look at the right rear corner of the photo - transom rot. Water was leaking through a ‘U’ bolt that was used for attaching the tow cable for water skiing.
-


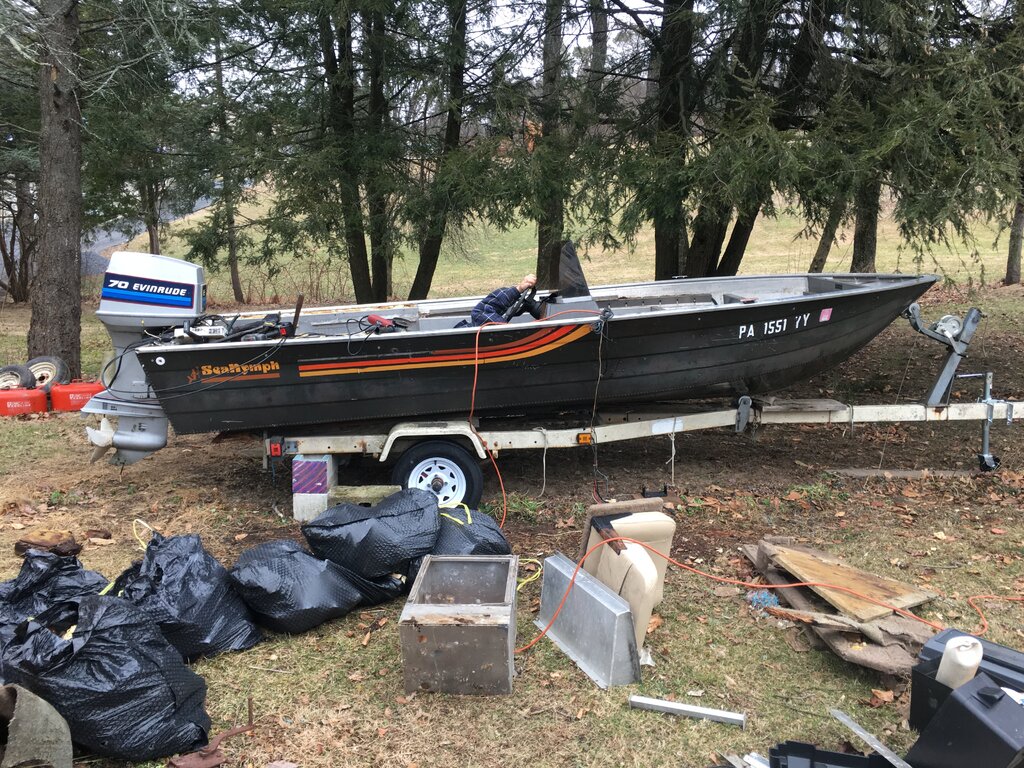

‘76 Sea Nymph FM-160 Fishing Machine Boat Rebuild
in This Old Boat
Posted