
Todd in NY
-
Posts
2,483 -
Joined
-
Last visited
Content Type
Profiles
Forums
Events
Gallery
Store
Posts posted by Todd in NY
-
-
I forgot to ask about the water level at the Stony Creek launch.
-
Does anyone have a recent picture of the Henderson public boat launch so we have an idea of how much water is there?
-
Replaced my fuel/water filter today, first time in four years. There was no water in the filter at all. I buy most of my gas at Fastrac. I have to pre-mix it at home before topping off my fuel tank.
-
Here's a recent news article about the situation...
-
5 hours ago, steelhead'r said:
Man thinks he is in control but forgets mother nature bats last
Absolutely true, Mother Nature always wins.
-
1 hour ago, chinook35 said:
The dredging was halted by the DEC due to the presence of the piping plover. An endangered species.
Sent from my iPhone using Lake Ontario UnitedThat makes it a really tough battle to improve the situation. Sucks for everyone involved and affected.
-
I haven't been on Lake O yet this year, and I'm not sure if I'll get out there with the water this low. I might have to pay a launch fee at a marina who has a good, deep enough launch and access to the lake. I won't take chances with damage to my motor or prop.
-
 1
1
-
-
Thanks! That place took a beating during our high water seasons. Dredging to replace the sand barriers makes the most sense to me.
-
What county is that in?
-
I added another news article in the first post about the low water levels.
-
My new job and other life events (none were bad or negative) kept me off Lake Ontario last year. This year I have the time and desire to fish Lake Ontario but the low water might keep me off the lake. I hope not, but time will tell.
-
It will probably get worse as the season progresses into fall, unless we have a ton of rain...
https://www.wrvo.org/post/lake-ontario-experiencing-driest-season-1966#stream/0
Here's another news article about the low water levels...
-
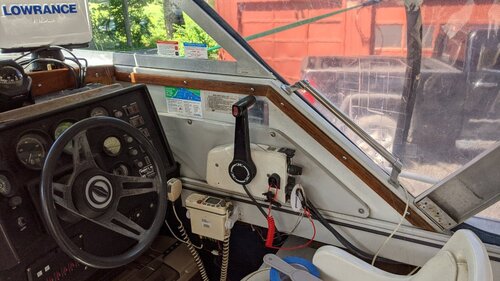
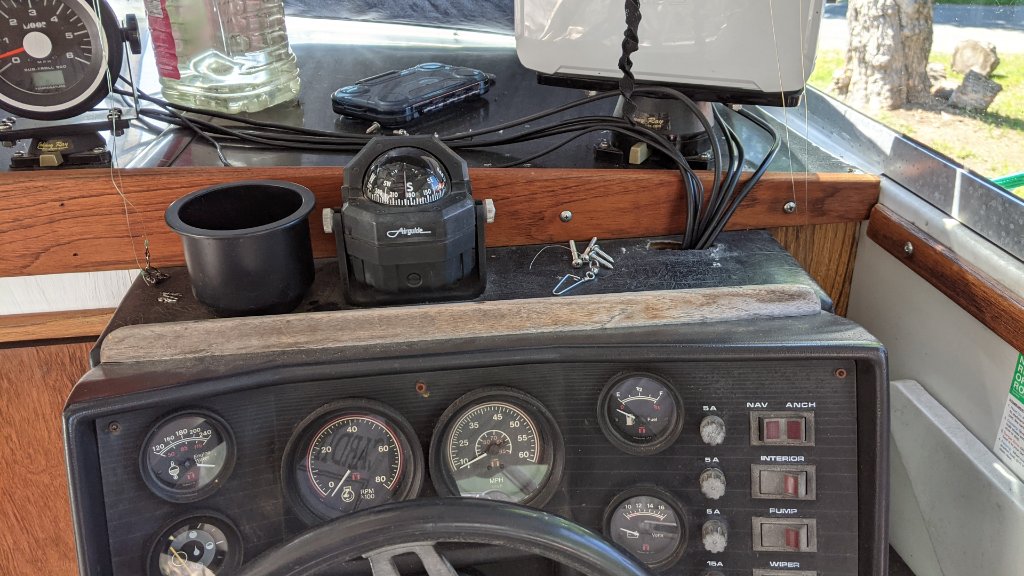
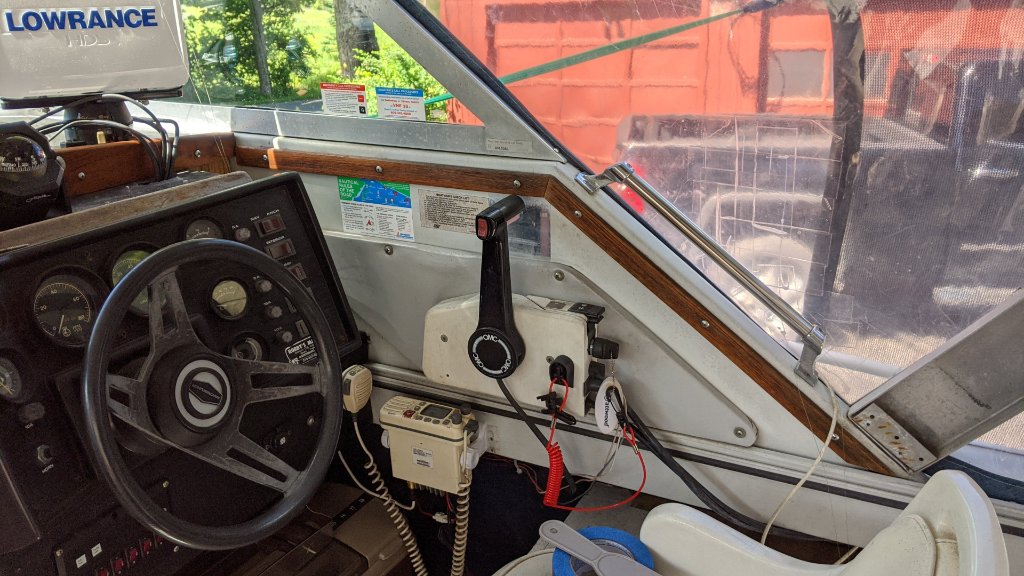
I didn't notice a piece of wood trim on top of my helm until after I finished installing the gunwale rod holders this weekend.
After treating the other wood with teak oil, this unfinished piece really stood out in a bad way. Before...

After...
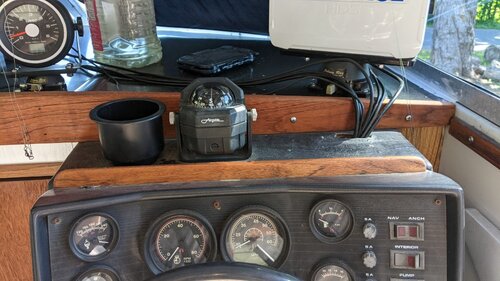
I sanded it down quite a bit because of the water damage on the right side. Again, not looking for the "new" look, just looking to improve the appearance and preserve the wood.
Thanks for following
")
-
1
-
-
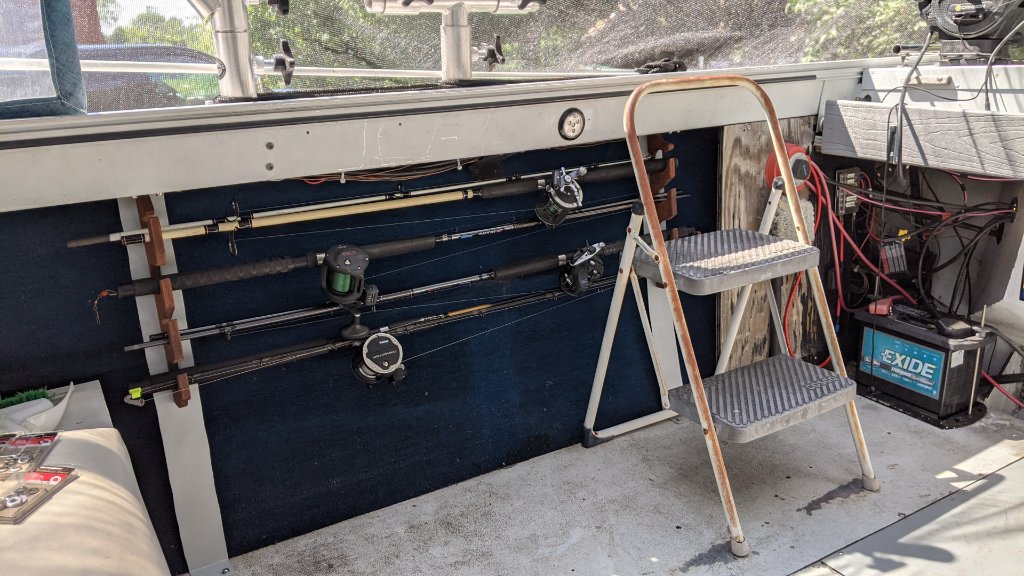
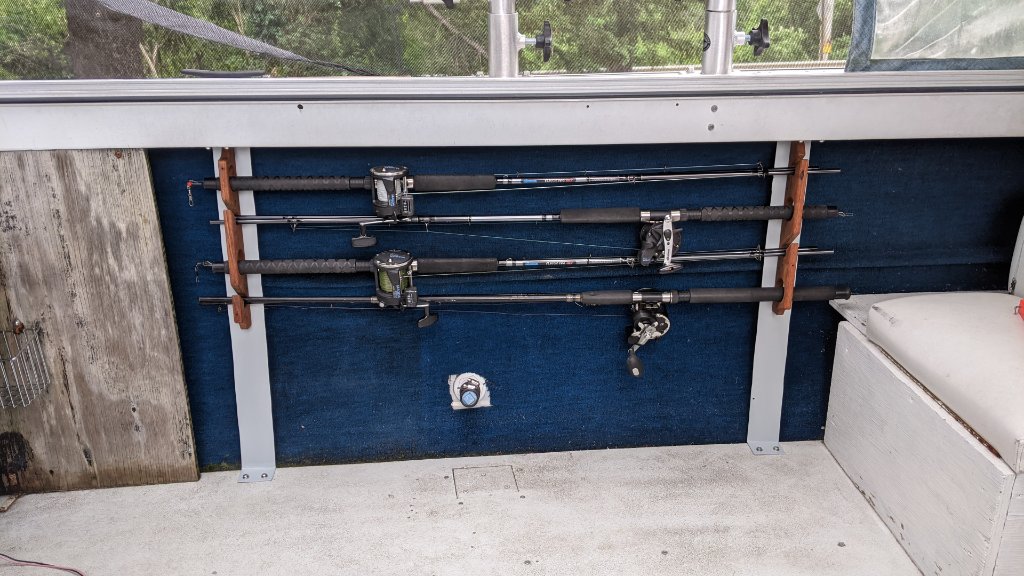
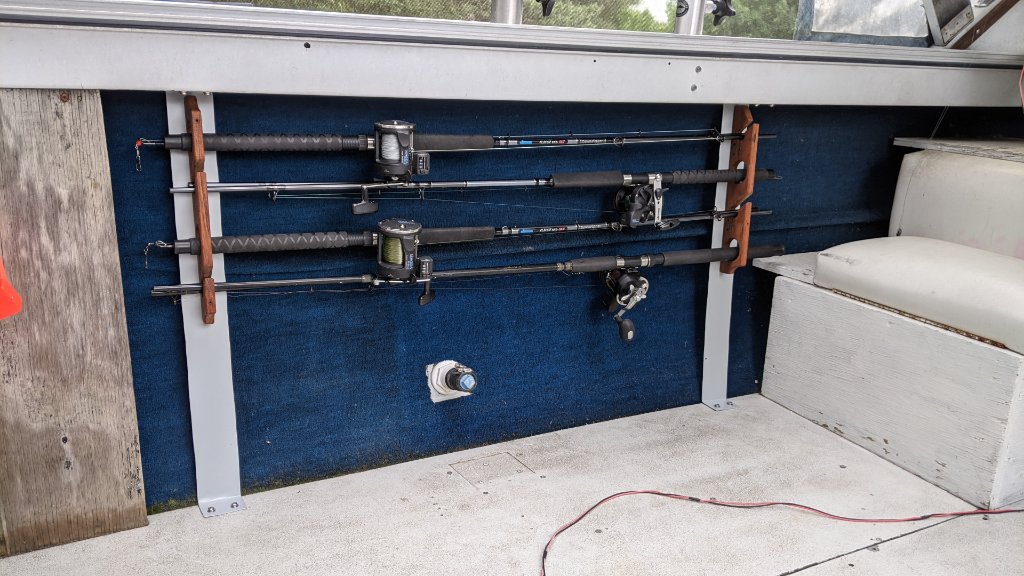
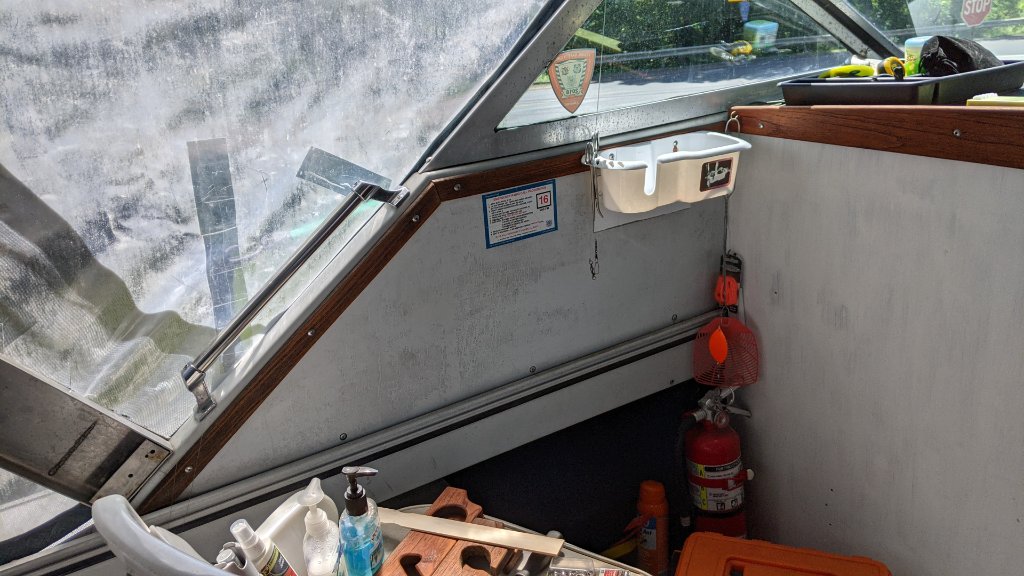
I finished the starboard side rod holders today. Having those 8 rods out of the cuddy cabin sure does remove the clutter. So I have 16 rods stored in the gunwales and under the hardtop. The only 2 rods in the cuddy now are my 2 leadcore rods, a 5 color and a 10 color.

-
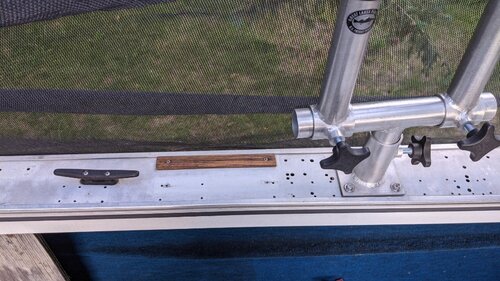
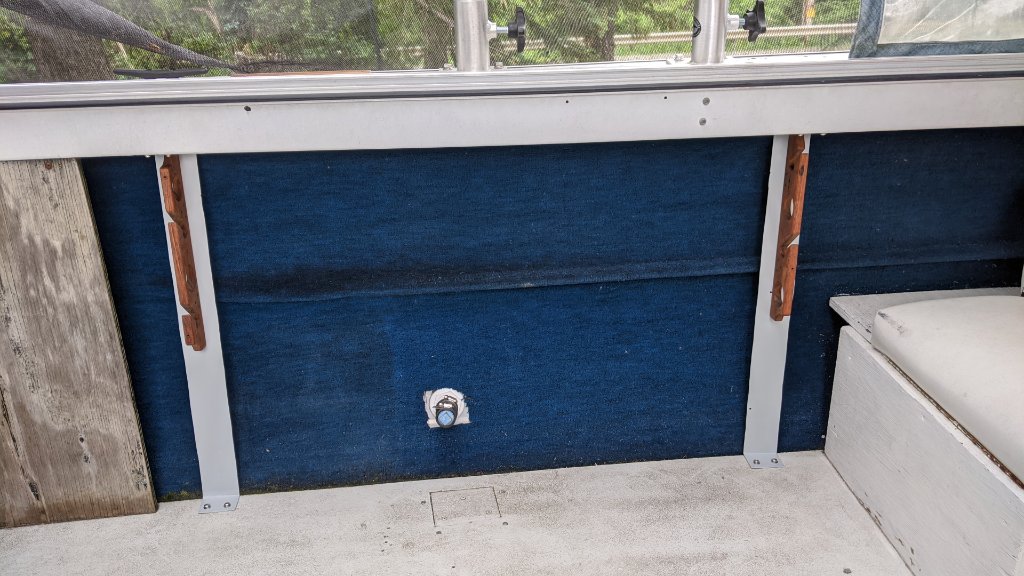
Here is the port side gunwale with the rod holders
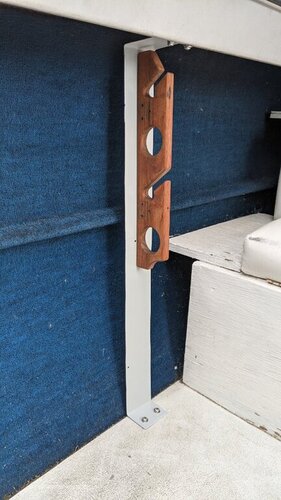
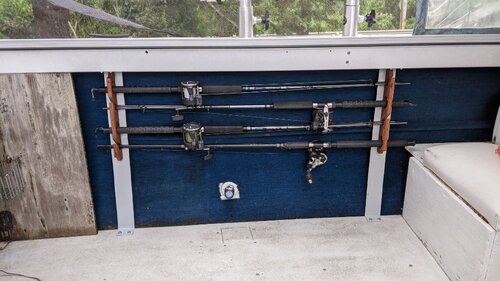
From a slightly different angle

I don't have the starboard side rod holders assembled yet. Not sure when I'll get to it.
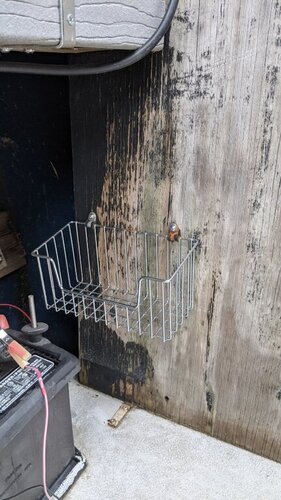
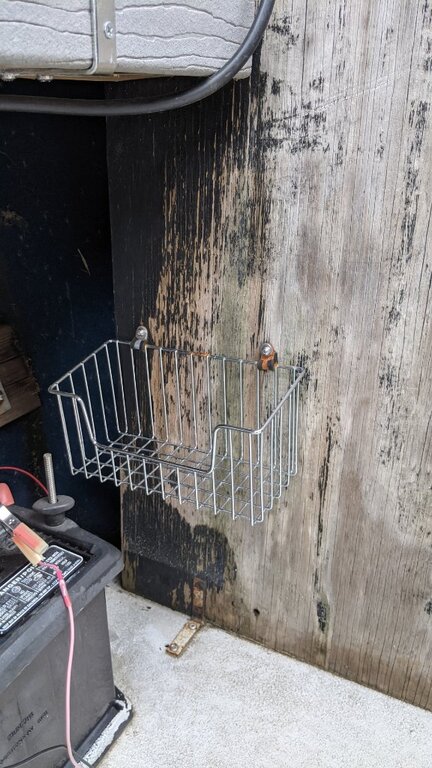
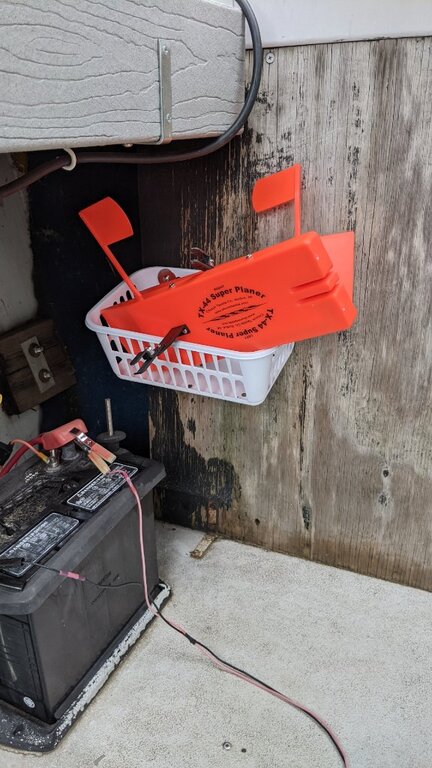
I also replaced a metal basket with a plastic one. I usually store planer boards in it while they are drying out.

-
1
-
-
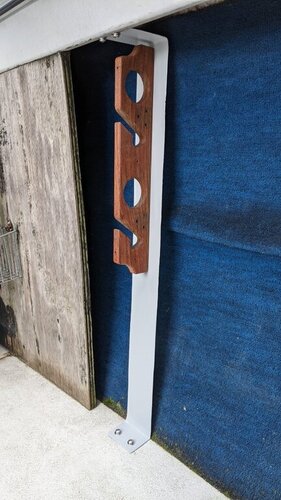
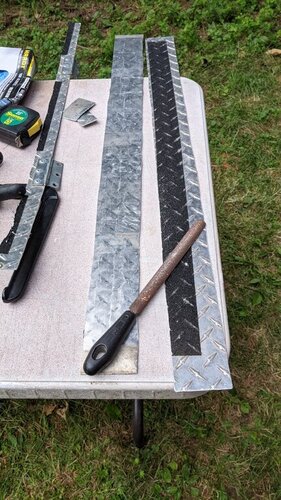
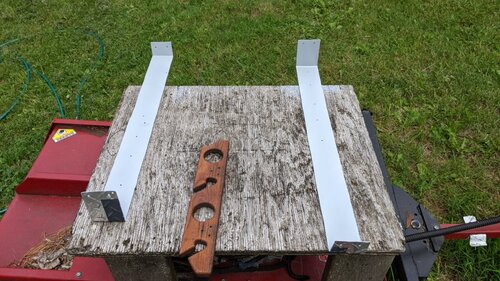
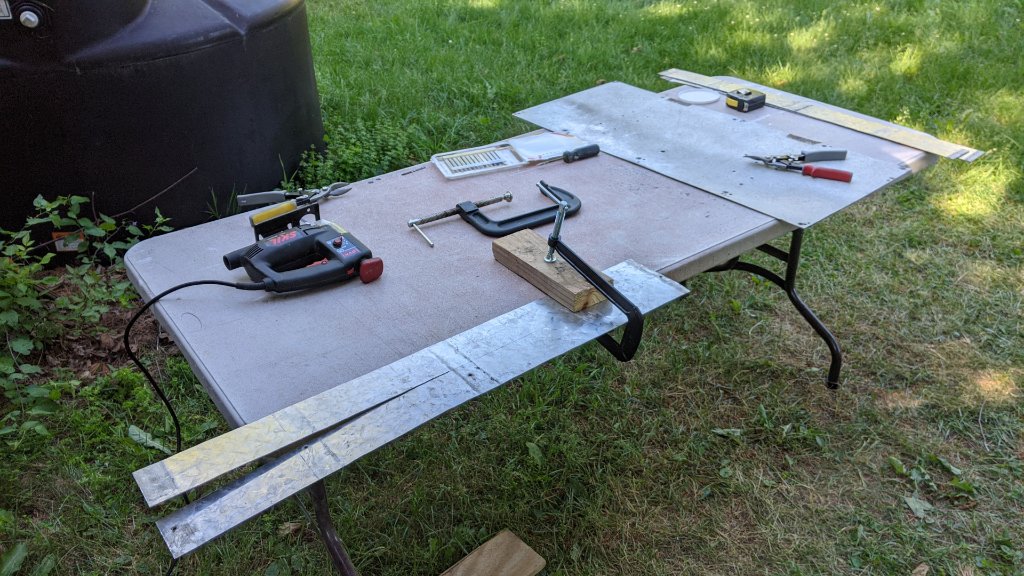
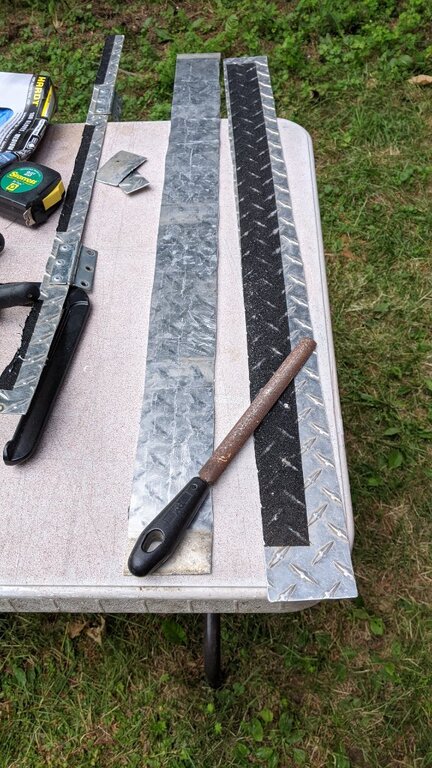
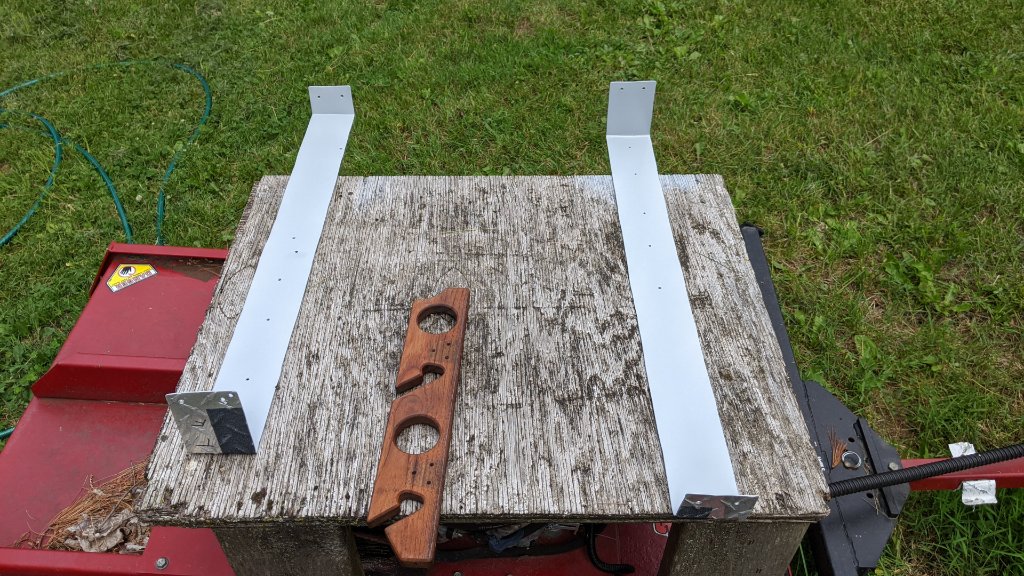
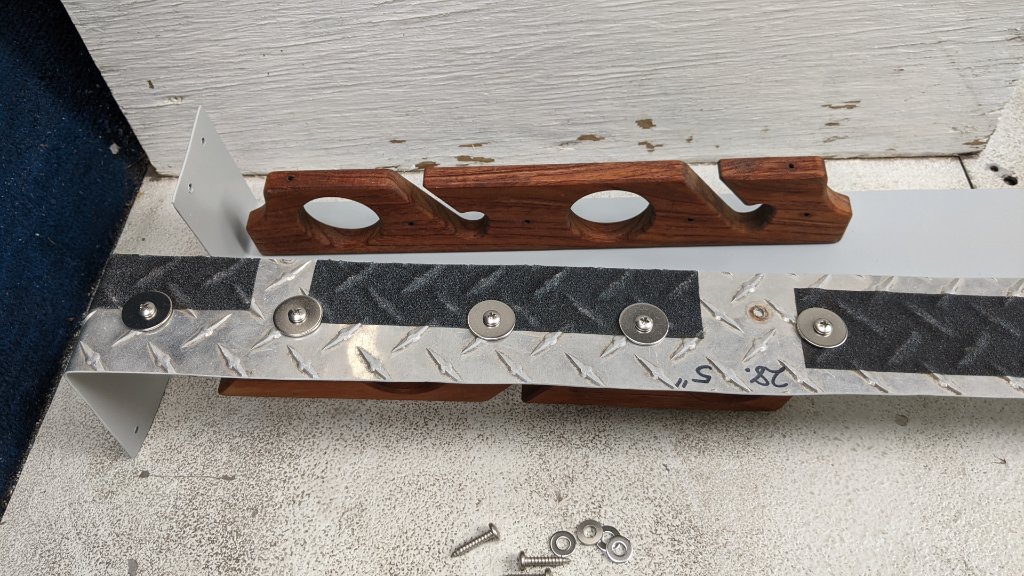
I got the wooden rod holders installed on the port gunwale. I used the piece of aluminum diamond plate that I took off my stern deck to serve as mounting brackets. I cut it into 3" wide strips with my jig saw, or whatever it's called (I'm no carpenter). That left some rough edges all the way around, on both sides. I filed those edges with a medium file. I then made a bend, one on each end of the brackets, with my bench vise, then drilled 5 holes to mount the wooden rod holders to them. I used 5 #10 screws with 3/16" x 1" fender washers to attach the rod holders to the brackets. All mounting hardware is stainless steel.
I pre-fitted the brackets to the gunwale and drilled the 4 holes for each bracket, 2 in the floor and 2 on the gunwale edge.
I spray painted the brackets light gray, then mounted the rod holders to them. I then mounted the completed brackets to the gunwales using #12 x 1" screws with flat washers and lock washers.
Cutting the 3" x 35" brackets

Filing the rough edges
The brackets are painted
I used the 1st bracket as a jig to drill the holes in the other 3 brackets for the rod holders
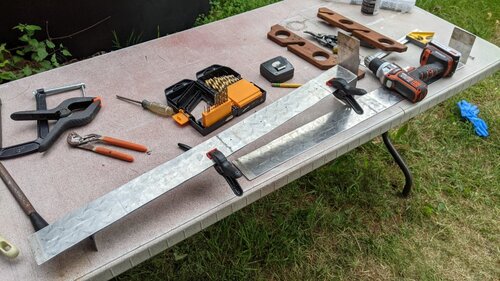
The finished rod holder brackets prior to mounting them in the gunwale. Yes, the diamond plate faces the back because I couldn't remove that tread tape.

-
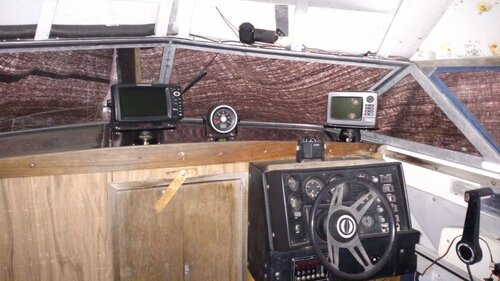
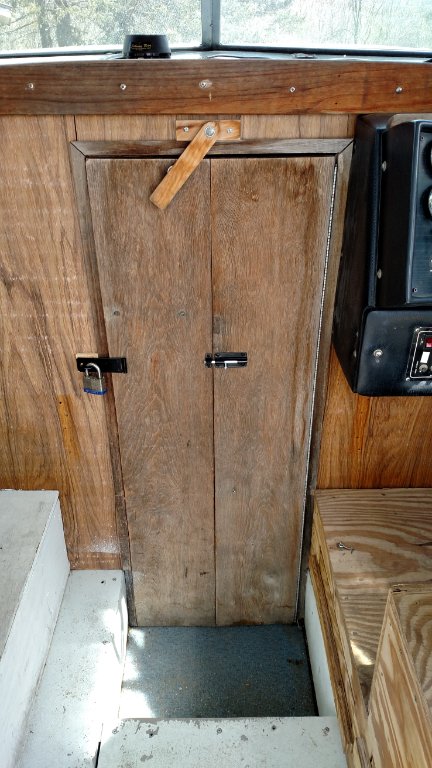
Here are some "after" pics of the cuddy wall, door, and trim wood
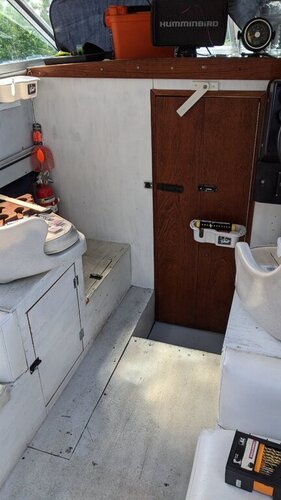
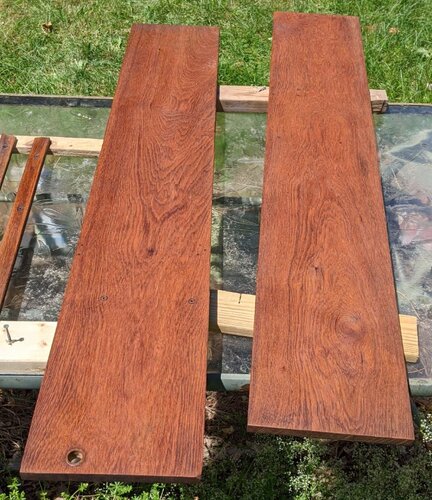
There is one of these pieces of wood on each gunwale, so they got two coats of teakwood oil as well
-
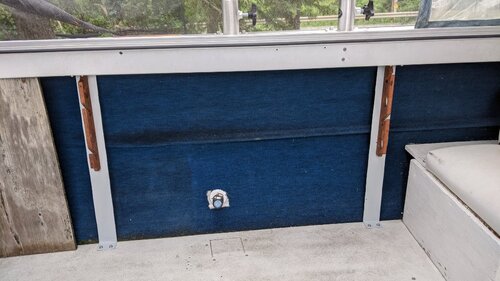
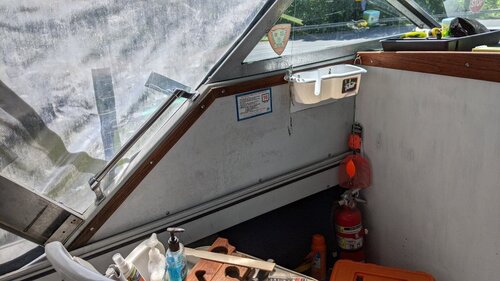
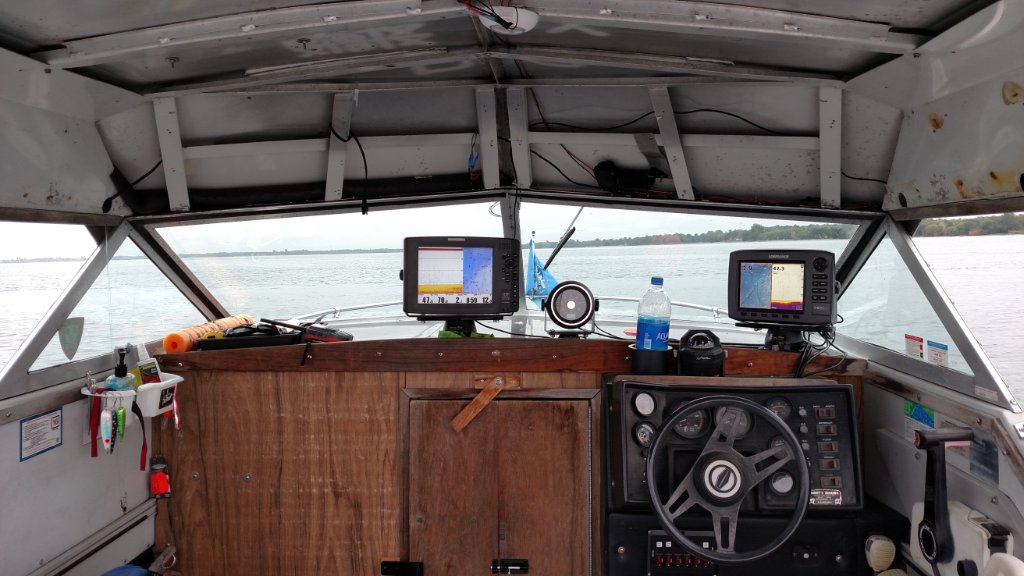
Here are some "before" pics of the cuddy cabin exterior wall, wood trim, and door/door frame


-
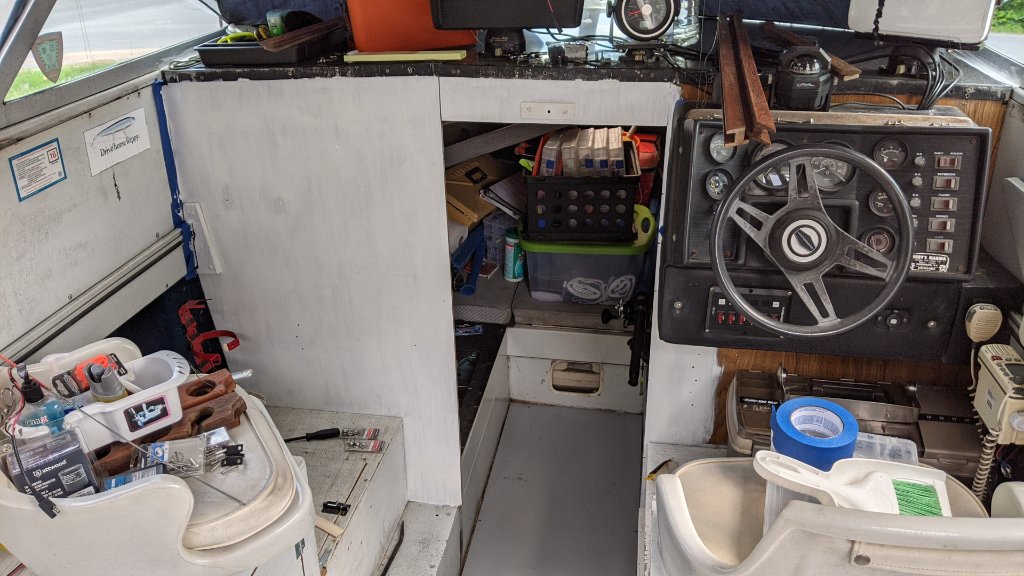
My wife and I decided to paint the wood paneling that forms the wall of the cuddy cabin. I roughed it up with a sanding block, you guessed it - 150 grit

It's not done yet, but it will look real good with the the teakwood trim and door.
Keep in mind, this is not a RESTORATION project. I left some paint(?) spots, and imperfections in the wood, especially the 4 small pieces that go under the side windows. Number 1, I didn't want to remove too much wood, and #2, those spots are what I call character spots.
More to follow...
-
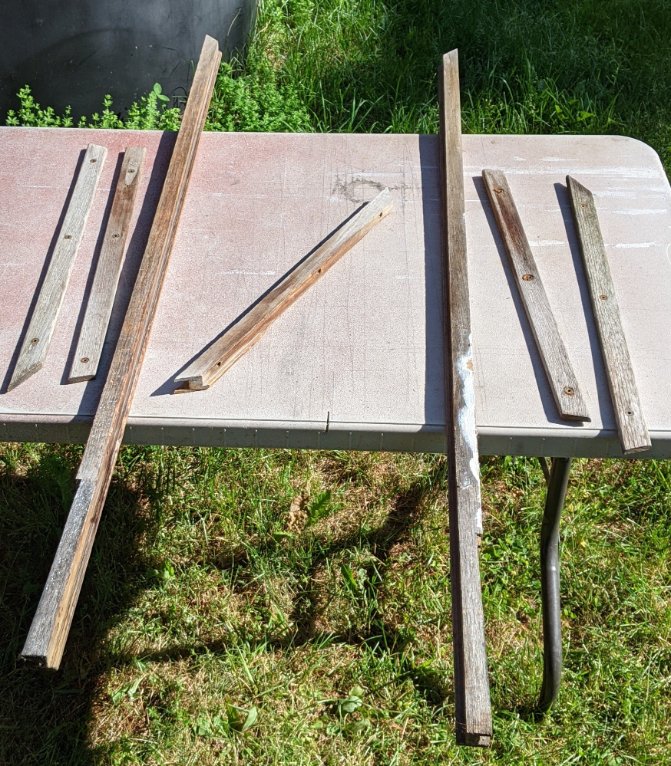
My cuddy door, door frame, and some other wood trim pieces needed some major attention from 33 years of weather. So I removed those pieces and items, disassembled what needed to be, and gathered my tools.
This pic shows the door trim and 4 trim pieces from under the side windows. This is the "before" pic. The door was almost as bad as these pieces but I forgot to take a "before" pic of the door.

After much sanding with 150 grit sanding blocks, and 150 grit sandpaper on my orbital sander, what seemed like hours later, they turned out real nice. I was able to remove the water stains on the bottom 6-8" on the front of the cuddy door.
After sanding


I was running low on teakwood oil, so each piece got one coat. The top door trim piece had 4 cracks or breaks that needed some wood glue, so I took care of that too. It's not in these pics because the wood glue was still drying. I sanded it smooth and put the last of my teakwood oil on it.

-
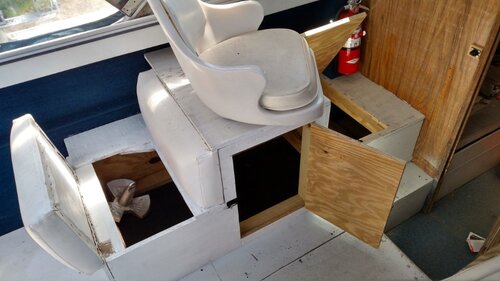
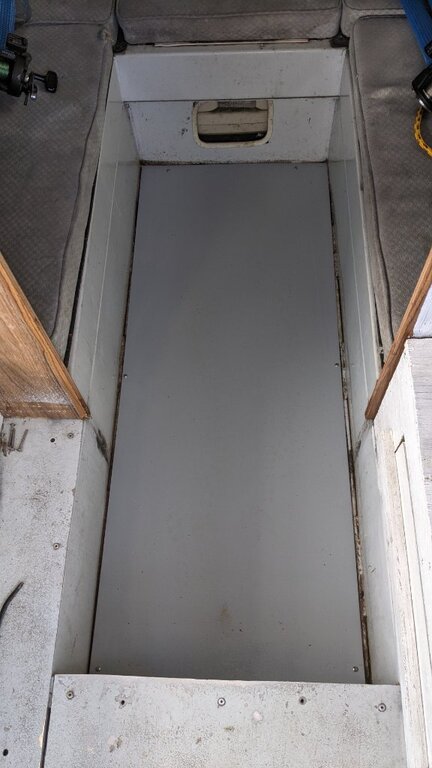
I passed my EMT test yesterday, so I drove the 75 minute drive home and started on my boat work.
I got up this morning and worked almost 10 more hours on the boat.
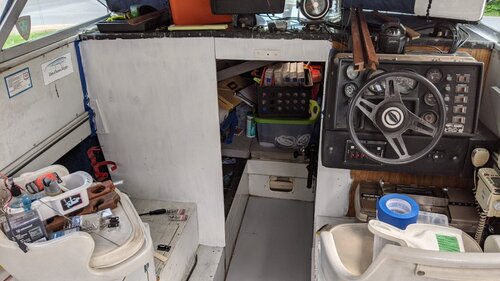
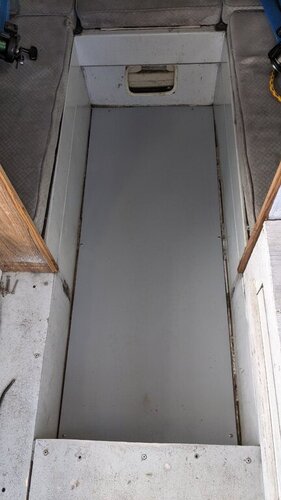
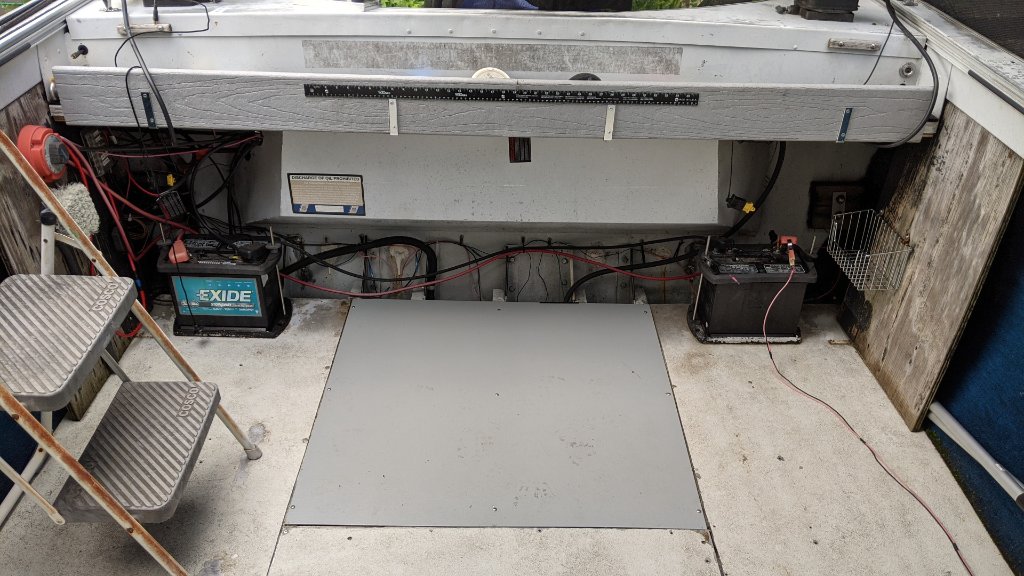
I installed my two aluminum floor pieces, the cuddy cabin piece yesterday, and the rear deck piece today.

-
I would change out the impeller. They usually only last 3-5 years max, depending on several environmental factors.
I'll be replacing them in my main motor and kicker motor this fall (both outboards). They are working just fine, but this is their 4th season.
-
Thanks Rick! I should have the new aluminum floor in the cuddy cabin, and the new aluminum sheet on the rear deck floor this weekend, with pics of the completed work. A real bonus would be to have those wooden rod holders installed in the gunwales.
I'm glad that other members can get some ideas from this thread.
BTW, I'm pretty sure Bob Villa has a much bigger and fancier boat to work with, Lol. I always enjoyed his shows.
I've been working extra hours at my job for the past 6 weeks, plus studying for the NY state EMT written exam tomorrow. So I've had very little time for anything else this year.
-
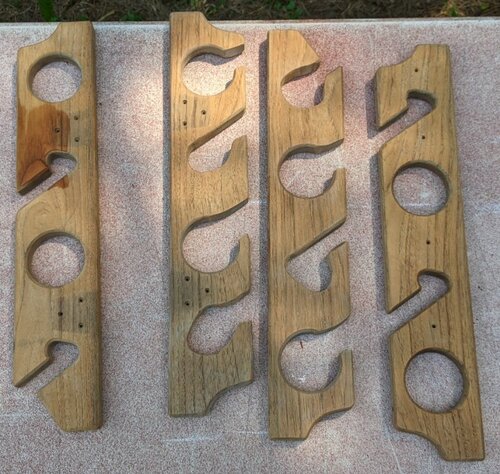
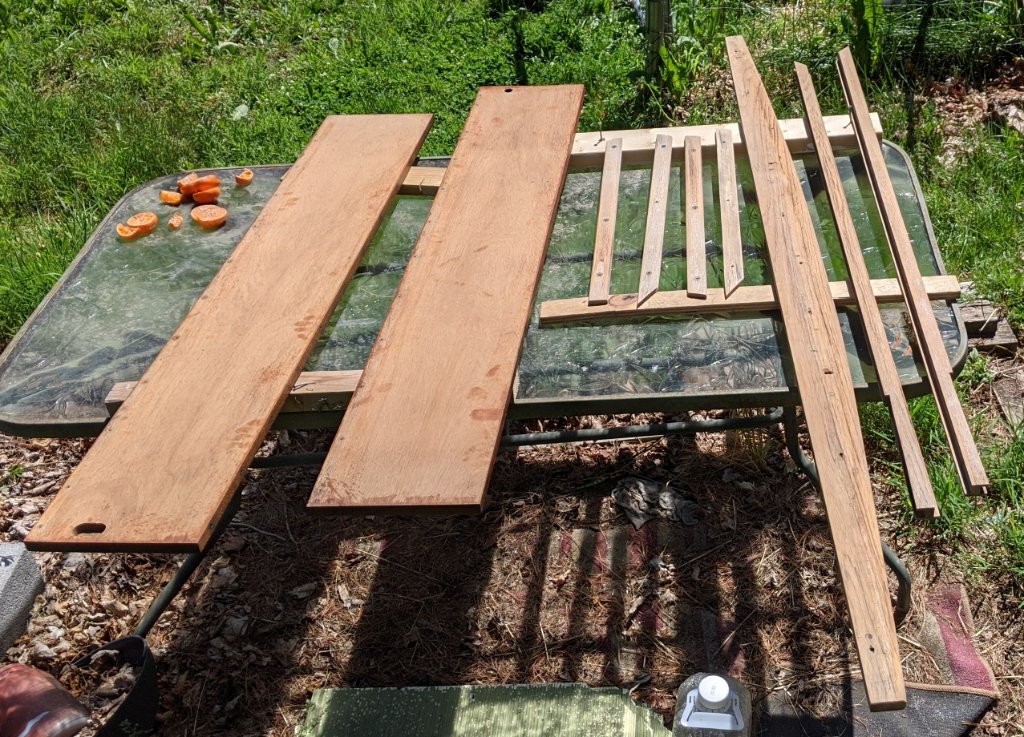
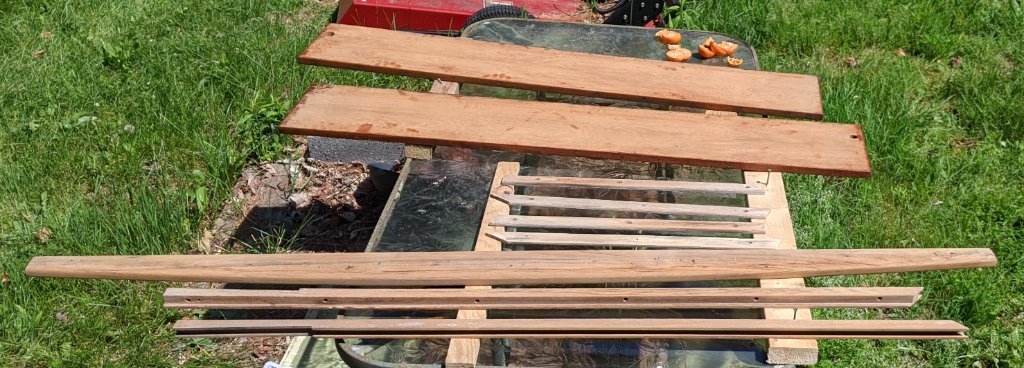
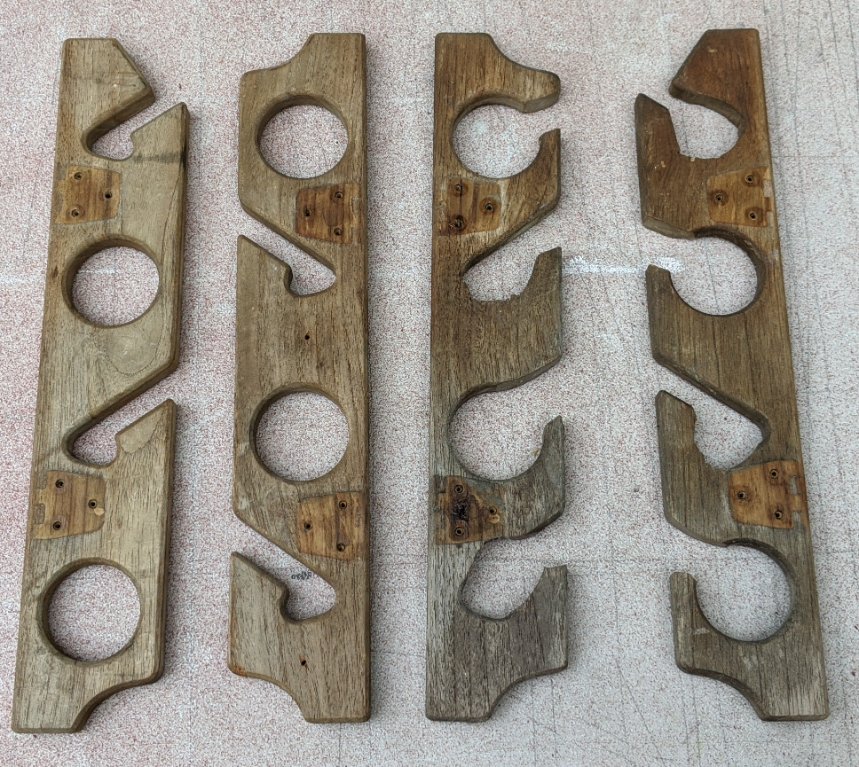
I got 2 pair of wooden rod holders out of a Thompson boat. Someone did a hack job on one pair, looks like they used a jig saw without knowing how to use one.
The pair on the right looked like the pair on the left before someone's lousy hack job. They opened up the holes on the right pair.
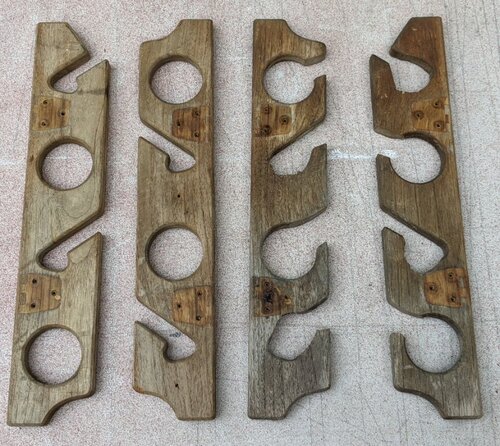
I used a rasp file first, then a less aggressive file to remove the saw blade cuts and re-shape the butchered holes, then 150 grit sandpaper on the "modified" pair. The unmodified pair just needed some 150 grit sandpaper. I started to try some teakwood oil on one of them before I remembered to take a picture after the wood prep was done. The 2 in the middle are the modified ones
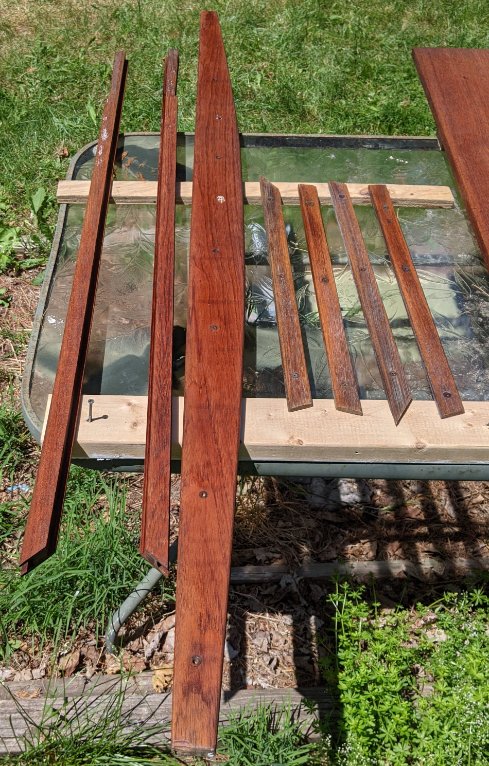
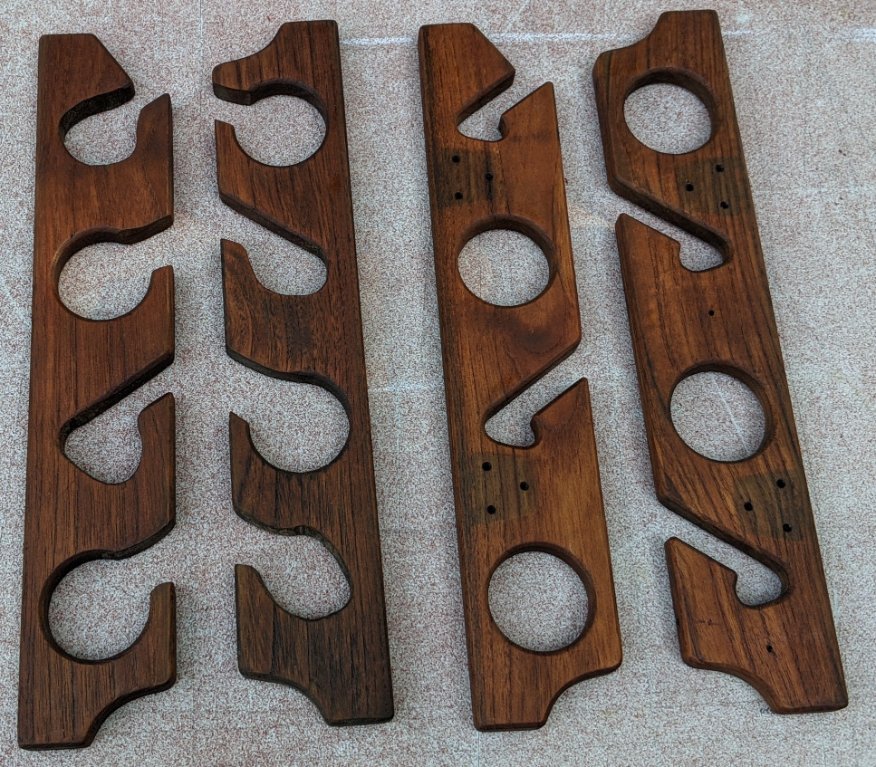
This is the finished project after 2 coats of teakwood oil, applied with a 2" paint brush, with 30-45 minutes between coats
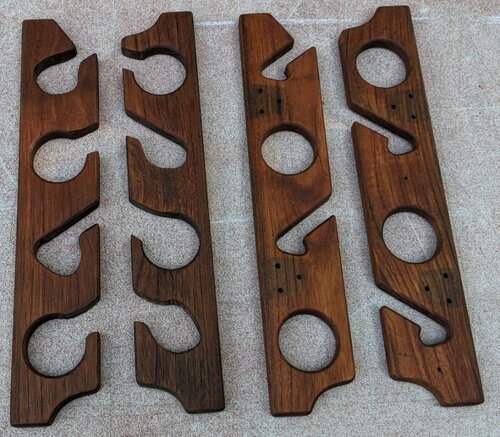
They look a lot better in sunlight
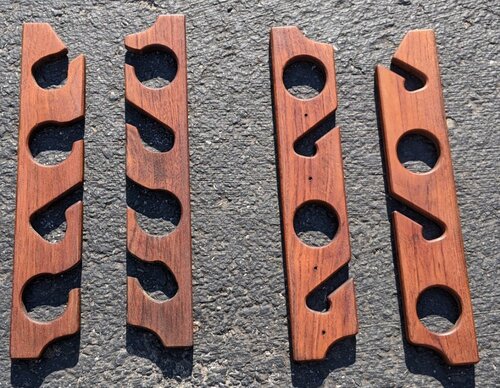
These rod holders will be mounted in the gunwales in the near future.


Minn Kota Terrova On A Row Boat, and Much More
in This Old Boat
Posted · Edited by Todd in NY
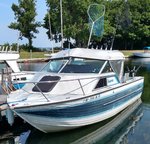
The boat is a 1974 Sears Semi-V 16ft (15' 9") row boat that I've owned for roughly 6 years. I decided it was time to update my trolling motor.
The cast aluminum bow bracket is too small to mount a trolling motor to, so I had to build a deck out of 3/4" marine grade plywood. This bow bracket is welded to the rub rails, so it's not going anywhere.
It's hard to see in this pic, but it's raised/curved upward at least a 1/4" in the middle