

lrg355
-
Posts
723 -
Joined
-
Last visited
Content Type
Profiles
Forums
Events
Gallery
Store
Posts posted by lrg355
-
-
-
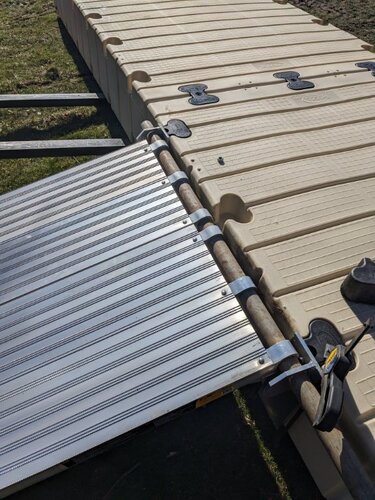
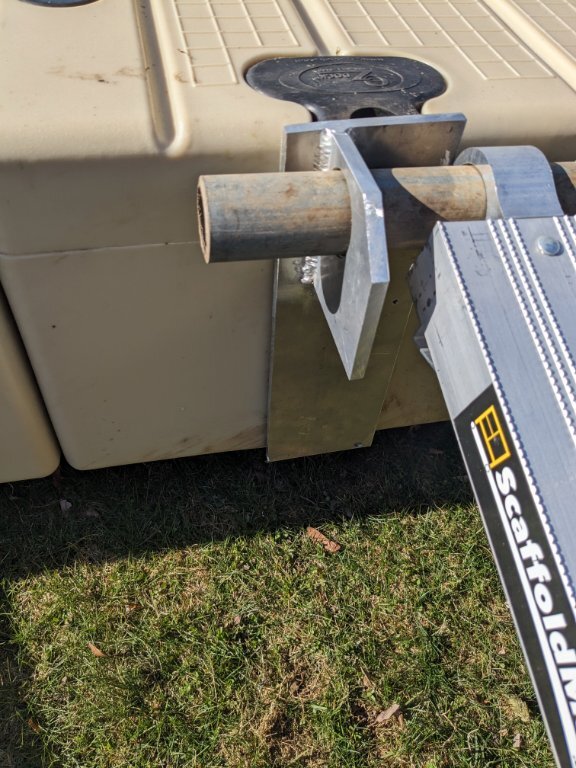
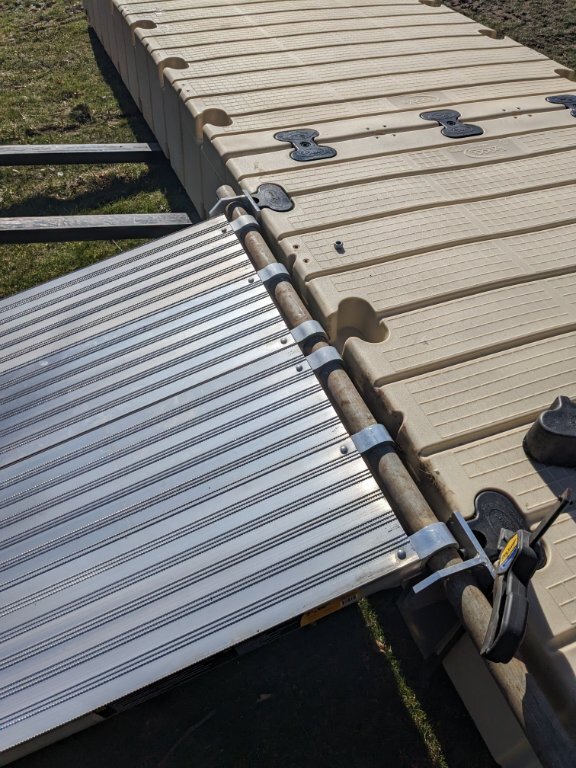
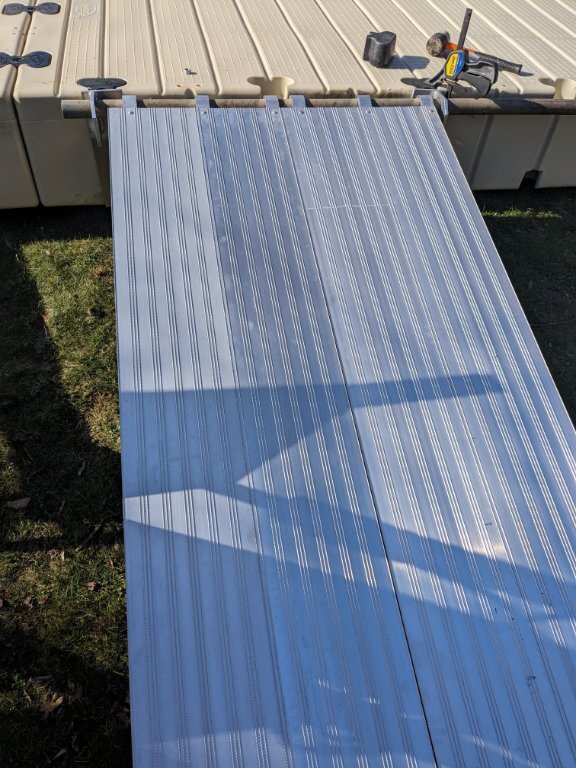
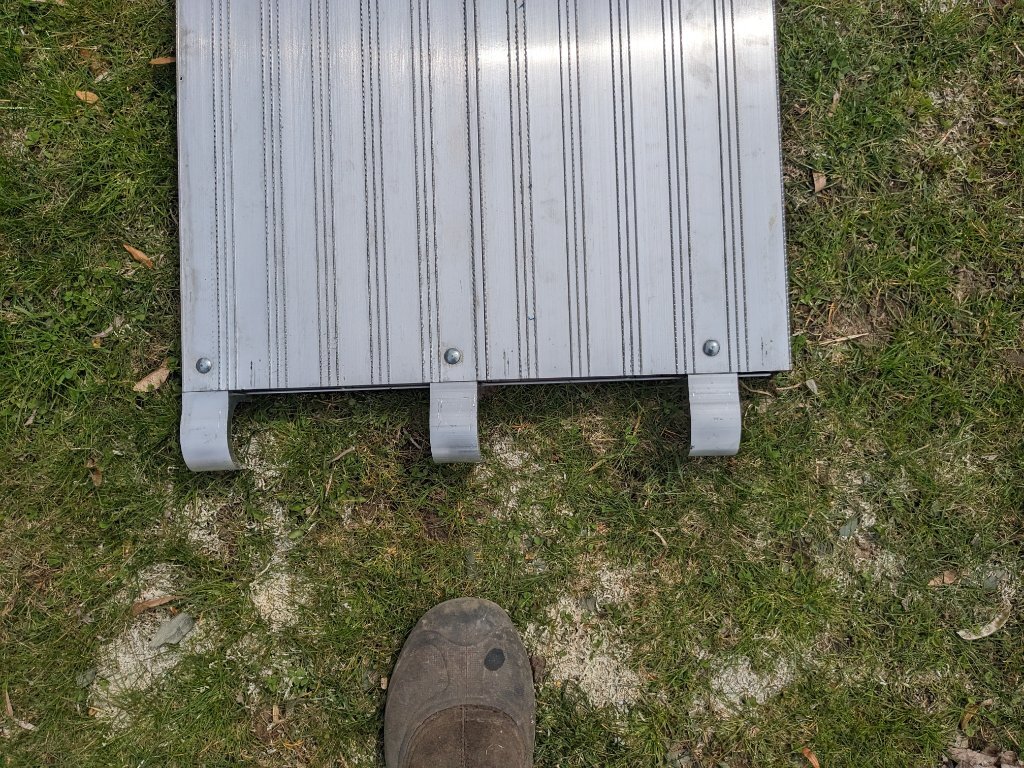
Just set up first set with my homemade brackets. Looks like a good setup.


-
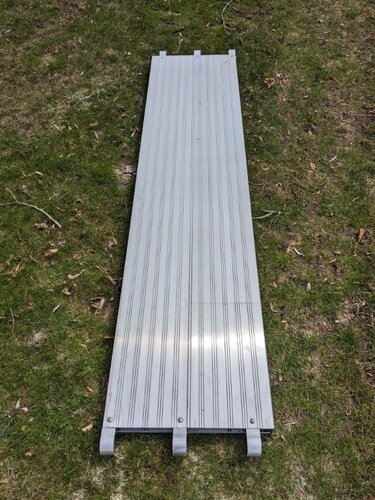
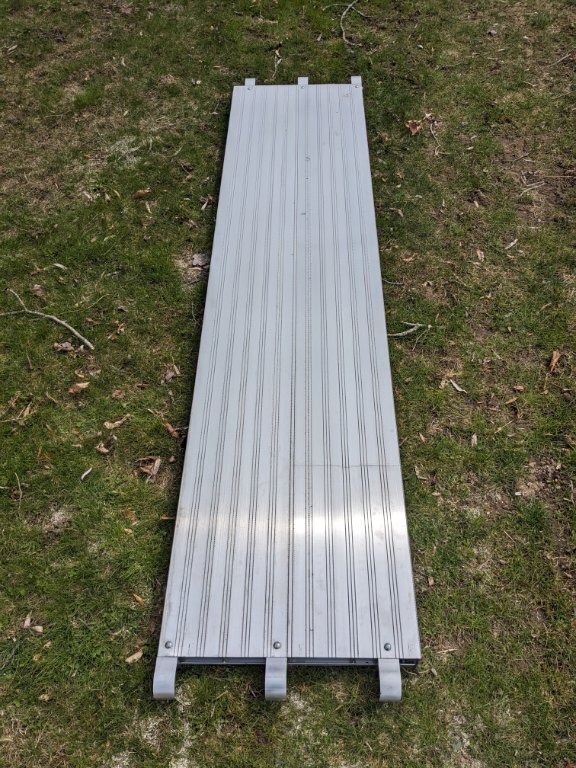
Come in various lengihs


-
Forgot to mention each plank weighs only 27 lbs
-
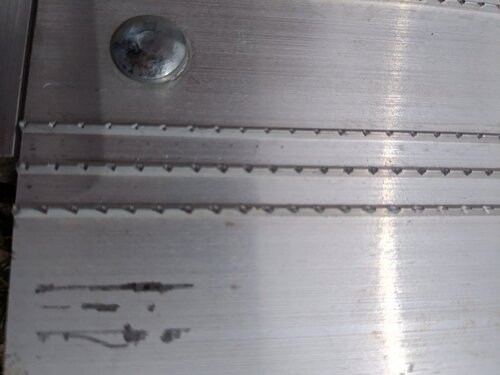
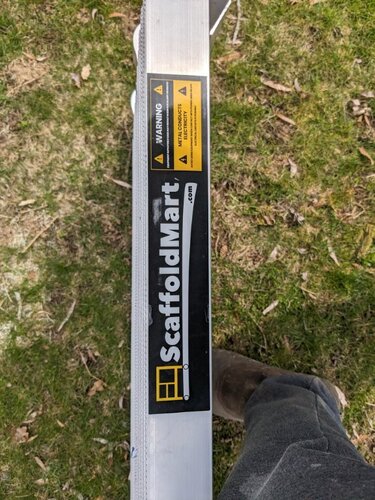
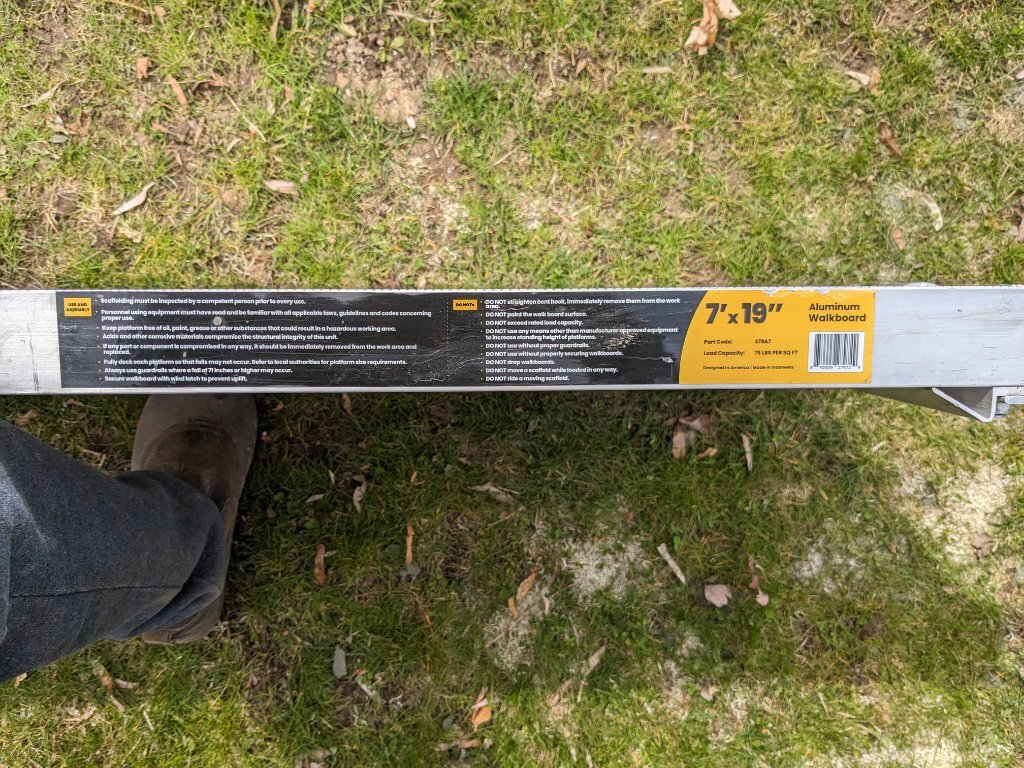
I have the EZ Docks at my camp on Sandy Pond. Prices are crazy. They wanted over $2k for a 10 ft plastic ramp. I decided to do something myself. Bought alum planks for scaffolding. 19 in wide x 7 ft long for $106 each. I have 2 side x side fo 38 in width. They have hooks on both ends for hanging between scaffolding pipe. Load rating is over 1000 lbs per section. They are knurled on the surface for anti-slip. Made my own pivot mounts. Out fishing now and will send pics and info later.
-
Ok, thank you
-
More info please. When and where was it held and any info for 2025 would be appreciated.
-
Tough to find the proper one without paying
-
That one is for 2005 which is for carburated models. Fuel injection came out about 2014. Probably most other items may be the same.
-
Ok, thank you. I always do all service myself. Only go to auto, Marine, etc dealers for warranty covered items.
-
You are welcome. Another good addition to that same motor that I did was a small digital tachometer/hourmeter. They are available online for about $20. Run on a watch type round battery and display hours when the motor is not running and RPM when running. Good for maintenance scheduling, etc.
FYI, the flashing light alarm on the Suzuki is going to go off at 20hrs for the first oil change and every 100 hrs after that. Of course I don't usually read manuals thoroughly so I was worried and surprised at the first alarm. Manual explained how to reset it. Good fishing!
-
6 hours ago, rolmops said:
Yes. That is a very accurate description of what I will have to figure out. It all seems simple, but I foresee problems partly because there always is the 125 pounds outboard that has to maneuvered around.
I'm considering breaking the cherry picker out although I do not yet know how to attach it without scratching up the nice new outboard.
The simple solution is to do what I did. Clamp only the alum plate onto the transom bracket in the proper position. Use the largest transfer punch you can fit snugly into the holes and slots on the transom bracket. That will be a touch over 5/16 or 8mm, probably 21/64 (.328). Make a good center punch mark in the two top holes and in the middle of the slots on the bottom. Take the plate out and start your holes with a center drill. After a good start, drill thru with a F drill, that is a letter drill bit (.257) which is the tap drill for 5/26-18 thread. A drill press works better than by hand. Tap the 4 holes in the plate for 5/16-18. Obtain bolts that are as long as the thickness of the plate + the thickness of the transom mount + the thickness of the washers you will use minus about 1/32. Cut the bolt length down if necessary. 1/2 inch of coarse thread in alum is plenty of strength. Put you complete mount together and on the boat. Put the motor on last, clamp the motor just snug after aligning the bolt holes. Put the bolts in with a bit of blue Locktite and you will be a happy fisherman. Don't use red Locktite , that will be hard to remove. My setup has been on 2 seasons and nothing came loose yet. The F drillbit, tap, center drill and transfer punch are available from McMaster. A 1/4 inch hole instead of an F drill will be ok in alum just use plenty of oil and go slow when tapping. The brown trout will be waiting for you to get done.
18 hours ago, rolmops said:The bolts that attach the aluminum plate to the panther plate do not have to be countersunk. Here I can just take out the original bolts and use longer ones instead. It is the bolts that lock the suzuki to the aluminum plate that will have to be countersunk because the bracket that I have is 11.5 inches wide and the width of the Suzuki bracket is about 9 inches. I plan to countersink the bolts so the aluminum plate will sit flush on the bracket plate with the bolt ends coming out towards the Suzuki bracket
The way you are describing the transom bracket attachment to the alum plate would require the alum plate be attached to the transom bracket before the alum plate is attached to the Panther plastic plate. That will work as long as you can get the new long bolts in and thru both plates with the motor on.
blockquote widget
-
1 hour ago, rolmops said:
The bolts that attach the aluminum plate to the panther plate do not have to be countersunk. Here I can just take out the original bolts and use longer ones instead. It is the bolts that lock the suzuki to the aluminum plate that will have to be countersunk because the bracket that I have is 11.5 inches wide and the width of the Suzuki bracket is about 9 inches. I plan to countersink the bolts so the aluminum plate will sit flush on the bracket plate with the bolt ends coming out towards the Suzuki bracket
The way you are describing the transom bracket attachment to the alum plate would require the alum plate be attached to the transom bracket before the alum plate is attached to the Panther plastic plate. That will work as long as you can get the new long bolts in and thru both plates with the motor on.
-
Doing work like that involves somewhat accurate drilling by hand. Check out a set of transfer punches from McMaster Carr. They will "center punch" accurately to allow hole to hole accuracy. As I recall, the hole size on the Suzuki is for 8mm bolts. 5/16 transfer punch will do a nice job on that.
-
No need to countersink the holes in the alum plate because the bolt heads will miss all parts of the Suzuki mount.
-
1 minute ago, lrg355 said:
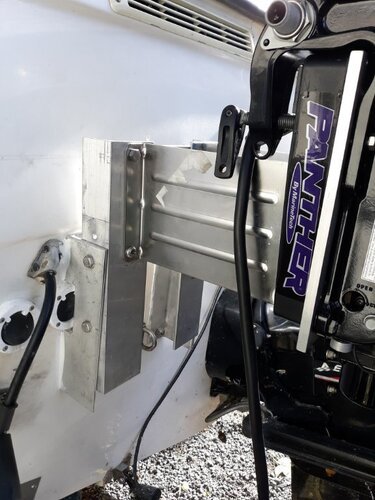
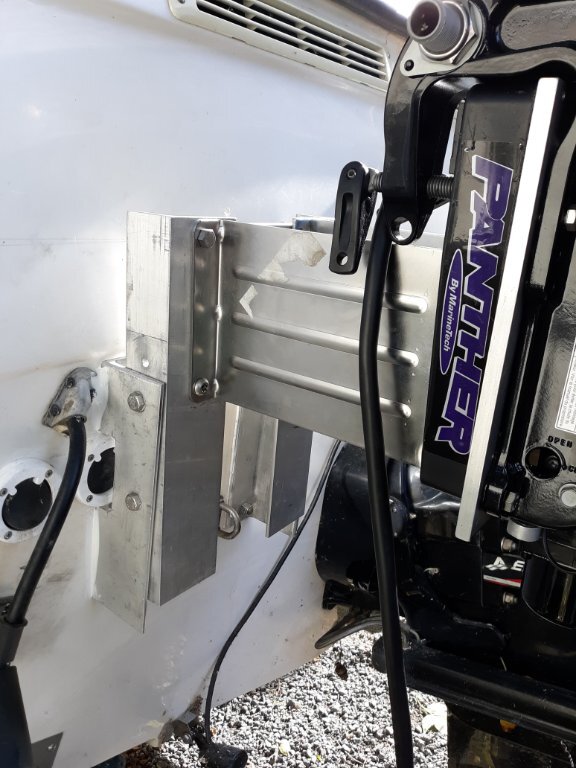
I made a slight mistake in mentioning a 1/4 plate. It is actually 3/8 thick. The most important reason I did it is because the Painter plastic plate is not big enough to allow the bolt holes on the 9.9 Suzuki to be used. The alum plate I made is slightly larger than the plastic to allow the bolt holes to be used. The plate is tapped because there is no room for nuts without cutting away clearance in the plastic. The heads of the longer bolts that hold the alum plate to the plastic plate and in my case, the stainless sides do not hit anything on the Suzuki and they are not visible or accessible when the motor is on it. For the bolts used for the motor to the plate, I used security type bolts for a little extra deterrence for unambitious thieves. The length of these had to be trimmed to be just right. 1/2 inch plate will work just fine and offer a bit more treads for the motor bolts.
Some of the pictures I sent were taken before I was completely finished. The actual proper length torx head type security bolts I used were not yet on it. Hardware was ordered from McMaster Carr Supply Co.
-
1 hour ago, rolmops said:
Thank you all for your advice. I was very interested in the electric hydraulic bracket and looked it up They look very sturdy and attractive. The prices vary wildly. Amazon offers them for $1800+ while boaters world has the same one for a bit over $1200. But I already have the T&T on the kicker itself so it would be overkill. The other idea of using a 1/4 inch aluminum plate seems to be the solution that may work for me. It is easier than a complete bracket rebuild. The only problem I see is the room for bolts if you want them to be flush backed up against the original bracket. I looked in my garage and found a 1/2 inch thick aluminum plate. I just finished cutting it to the exact size of the bracket and with the rotor router made nice edges on it With the half inch thickness it will be easy to drill taper bolt holes that allow the bolts to sit flush and therewith the plate to sit flush up against the original bracket.
Thank you very much for your ideas. It is a great help.
I made a slight mistake in mentioning a 1/4 plate. It is actually 3/8 thick. The most important reason I did it is because the Painter plastic plate is not big enough to allow the bolt holes on the 9.9 Suzuki to be used. The alum plate I made is slightly larger than the plastic to allow the bolt holes to be used. The plate is tapped because there is no room for nuts without cutting away clearance in the plastic. The heads of the longer bolts that hold the alum plate to the plastic plate and in my case, the stainless sides do not hit anything on the Suzuki and they are not visible or accessible when the motor is on it. For the bolts used for the motor to the plate, I used security type bolts for a little extra deterrence for unambitious thieves. The length of these had to be trimmed to be just right. 1/2 inch plate will work just fine and offer a bit more treads for the motor bolts.
-
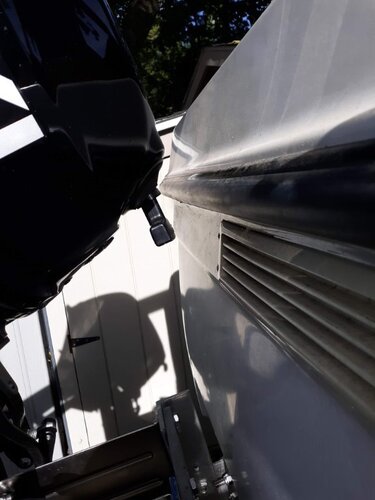
Just realized this is not the same bracket. You have the moveable one. The Suzuki clears the transom with the solid bracket since I spaced it out with the alum angle.
-
-
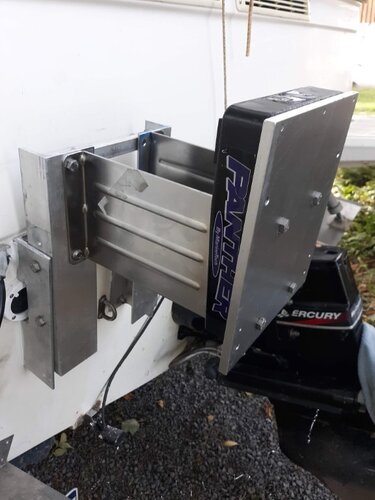 I used that same bracket. Needed to get the motor out a bit more and positioned a bit higher than the bracket allowed. Used 2 x 3 x 1/4 aluminum angle to space it out and allow mounting in the proper position. Also put a 1/4 alum plate on top of the plastic plate to allow something for the motor to be bolted to. The original 4 bolts for the plastic were just replaced with longer ones that also go thru the 1/4 alum plate. Didn't drill any holes in the bracket, just used all the original ones. Trailer all the time with the motor down with no problems. It is quite well off the ground on the trailer. Stainless Steel sides flex a bit when in use but causes no problem. Will always keep an eye on everything to avoid any problems
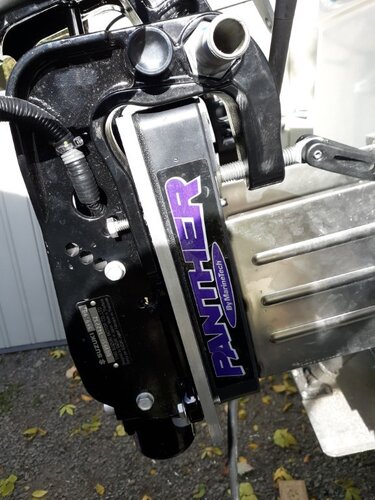
-
1 minute ago, lrg355 said:
I had a unique approach since I already had a Lowrance-Navico outboard pilot unit from a previous boat. I bought a hydraulic steering unit from Vivor ($350). Put it on the kicker only. Helm is mounted in a convenient place on the dash. Put a small crank handle on the helm. The outboard pilot is controlled by my Lowrance HDS 12. The Lowrance hydraulic outboard pilot is probably about $1k today, so this whole setup would be about $1500 if you already had a Lowrance unit or equivalent NMEA 2000 capable unit to run it.
I was surprised how well it works!
-
I had a unique approach since I already had a Lowrance-Navico outboard pilot unit from a previous boat. I bought a hydraulic steering unit from Vivor ($350). Put it on the kicker only. Helm is mounted in a convenient place on the dash. Put a small crank handle on the helm. The outboard pilot is controlled by my Lowrance HDS 12. The Lowrance hydraulic outboard pilot is probably about $1k today, so this whole setup would be about $1500 if you already had a Lowrance unit or equivalent NMEA 2000 capable unit to run it.
-
On 2/12/2024 at 10:59 AM, Long time fisherman said:
What minn kota TM and Hummingbird set up do I need to have a follow the contour option? Is it built in or do I need an accessory?
Need the TM talking to the HB. That means NEMA 2000 interface on both units. Terrova or higher on the TM and make sure HB you are interested in or already have has NEMA 2000 capability. A NEMA backbone setup and a few cables will be minimum.
-
 1
1
-
-
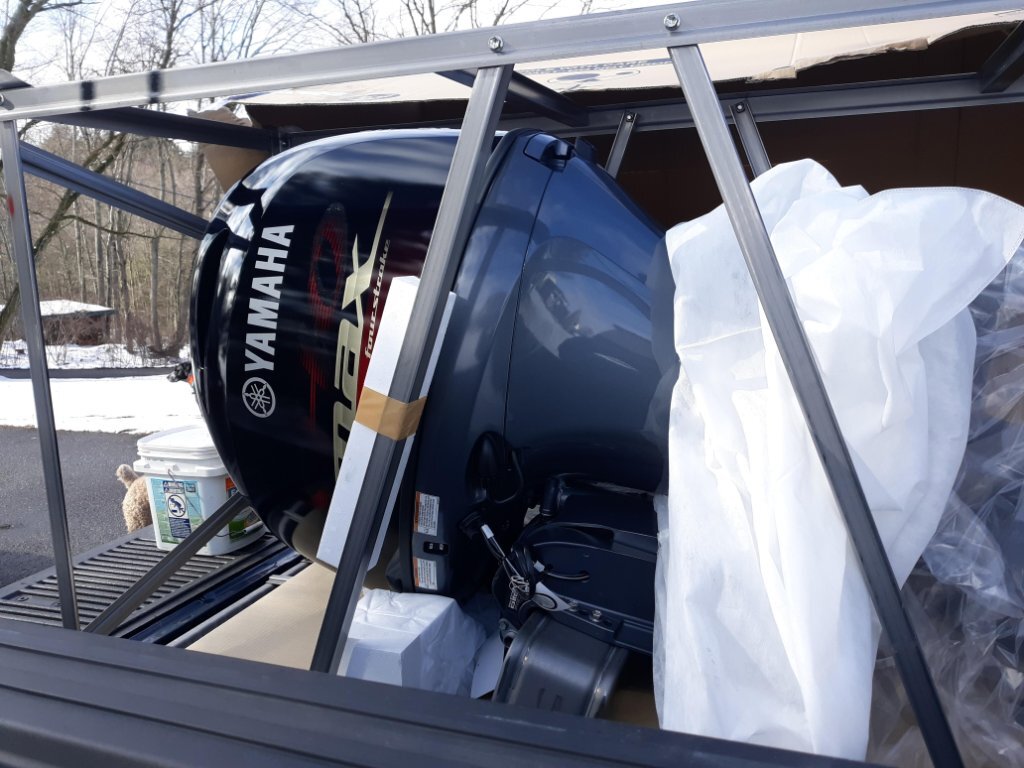
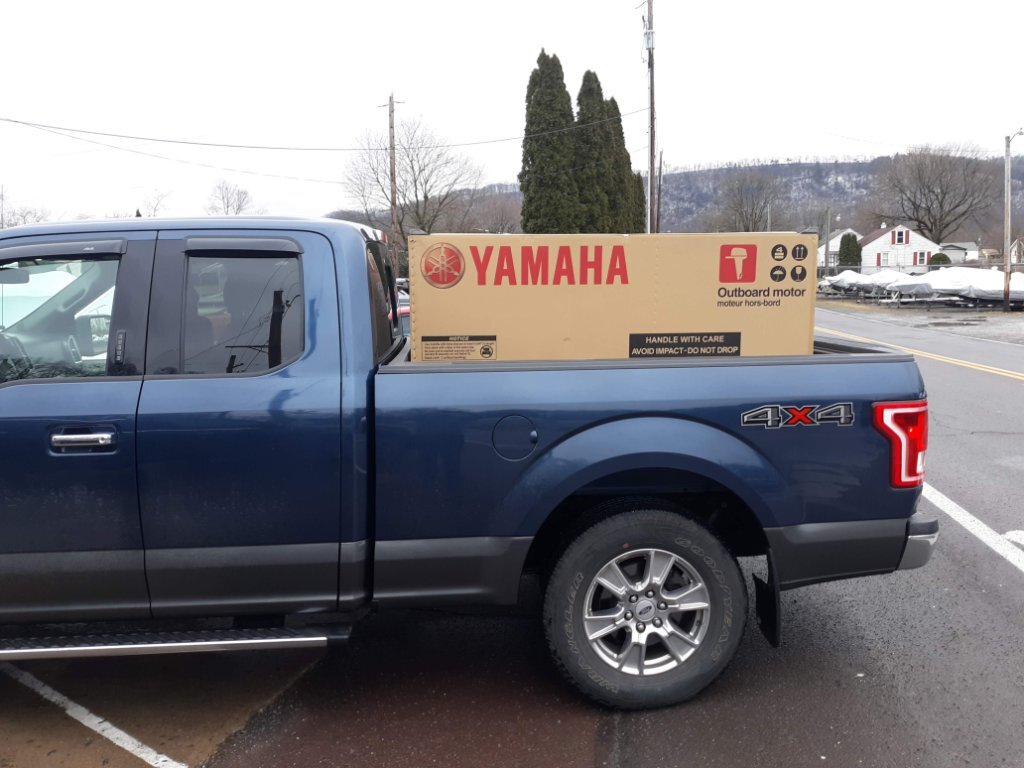
Most dealers are required to install it but there are a few that will sell a crate engine to install yourself and with no warranty issues. Yamaha 90 V-Max SHO is a better choice than standard 90. Neck snapping torque out of the hole. Trolls great also.


-
 1
1
-
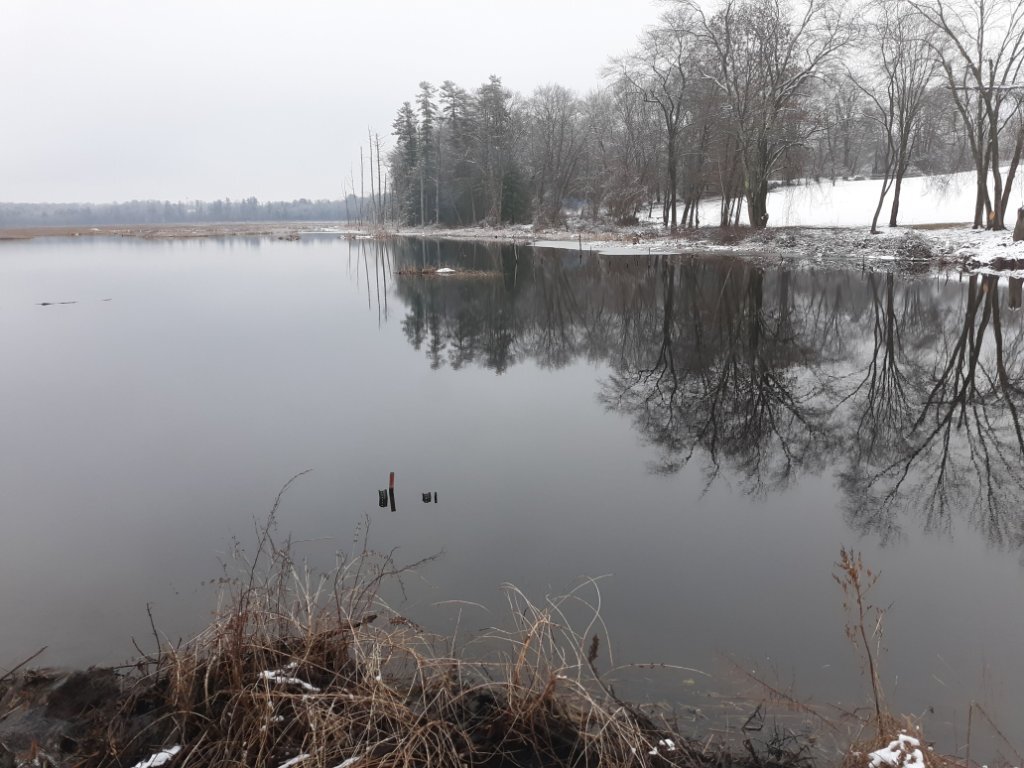
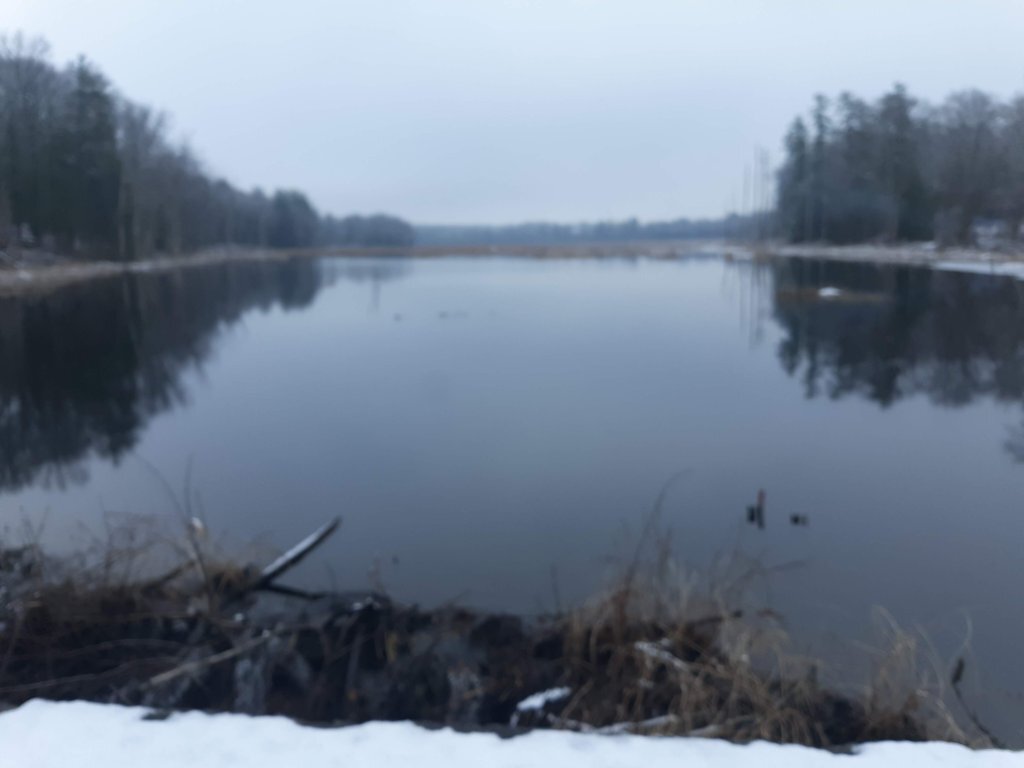
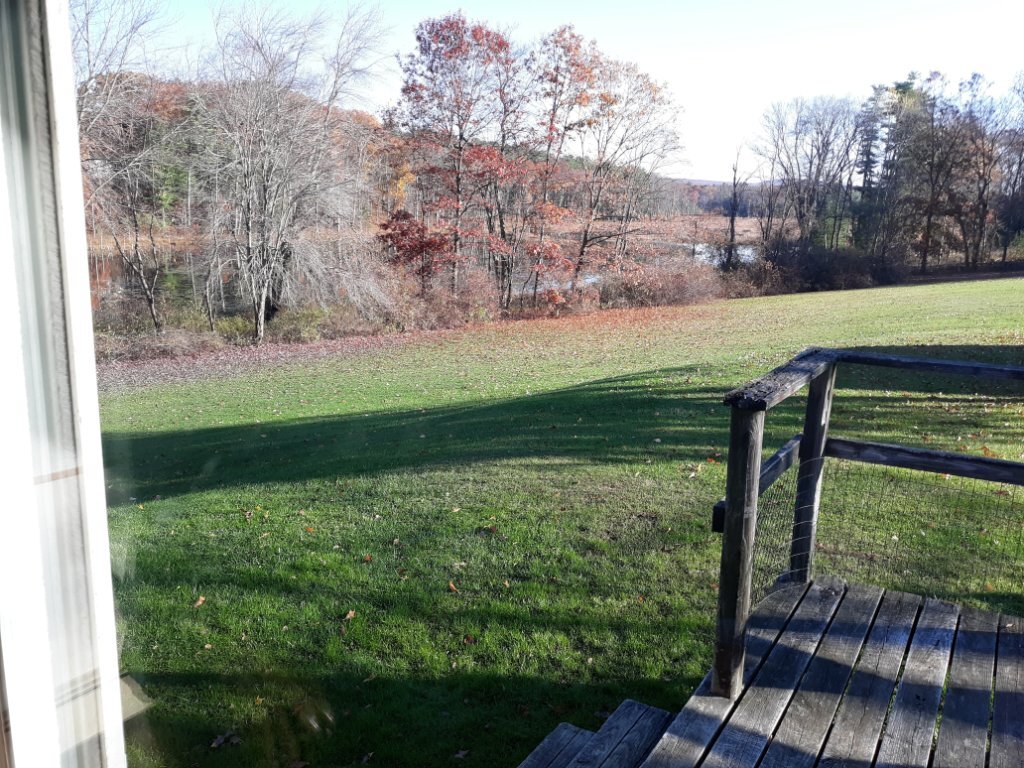
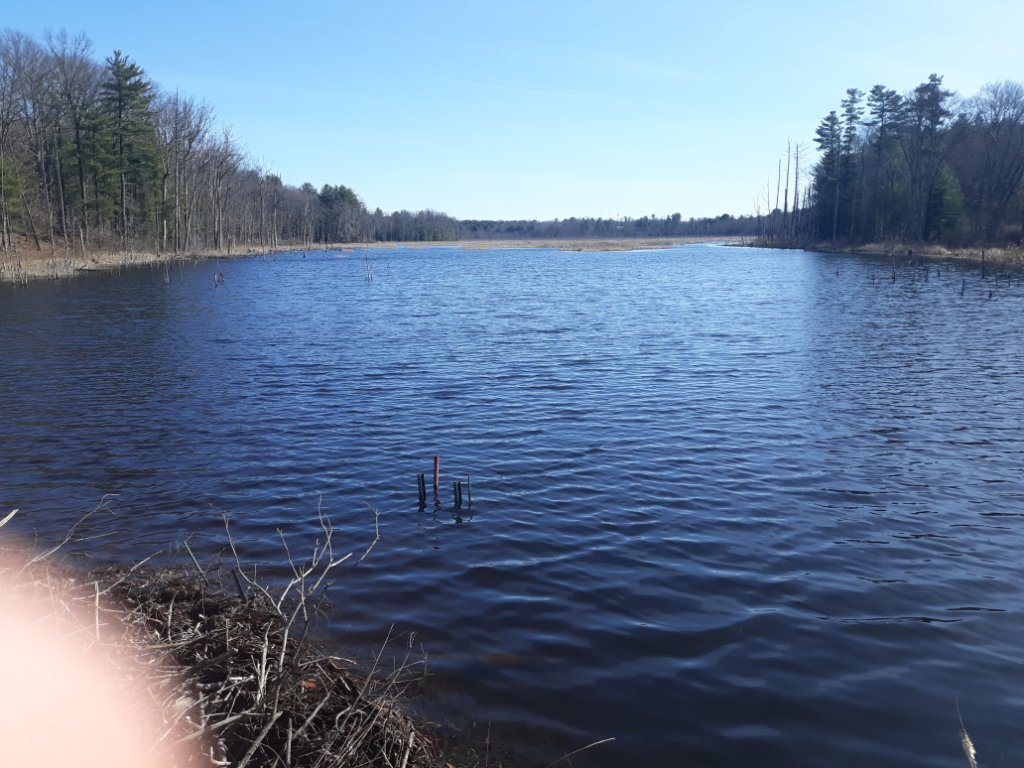


Pond bass
in Bass Fishing
Posted
This is my "pond" built by beavers. Is a few hundred yards wide x about 1/2 mile long. About 8 ft deep just back from the dam. I own from the beaver dam back about 650 ft to the end of my property line. Has bass, pickerel and all panfish. Nice catfish and probably the best duck hunting in the county