



rolmops
-
Posts
4,824 -
Joined
-
Last visited
Content Type
Profiles
Forums
Events
Gallery
Store
Everything posted by rolmops
-
That is a nice calculation,but you are missing some important factors. All the calculations about salmon reproduction are a result of numbers that are counted after most natural and artificial (fishing) attrition has taken place and these numbers are what is left at the end of the fish's natural life cycle or close to it. Not at the beginning. Your calculation presumes these numbers to be at the beginning. Then there is another issue. The stocked fish comes from a very small percentage of the actual fish coming up the streams, while a much greater greater amount of fish spawns outside of the hatchery. The survival rate of the wild spawn is greatly influenced by temperatures and amounts of water and food available. That means that the "all other things being equal" factor which you presume in your calculation is non existent. I suspect that the wild spawn in a good year may be twice as successful as it is in a bad year.
-
 It is abundantly clear that nobody wants these monstrously seized windmills in our lakes. At the same time it is also clear that we do need an alternative for our current energy sources because they are destroying our environment. What alternative do you suggest? Sent from my iPhone using Lake Ontario United
 -
And people wonder why Bluefin Tuna are disappearing....
rolmops replied to Sk8man's topic in Open Lake Discussion
This has been going on for at least 30 years. But we can do something about it by not buying Japanese products like toyotas and e-mailing the company that you will boycot their products as long as Japan keeps on raping the world's fish stocks. -
. I love you too. Sent from my iPhone using Lake Ontario United
-
. I love you too. Sent from my iPhone using Lake Ontario United
-
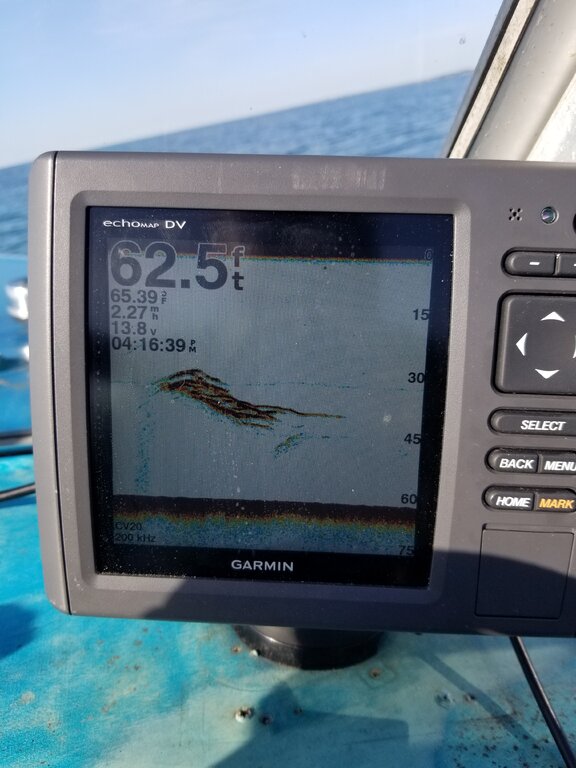 Your best bet for a very good fish finder in that range will be a second hand Furuno (even a 582). It far outstrips just about anything new on the market.
 -
There is another solution for this problem. I use my otter boats when it gets rough. They do a great job as stabilizers. I will let them out about a hundred feet on each side and my 19 foot Islander will cut a straight course through 3 and 4 footers. I have not tried anything bigger than the 3 -4 footers. I do admit that I combine this with trying to stay in a trough Sent from my iPhone using Lake Ontario United
-
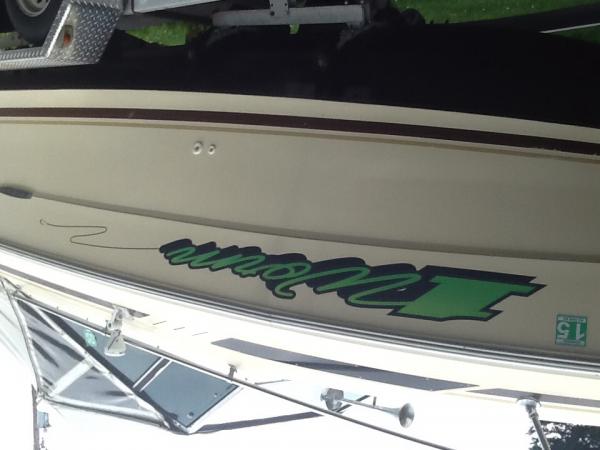 Honor your dad's memory Sent from my iPhone using Lake Ontario United
 -
Thank you for the explanation and happy new year. Sent from my iPhone using Lake Ontario United
-
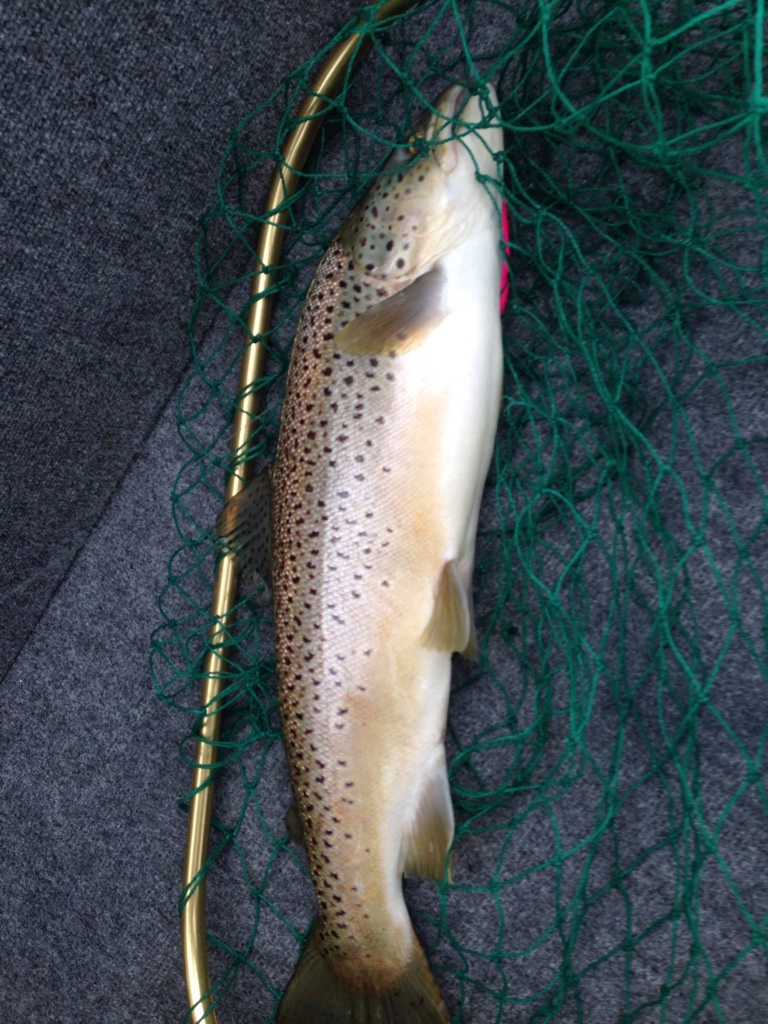 Great! Now that is what I call a Merry Christmas! May the fish Gods be with you next Year!
 -
 Merry Christmas.
 -
Do not be afraid of the expense of changing over to hydraulic steering, most of the needed parts are craigs list most of the time (except for the hoses) Once you use the hydraulic system with auto pilot you will love it. But remember that an autopilot is only great for quiet water. In sloppy water, it will correct after the boat changes course and often the end result is a zigzag course.
-
X2
-
I just need some clarification. By what I understand,the tournament was canceled last year because of inclement weather and all the prize money will be carried over to the 2017 tournament. Does this mean that every team that signs up this year is eligible for the total 2 year prize pot? Or are only the teams that signed up last year eligible for the double prizes while the new sign ups are only eligible for this years prize pot?
-
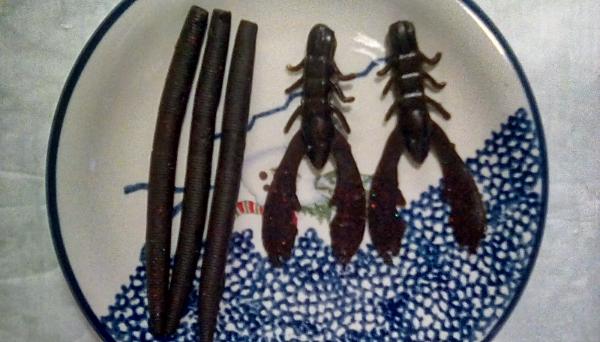 That looks like a labor of love. It reminds me of tying my own flies and cursing every time I put the thread in the wrong place .
 -
Need something to hang spare reels from in the boat
rolmops replied to vetting's topic in Tackle and Techniques
I would screw five of them on a board and another five on another board. Then I would screw or glue these 2 boards onto the roof of the cabin at such a distance from each other that makes it possible to slide the rods in and out of the clamps or leave them hanging off the roof of the cabin. Another way to do it is standing the boards vertical and glued to the side of the cabin again at the proper distance and hang the rods in the clamps . -
I like level wind Penn 330 reels ,but lately I'm thinking about 1:6 reels because 350 to 400 feet is a long way to reel in with a slow reel.
-
Yes ,they are made in China, and yes their value is in question. Bass Pro charges $59 per rod ,but when I got them in the mail and opened the tube,they looked like they were made in somebody's back room in Timbuktu. Anyway,I sent them right back.
-
Just the other day, I ordered a few medium action ugly stik downrigger rods. After receiving them they were not at all what I expected. The seven footer 2 piece rods have a very stiff bottom piece and the top seems to belong to a noodle rod. Maybe they are useful for walleye , but not for browns and terrible for salmon. Then there are the guides. We have gotten very used to Fuji guides, but these rods have stainless steel guides and they are very ugly. These one piece guides are made of a material which is much softer than any other guide material. Am I just misinformed or are these new version ugly stiks as bad as they look?
-
Need something to hang spare reels from in the boat
rolmops replied to vetting's topic in Tackle and Techniques
A very cheap and effective way is using the omega shaped plastic electric conduit clamps. -
WHI, Salmon Slam and 1k a day
rolmops replied to RD9's topic in Tournament Talk, Shows, Events & Seminars
That's great. I have a lot of respect for everyone who organize these events. It takes a lot of time and it often is a thankless job. It just sounded like the author of that blurb had never thought of Mother's Day. Sent from my iPhone using Lake Ontario United -
WHI, Salmon Slam and 1k a day
rolmops replied to RD9's topic in Tournament Talk, Shows, Events & Seminars
Oh my, that sounds like it is organized by a group of orphaned divorcees. -
Looking for people who want to go to fishing out of Gloucester.
rolmops replied to rolmops's topic in Open Lake Discussion
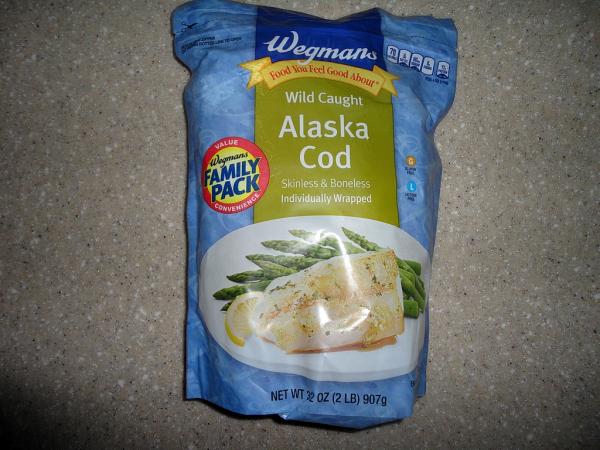 Thank you guys for that correction. I never knew that.
 -
Looking for people who want to go to fishing out of Gloucester.
rolmops replied to rolmops's topic in Open Lake Discussion
Also known as pollock. -
Looking for people who want to go to fishing out of Gloucester.
rolmops replied to rolmops's topic in Open Lake Discussion
The Russians did the same and their cod is fine. The Norwegians out class us all by breeding and farming cod in their Fjords.