

Shakemsam
-
Posts
775 -
Joined
-
Last visited
Content Type
Profiles
Forums
Events
Gallery
Store
Everything posted by Shakemsam
-
The word "storing" leads me to wonder if you are asking about winter storage?
-
Garmin echomap UHD93sv Transducer Question
Shakemsam replied to wrestlecoach's topic in This Old Boat
Yankee is 100% spot on about the GT54/56 for trolling. I should have listened to him when I bought mine 3 years ago. It will track balls as long as it's flat calm. But anything more than a slight chop, you're in the dark! I went a different route and added a refurb Lowrance Elite 7 with a basic 2D 83/200 ducer that also networks with my TM. Couldn't be happier! -
Ebay is about your best hope.
-
 Weather is about the only reason.
 -
 2 for 3 both mid morning fast east troll 2.5-2.7 down temp 48. A jr about 10# and my daughter got her first mature. Both fish hit a Sea Sick on a rigger. 60/100.
 -
I bay 5/26 solo
Shakemsam replied to Morningdew's topic in New York Fishing Reports - Lake Ontario (South Shore)
 Me too! Much appreciated, Dew!
 -
Might want to take a look around the Morristown area. Quaint and quiet village and easy drive to Abay/Clayton/Cape areas.
-
 pump the ball as she starts to struggle. If that helps, it's fuel delivery. Most likely fuel pump.
 -
Biggest issue will be mounting, not operation.
-
City Of Rochester Marine Boat Launch
Shakemsam replied to REEL EXCITED's topic in Open Lake Discussion
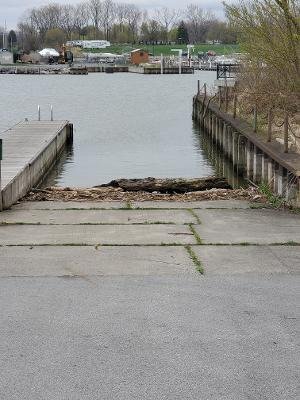 In the spring, that launch is always like that. And, if you get an east wind, it can be a lot worse. Ibay with a South wind is the same way concerning weeds and trash. I would be happy with a decent rake chained to the dock so we could clean it ourselves.
 -
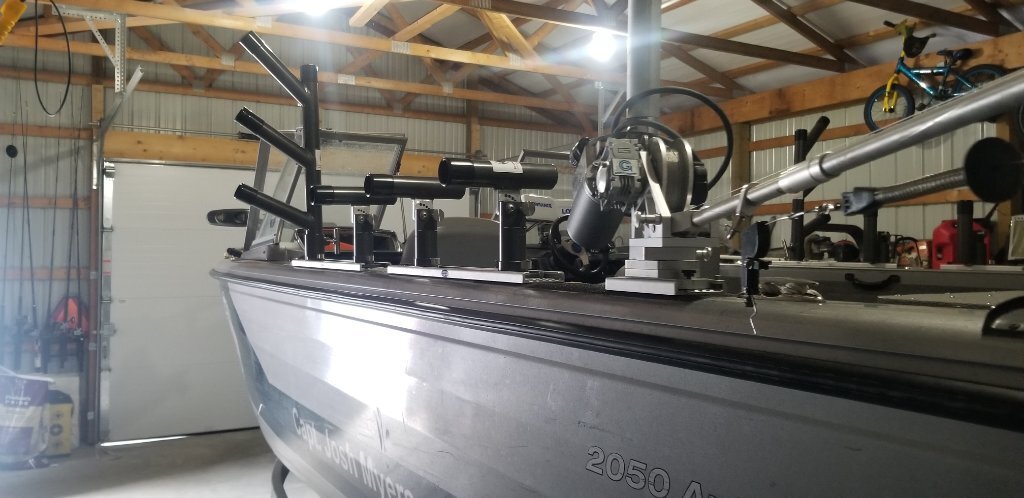
Fishmaster 196 Helix 9 installation - location recommendations
Shakemsam replied to Netbender's topic in This Old Boat
 I have a similar set up and mounted mine on a ram with an extended arm, right on the gunnel. it sits inside the side curtain and I can swing it to face the bow when bass fishing.
 -
 I would consider other areas before anything that is open to air circulation. If I am understanding you correctly, that area is only subjected to splash. Motor mounts, swim platform mounts, transducers, any through bolts or loose rivets under the water line are the first areas to look.
 -
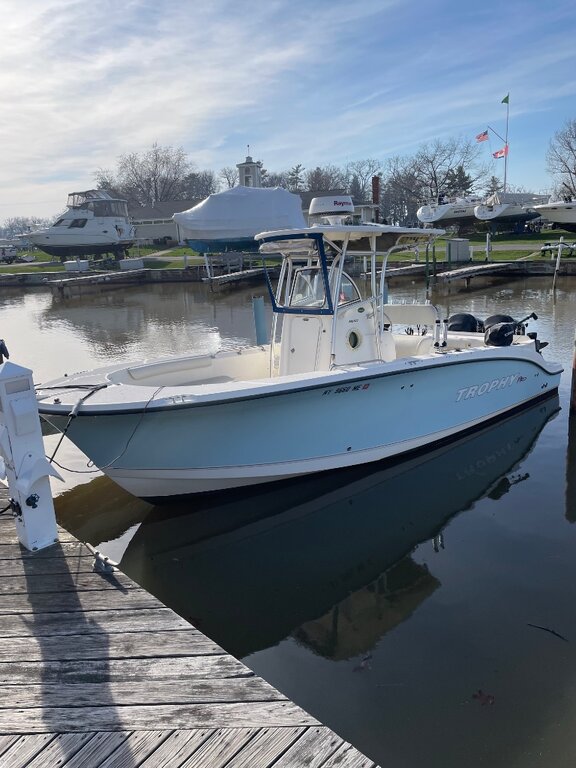
Sold / Closed Alumacraft Trophy 220 OB w/Hard top ****Price Drop $12,500
Shakemsam replied to knapper500's topic in Boats for Sale
 Someone's going to get a great rig.
 -
 I ran16lbers last year on newer walkers, last year without issue. A bit slow but thats fine with me.
 -
Good/Trustworthy Boat Mechanic in Rochester Area
Shakemsam replied to fisherman21's topic in Open Lake Discussion
I go to Pugsley"s in Ontario for and service that I can"t do myself. And,...No personal experience but East Fork Marina in Hamlin is highly recommended by many. -
Minn Kota 60 vs 72 on Fishmaster 196 - Fingers trolling
Shakemsam replied to Netbender's topic in This Old Boat
 I tried using a skeg on my xi5 and it decreased my battery life by 50%.
 -
Minn Kota 60 vs 72 on Fishmaster 196 - Fingers trolling
Shakemsam replied to Netbender's topic in This Old Boat
I run the same boat with the 60 Xi5 MG and wish I had the 72" for trolling in anything more than calm seas. -
Reliable compact electric down riggers for 17 foot boat?
Shakemsam replied to BRsnow's topic in This Old Boat
 The most compact electric DR's are Walkers. Dependable and simple design. Finding a pair that are in excellent working condition can be a problem.
 -
for sale : usa TrollMaster Pro2 for merc,evinrude,tohastu kicker
Shakemsam replied to Kilam Custom Baits's topic in Classifieds - Buy, Sell, Trade or Rent
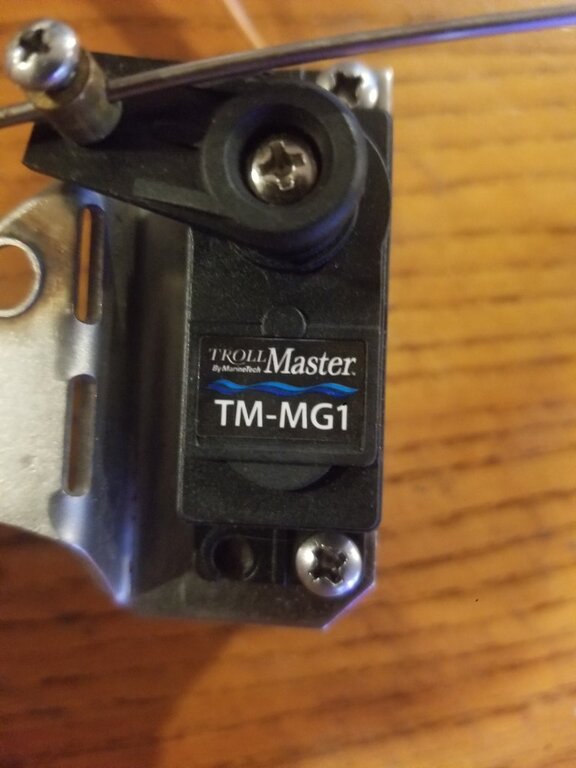 What do you have it on and does it look to be modified? Their hardware kits are pretty specific.
 -
 Not in a 2-3 ft chop.
 -
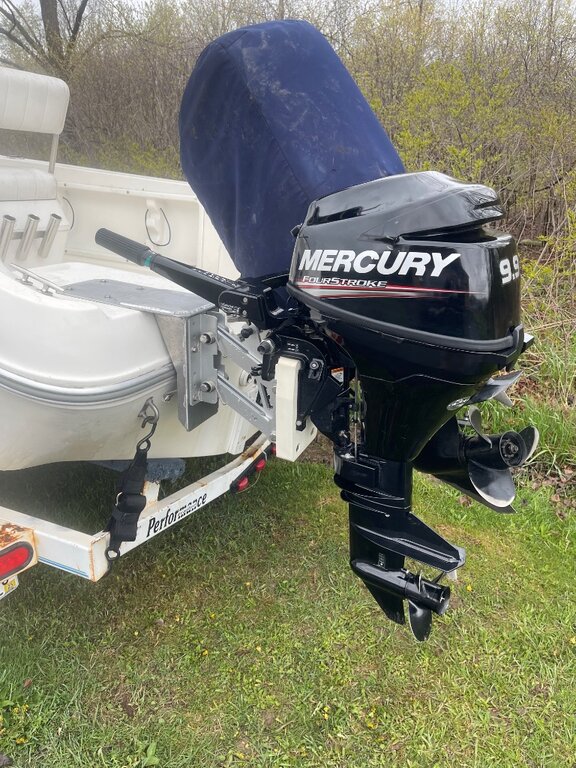
Put an amp meter on the kicker to see what it puts out. I am pretty sure it is not enough to charge your TM batts.
-
Kicker brackets sometimes are necessary, but remember you will want the kicker completely out of the water when at speed, when mounting the bracket. Also, keep in mind other transom mounted devices like ducers and trim tabs if they are in your future plans. Also remember your dr cables location especially on a turn.
-
Bert's, Traxtech, and Cannon Track Systems
Shakemsam replied to bassman69767's topic in Tackle and Techniques
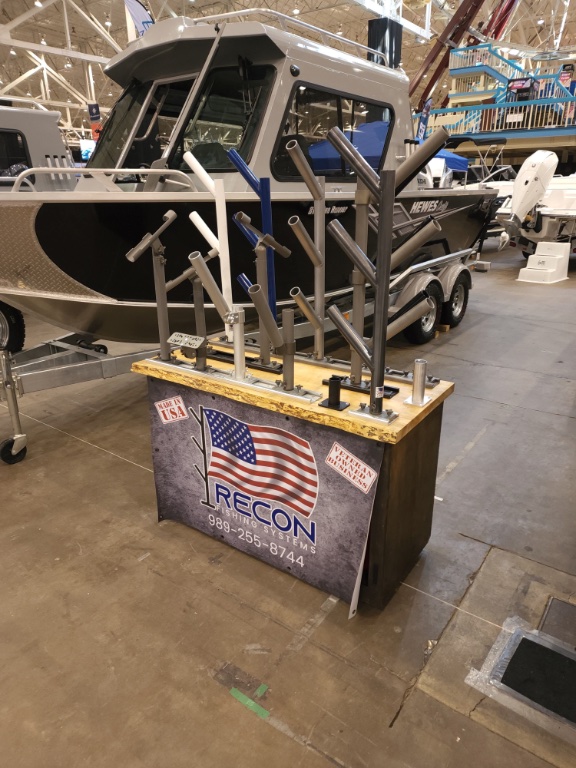 I have their trees in my traxtechs.
 -
Different types of retrievers on your cable can cause it as well.
